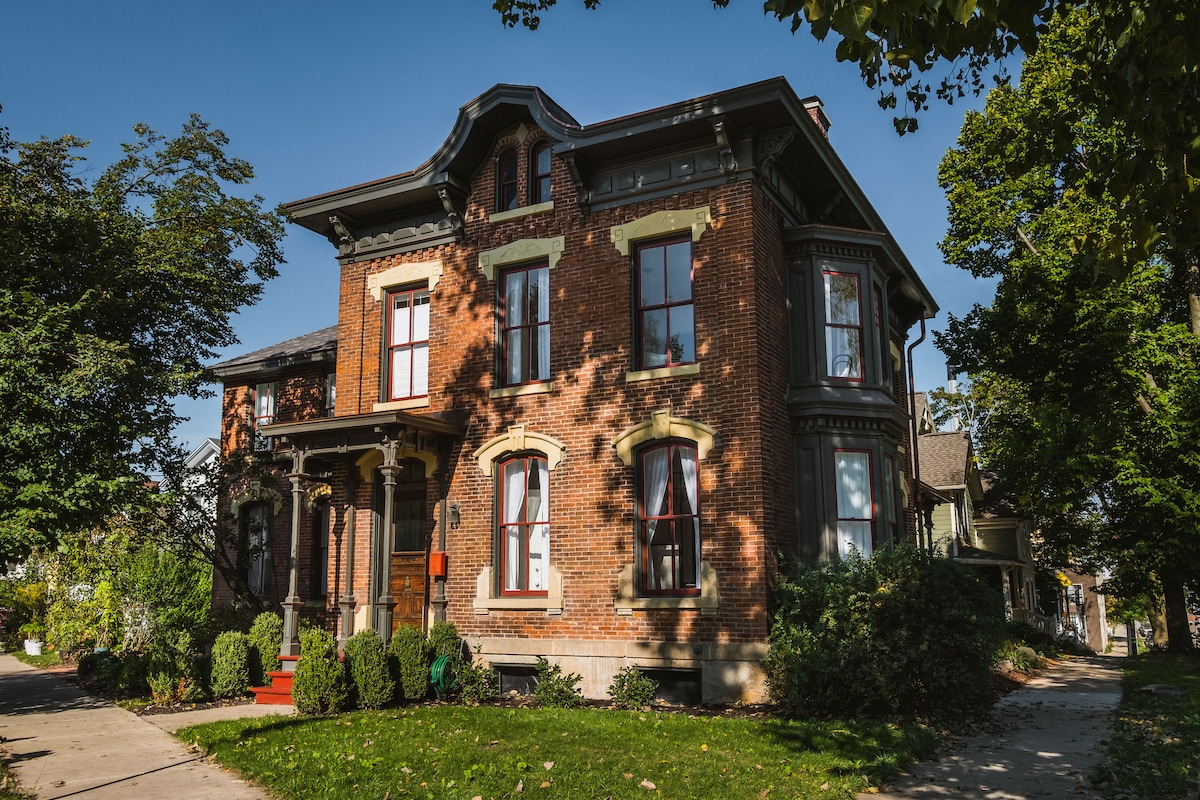
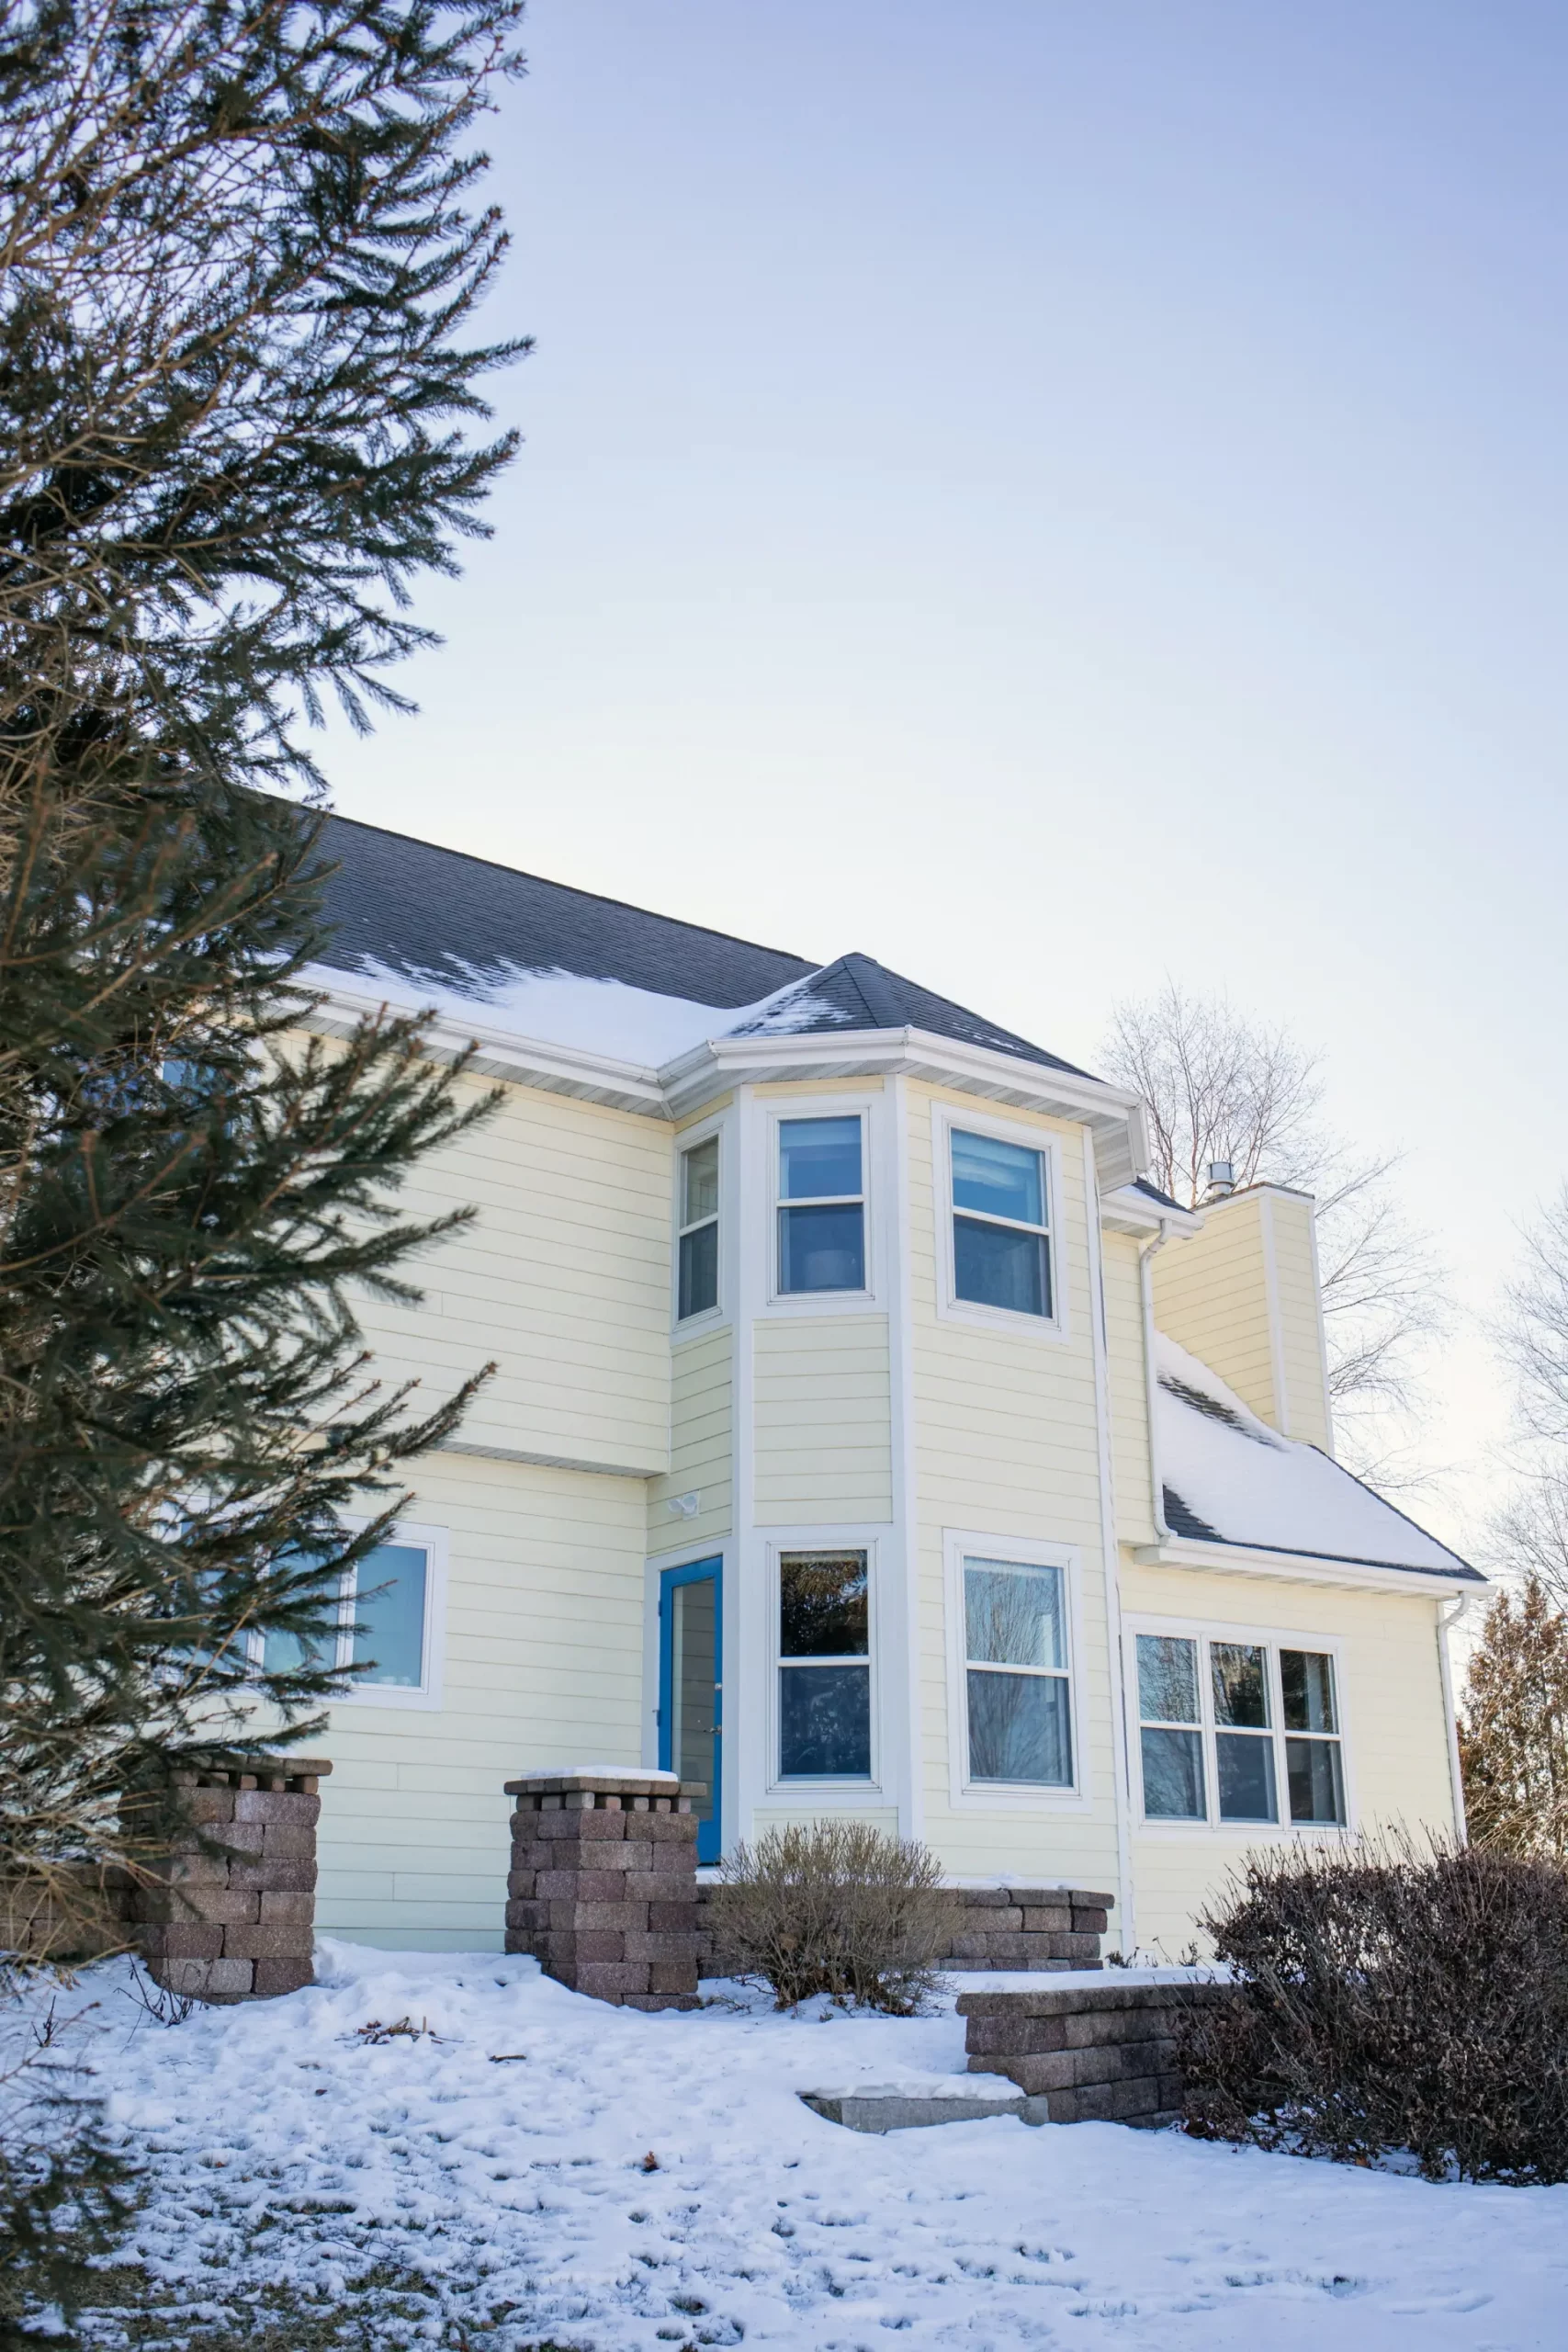
Renovating a historic home is the project I find most interesting and the one I’ve seen go wrong most expensively.
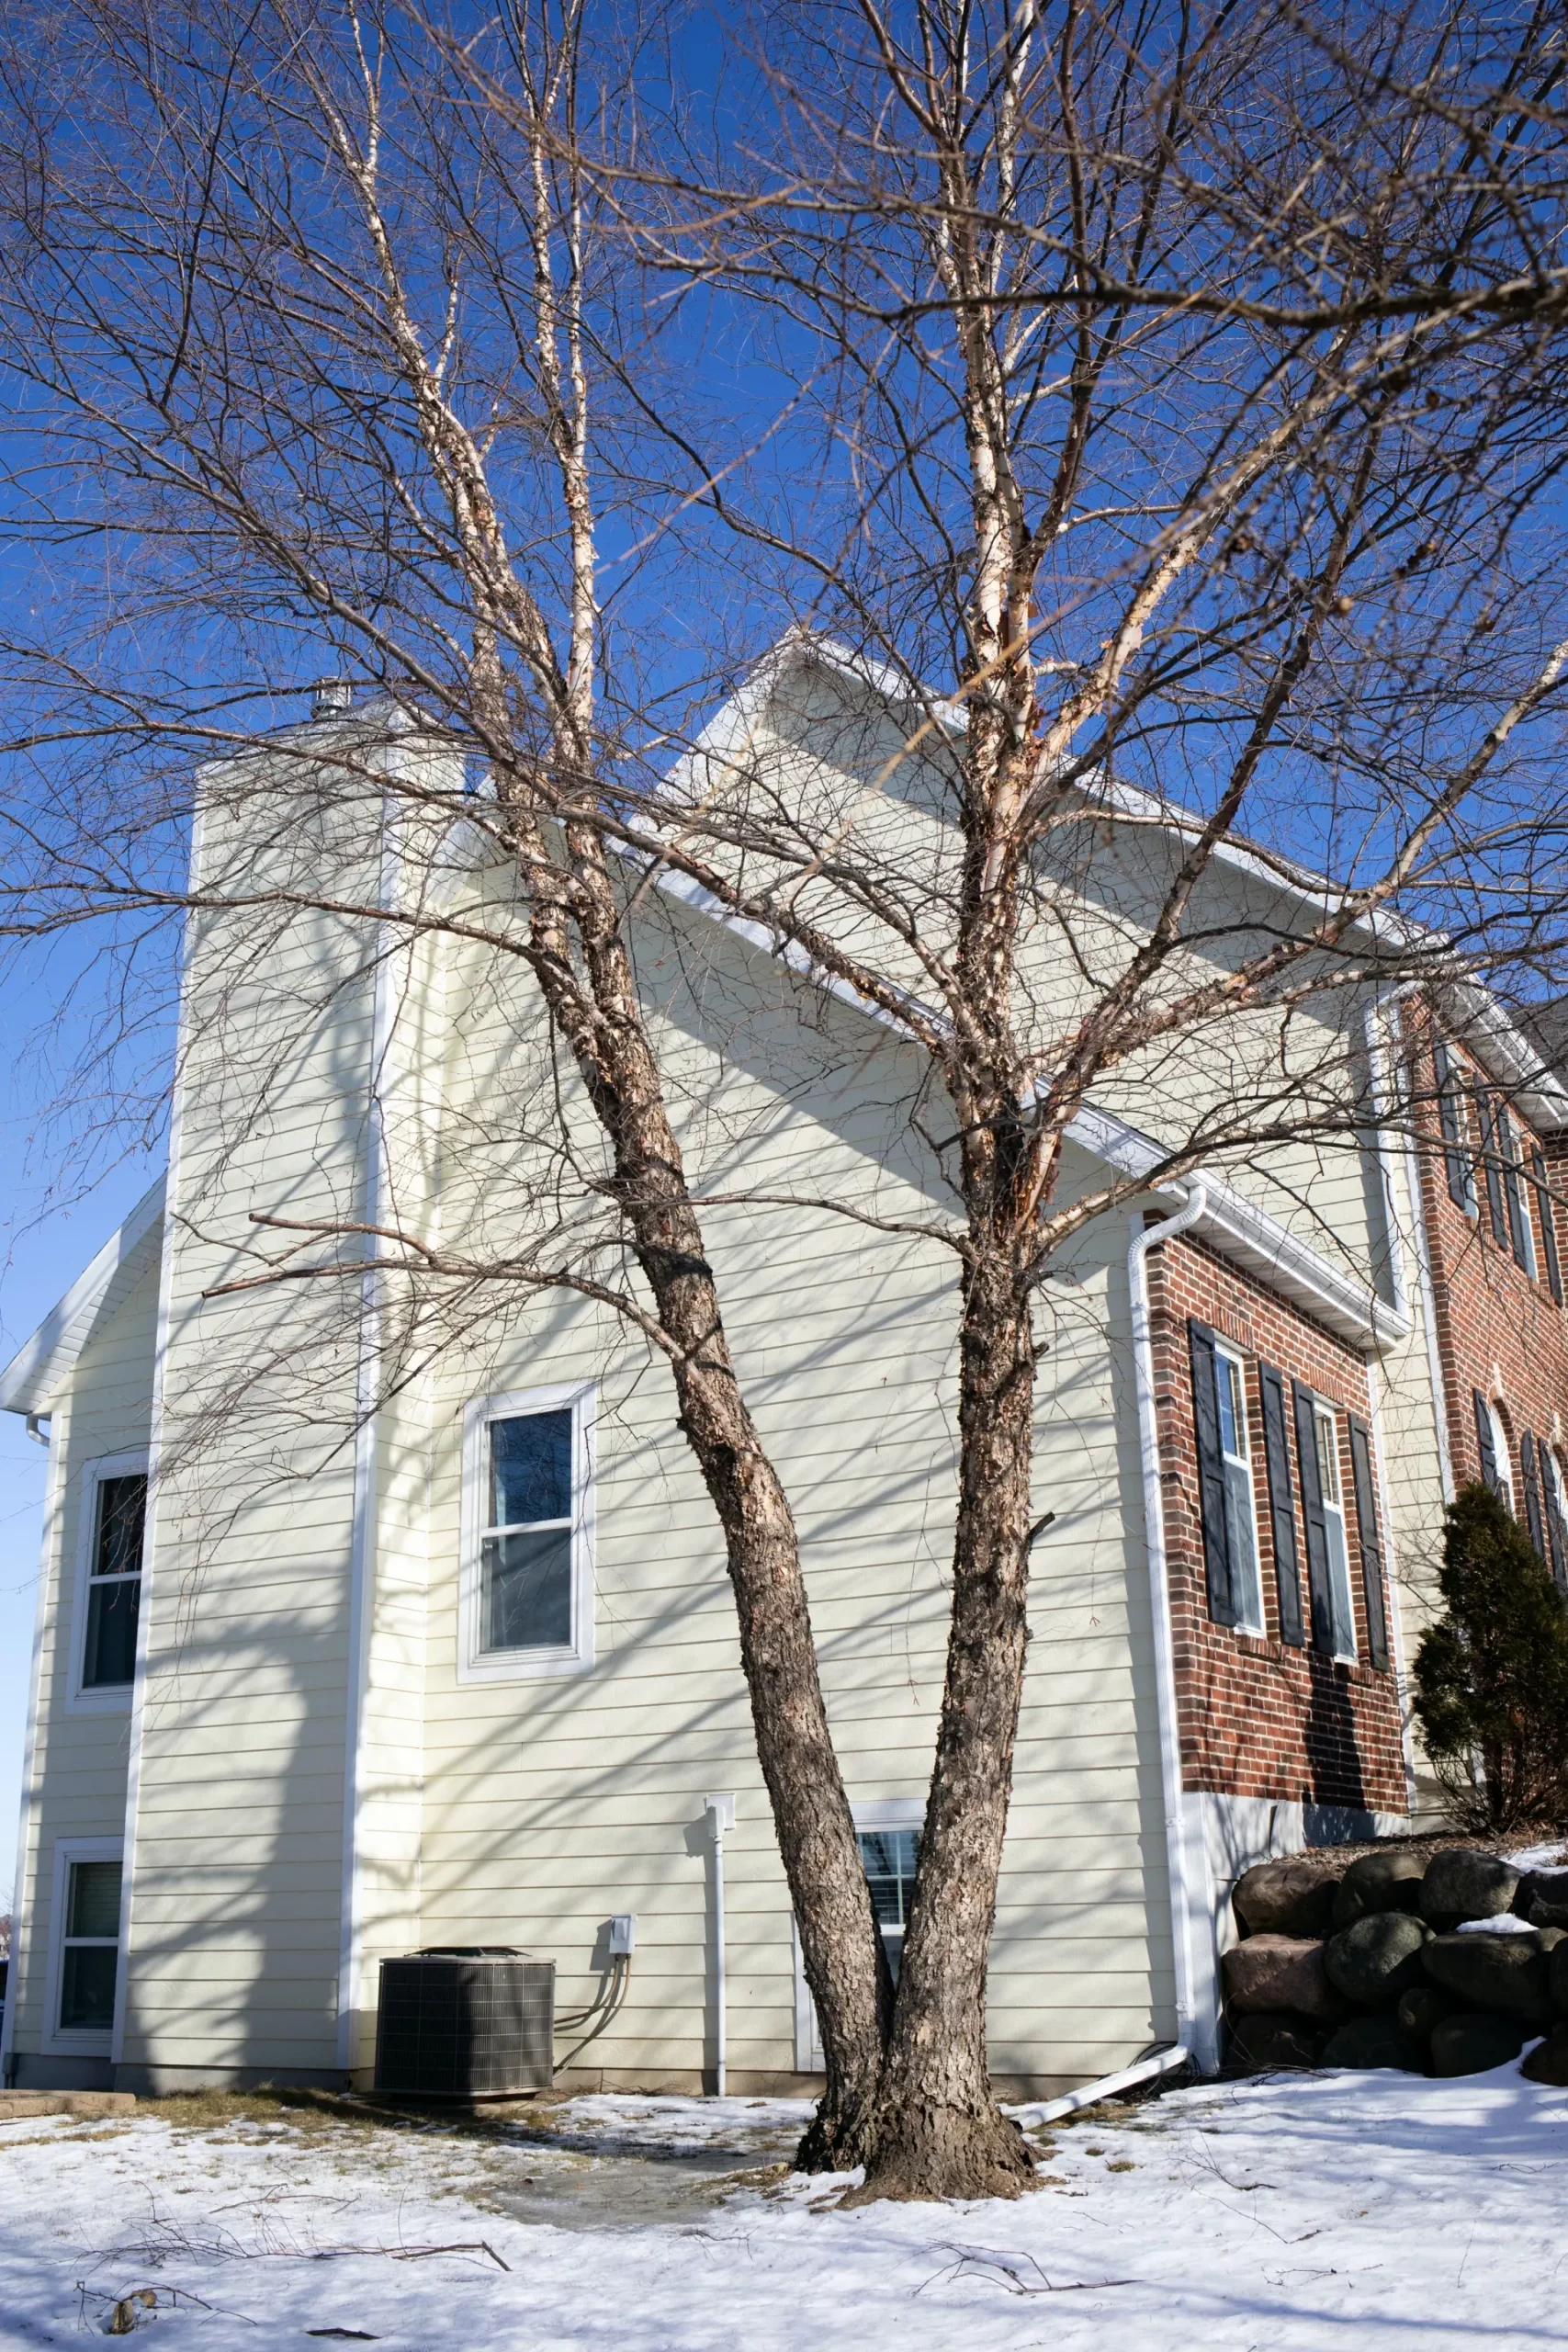
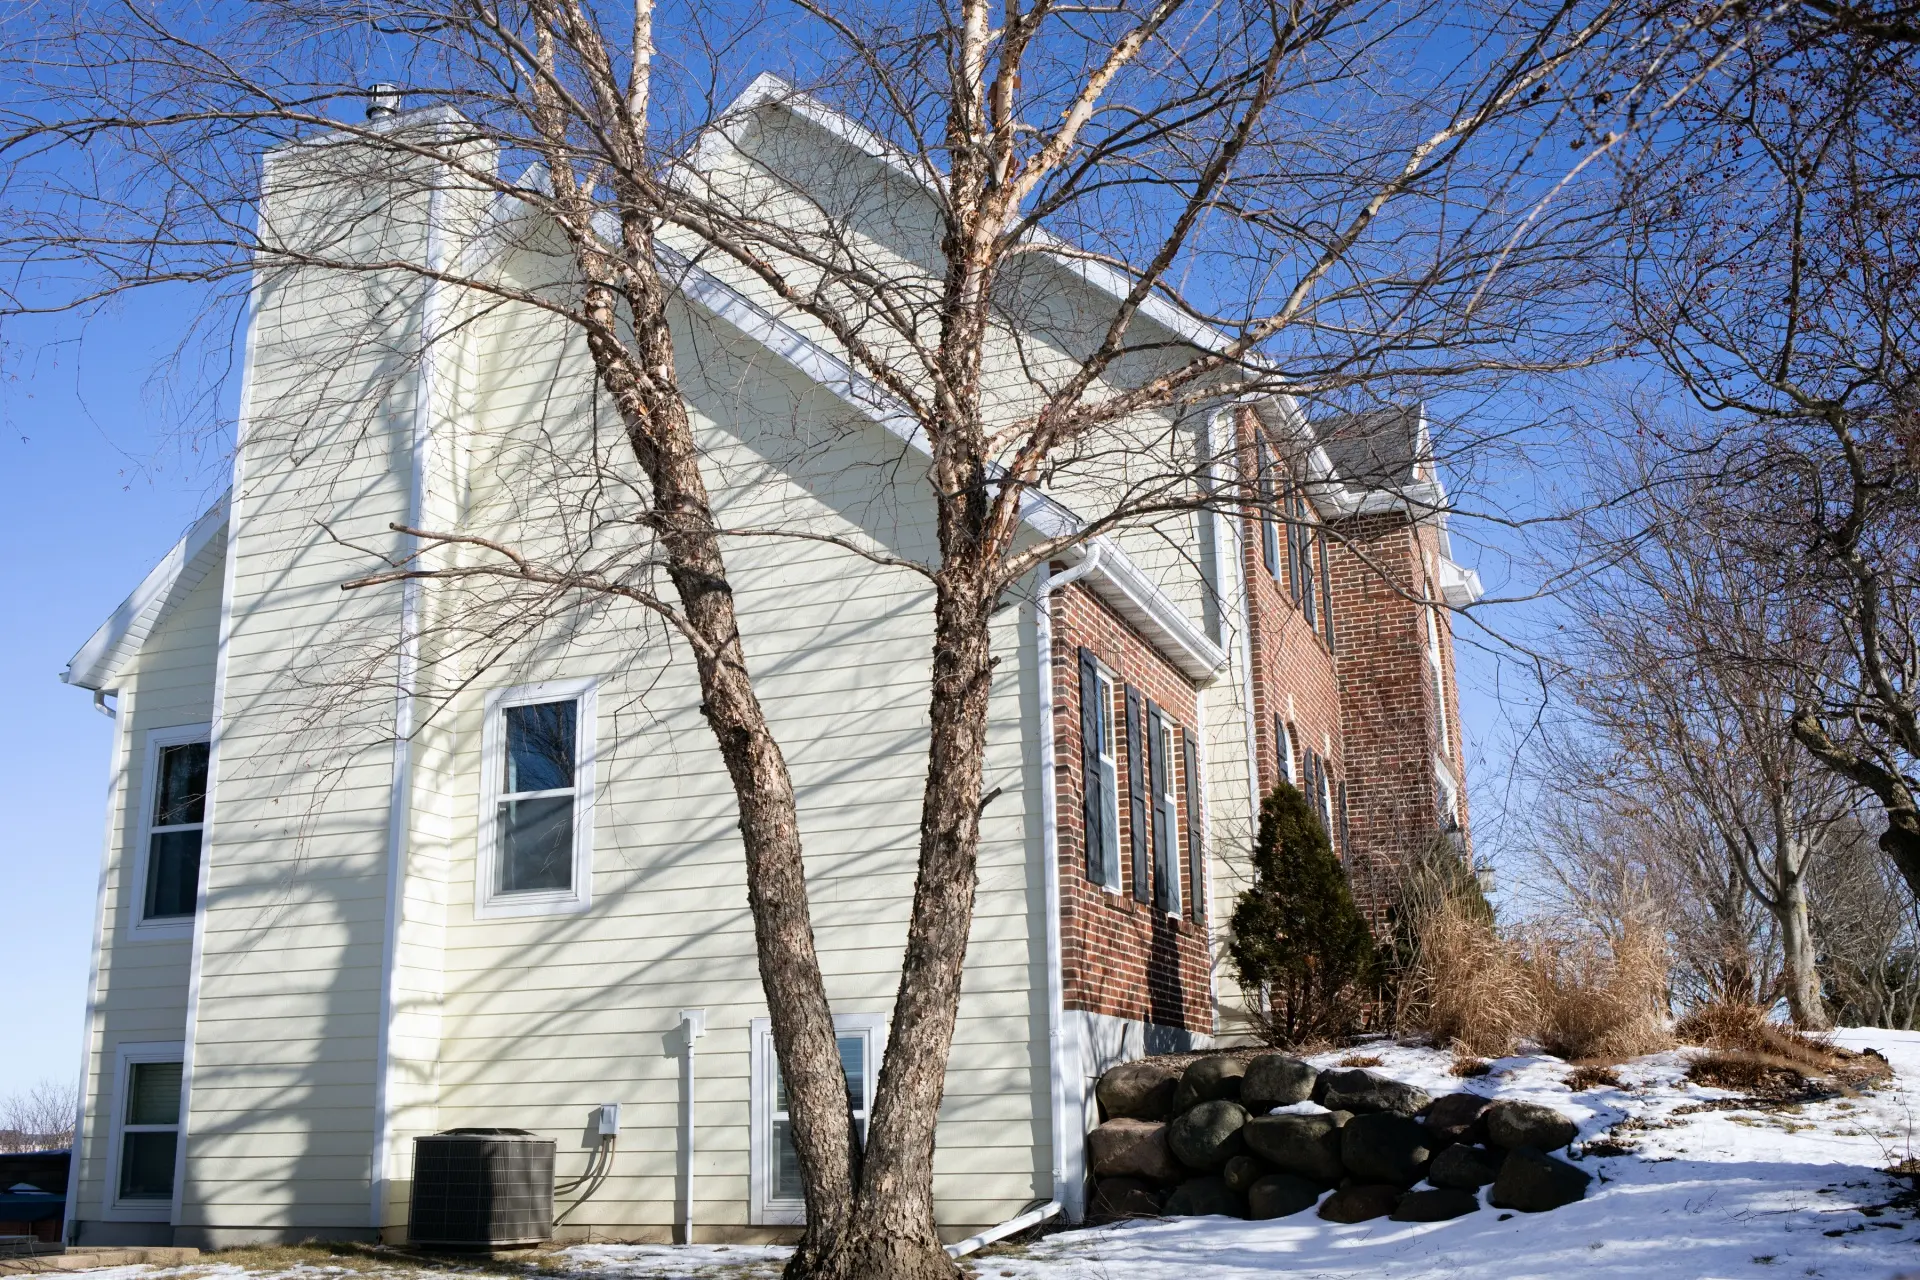
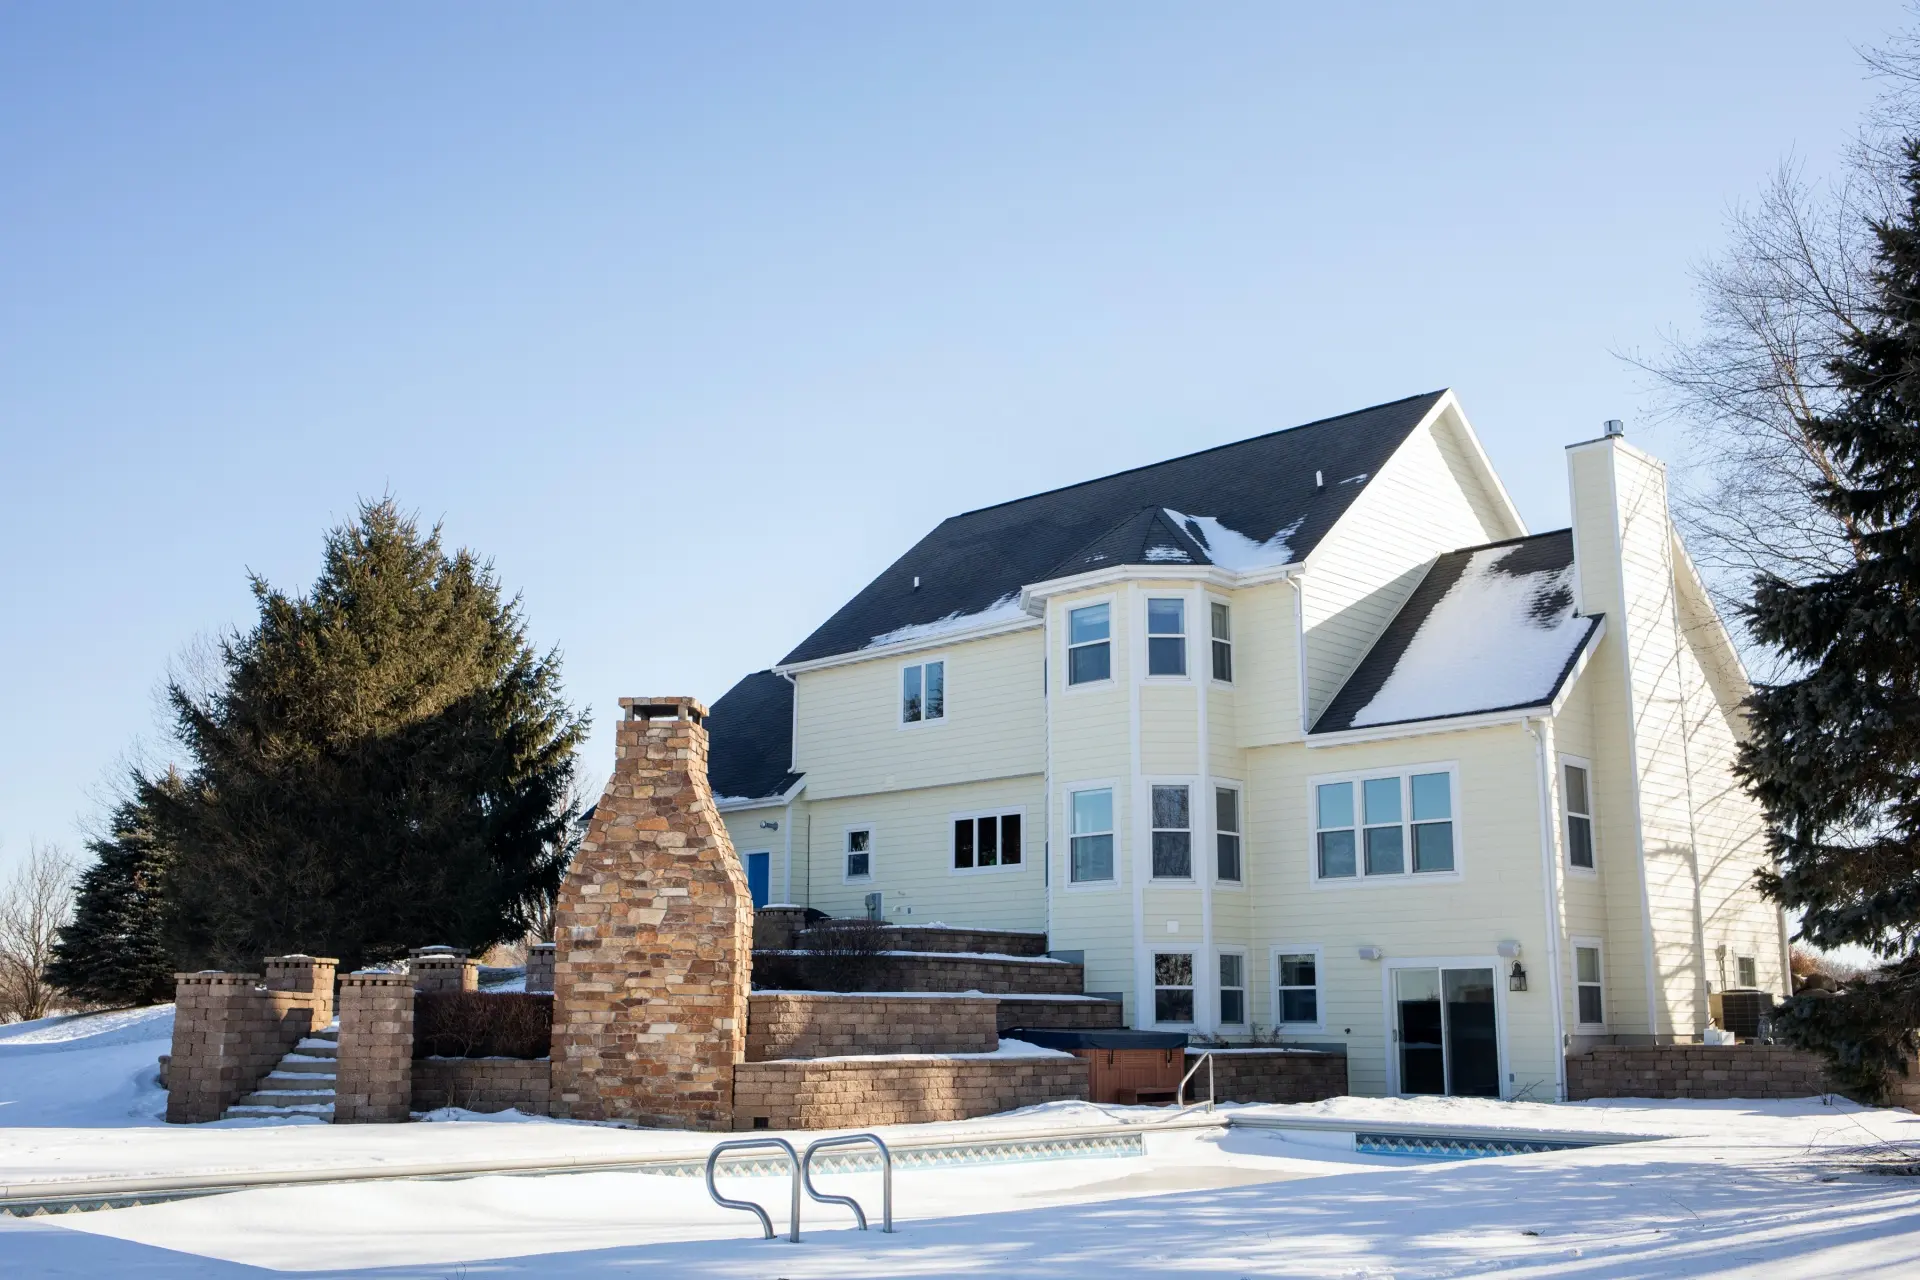
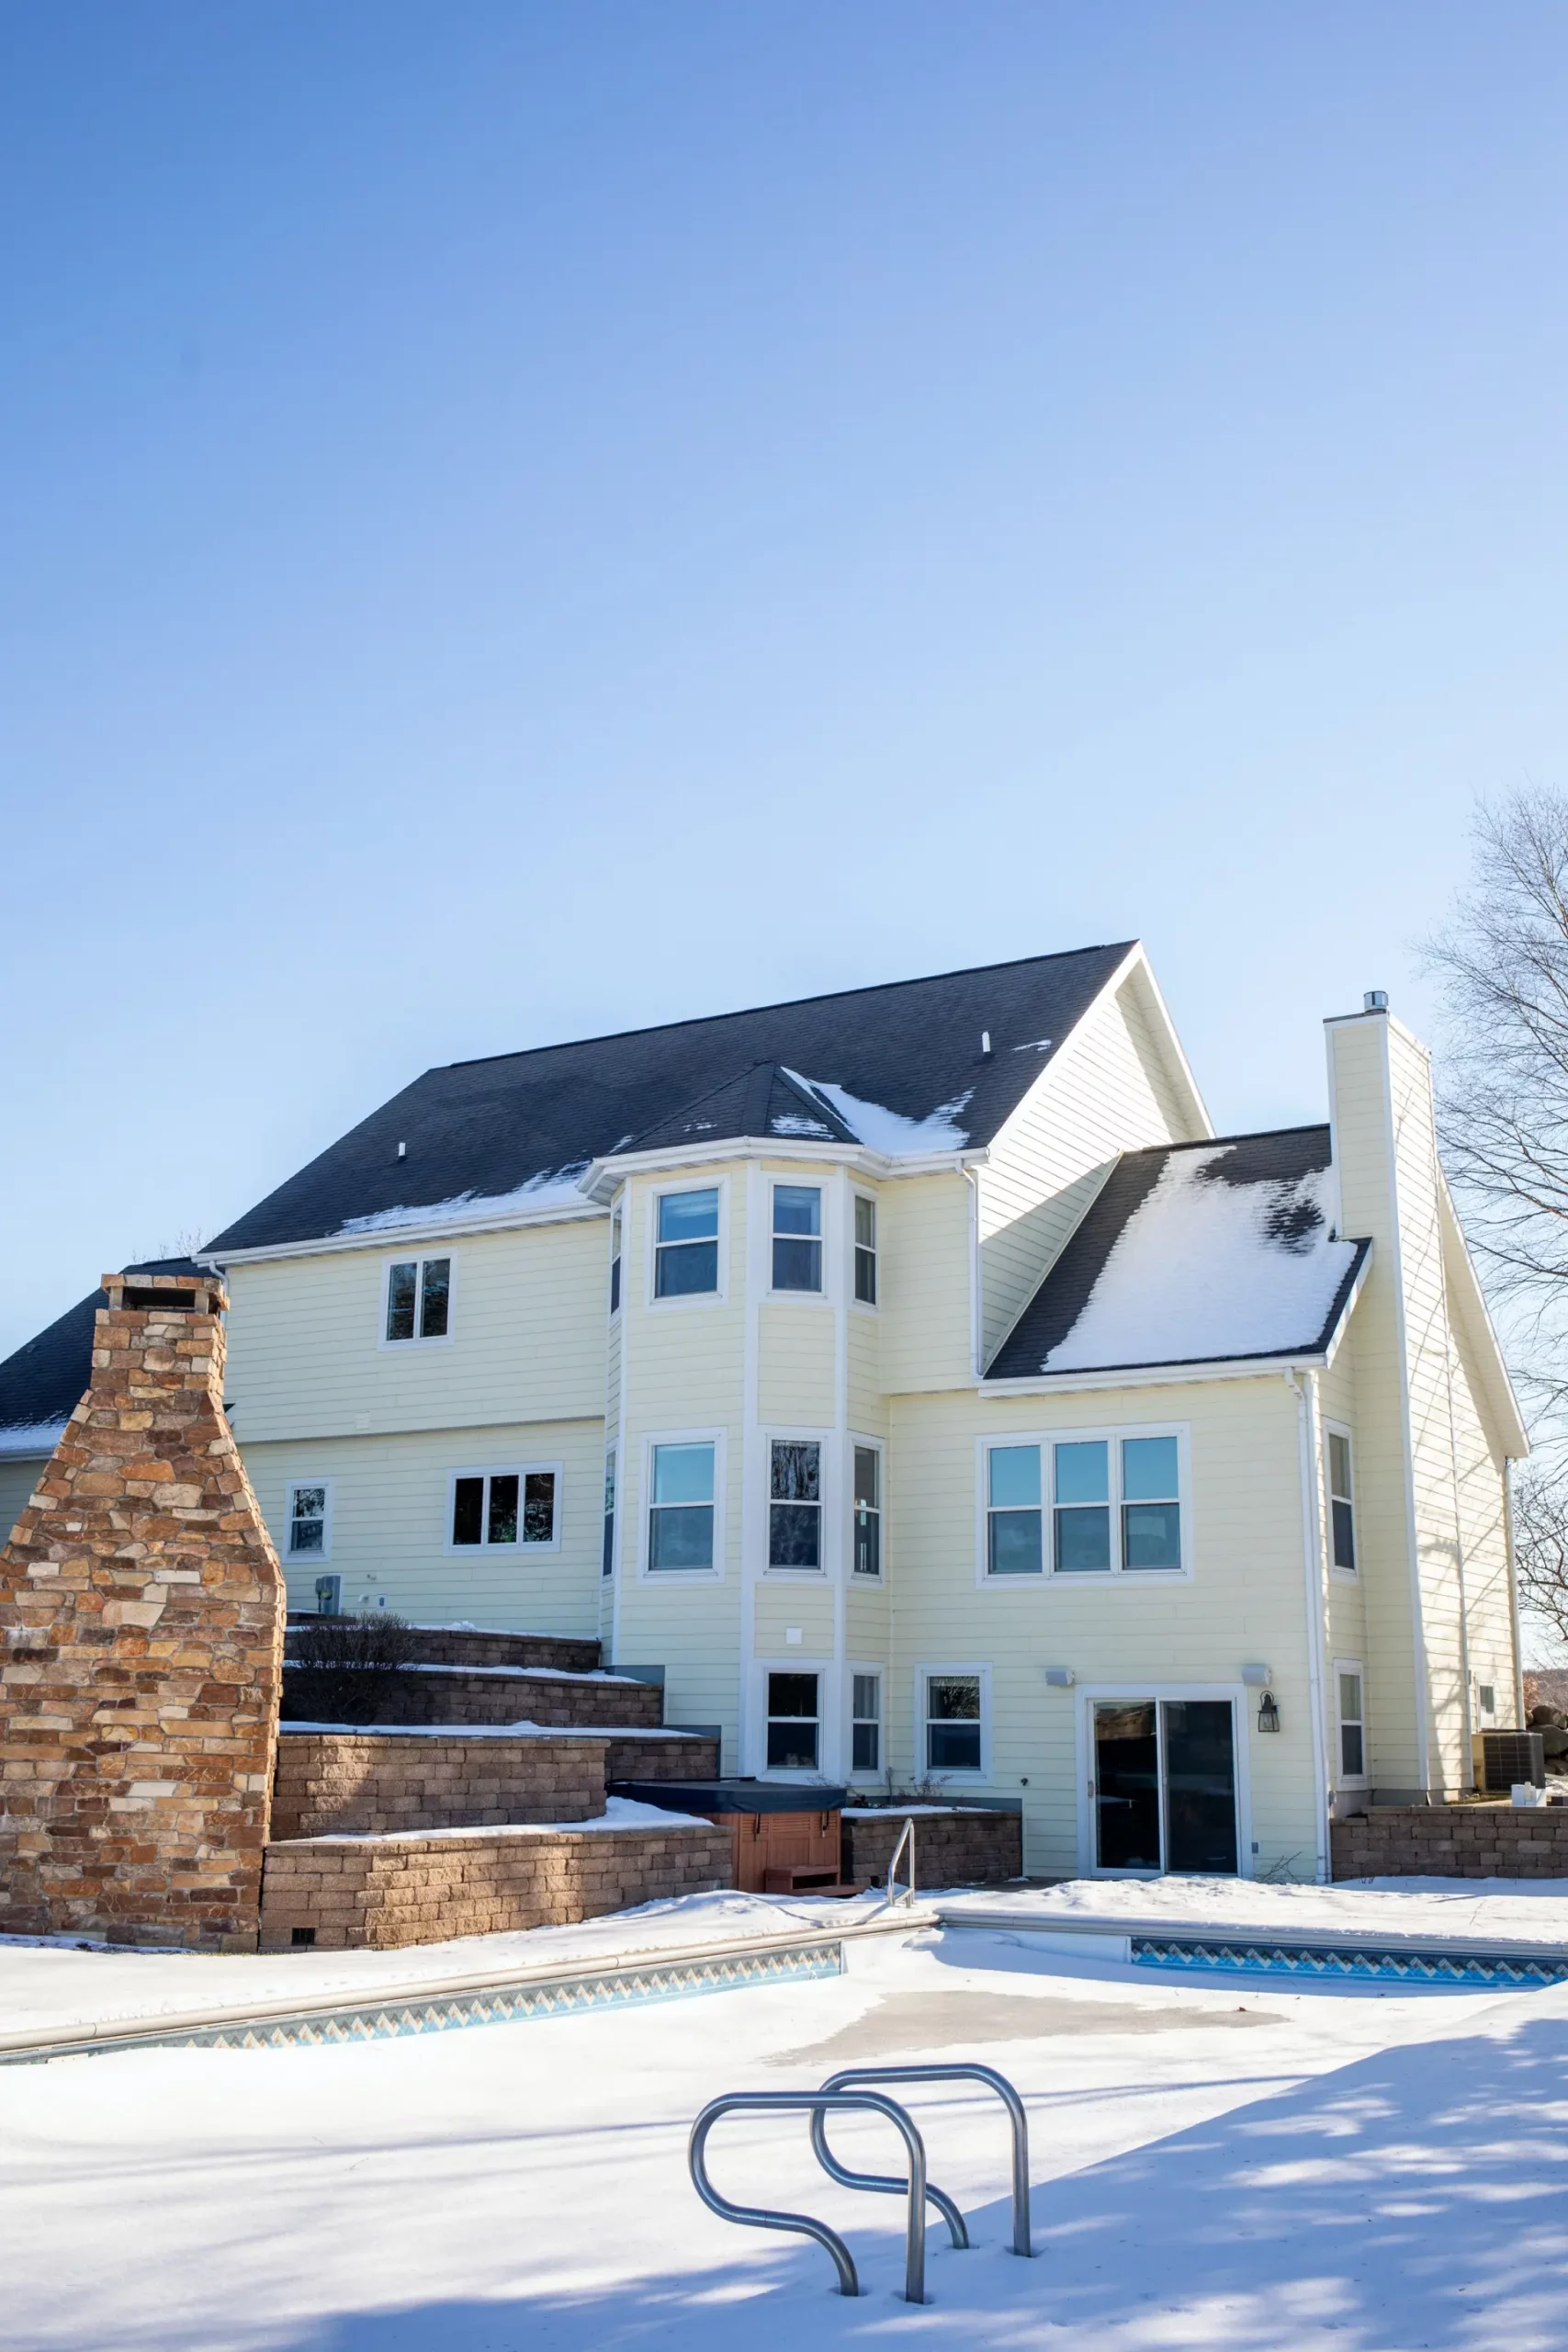
Not because the work is impossible — we’ve done it many times across Madison, Verona, and the surrounding area. But because historic homes attract a particular kind of optimism that sometimes outpaces planning. People fall in love with the plaster medallions and the original hardwood and the seven-foot doors, and then they’re surprised when the knob-and-tube wiring, the horsehair plaster, and the zero insulation in the walls become a significant part of the budget conversation.
Renovating a historic home in Madison WI rewards patience and preparation above almost everything else. Here’s how to approach it.
Step 1: Know Your Home’s Designation Before Anything Else
Not all old homes in Madison carry the same restrictions. Before planning scope, before calling contractors, before anything — find out exactly what your home’s designation status is.
Homes within Local Historic Districts or designated as Local Landmarks are regulated by the Madison Landmarks Commission. Any exterior work requires a Certificate of Approval before a building permit can even be applied for. This isn’t a formality that can be worked around. Applications that are incomplete get rejected and reset the clock.
Homes on the National Register of Historic Places carry fewer day-to-day restrictions but may qualify for state and federal historic tax credits — which can meaningfully reduce project cost.
Homes that are simply old with no formal designation have the most flexibility. They still need standard permits, but they’re not subject to Landmarks Commission review.
To confirm your home’s status, contact the Madison Landmarks Commission directly or search Wisconsin Historical Society records. Don’t assume either way — the designation status shapes everything that follows.
Step 2: Decide What You’re Keeping Before You Decide What You’re Changing
This step gets skipped more than any other, and it’s the one that causes the most regret.
The Wisconsin Historical Society’s approach — grounded in the Secretary of the Interior’s Standards for Rehabilitation — separates features into two categories: character-defining elements that should be preserved, and non-character-defining elements that can be updated more freely.
Character-defining features on most Madison historic homes: the street-facing facade, original windows and their configuration, exterior decorative elements like porch columns and trim profiles, interior primary spaces like foyers and main staircases, original plaster walls, built-in millwork, and pressed metal ceilings where they exist.
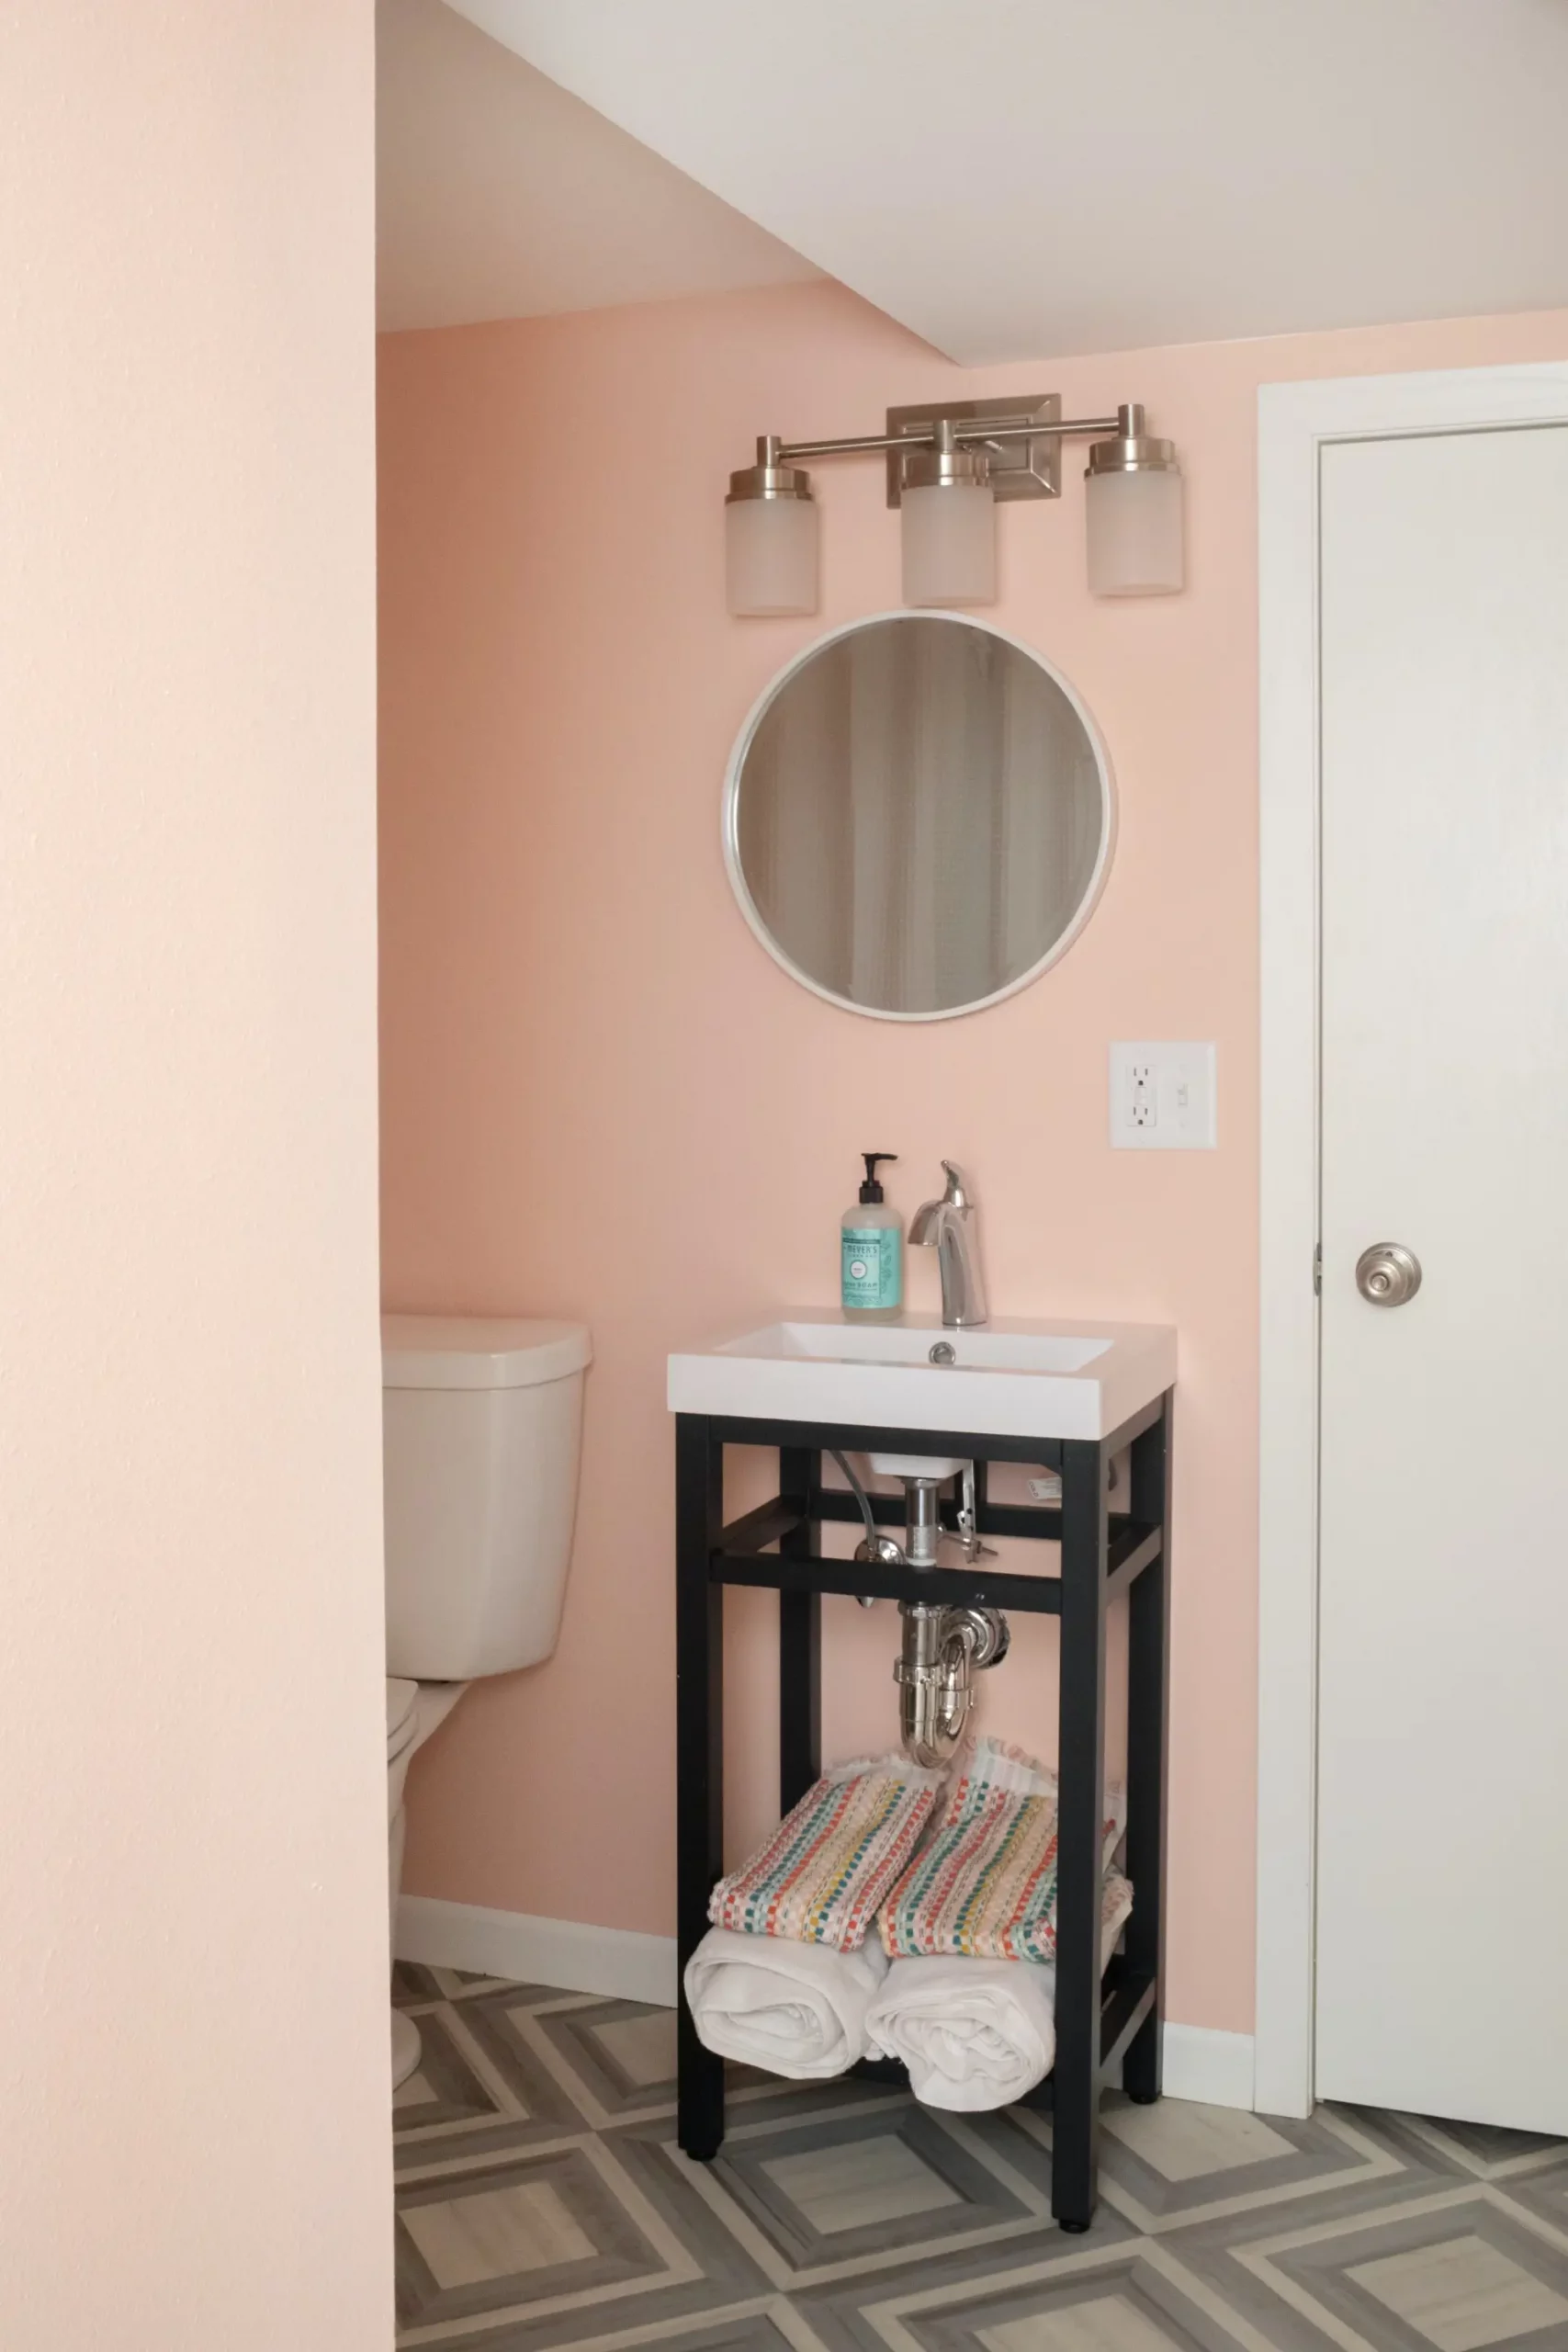
What can typically be modified more freely: secondary interior spaces, non-original additions that were made to the property at some point after original construction, and mechanical systems provided they’re updated without damaging original material.
The guiding principle is preserve first, restore second, replace only when there’s no other option. And when replacement is unavoidable, match the original in material, profile, and appearance as closely as possible.
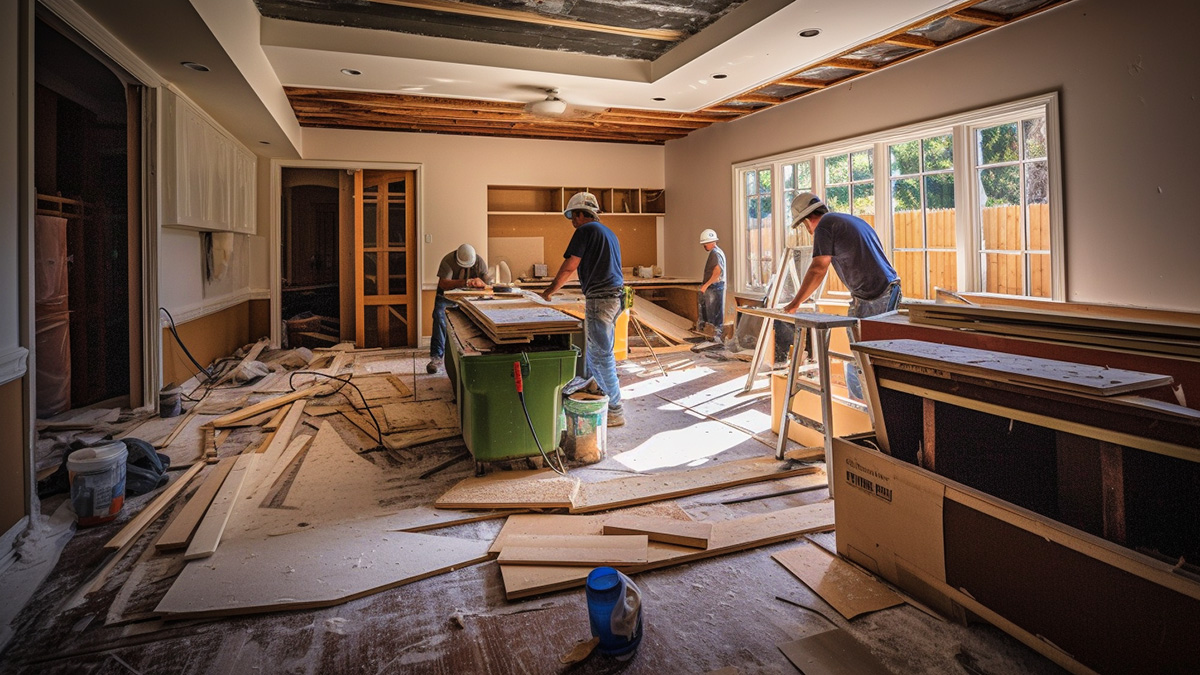
Step 3: Test for Lead and Asbestos Before Demolition
Madison has a significant stock of homes built before 1950. Most of them have lead-based paint somewhere. Many have asbestos in floor tiles, pipe insulation, or plaster compounds.
The EPA’s Renovation, Repair, and Painting Rule requires that contractors working on pre-1978 homes be RRP certified. That’s not optional, and it’s not something to work around by hiring whoever quotes lowest.
Have a licensed inspector test for both lead and asbestos before demolition begins. Not after. Not during. Before. Discovering hazardous materials mid-project while walls are already open is a significantly more expensive situation than knowing what you’re dealing with at the start.
At AF Construction, our team understands the protocols for working safely in older homes. It’s one of the reasons I recommend against hiring a general remodeler with no historic experience for this type of work — the protocols are specific, and getting them wrong creates liability and health risk. Learn more about our historic renovations work.
Step 4: Assess Structural and Mechanical Conditions Honestly
Every historic home I’ve worked on in Madison has had at least one structural or mechanical condition that wasn’t visible from the outside and wasn’t obvious during the initial walkthrough.
Common structural findings in Dane County’s older homes: foundation settling and cracking — especially in homes built on clay-heavy soil — weakened floor joists from long-term moisture exposure, and roof framing that has shifted over decades of seasonal movement.
Common mechanical findings: knob-and-tube or aluminum wiring that doesn’t meet current code and can’t safely carry modern electrical loads. Cast-iron or galvanized plumbing that has corroded from the inside. No meaningful insulation in exterior walls. Steam or gravity heating systems.
None of these are reasons not to do the project. They’re reasons to get a structural engineer and a mechanical inspector through the property before finalizing scope and budget. Finding these things mid-project costs three to five times more than addressing them in the planning stage.
Step 5: Plan Modern Systems Carefully
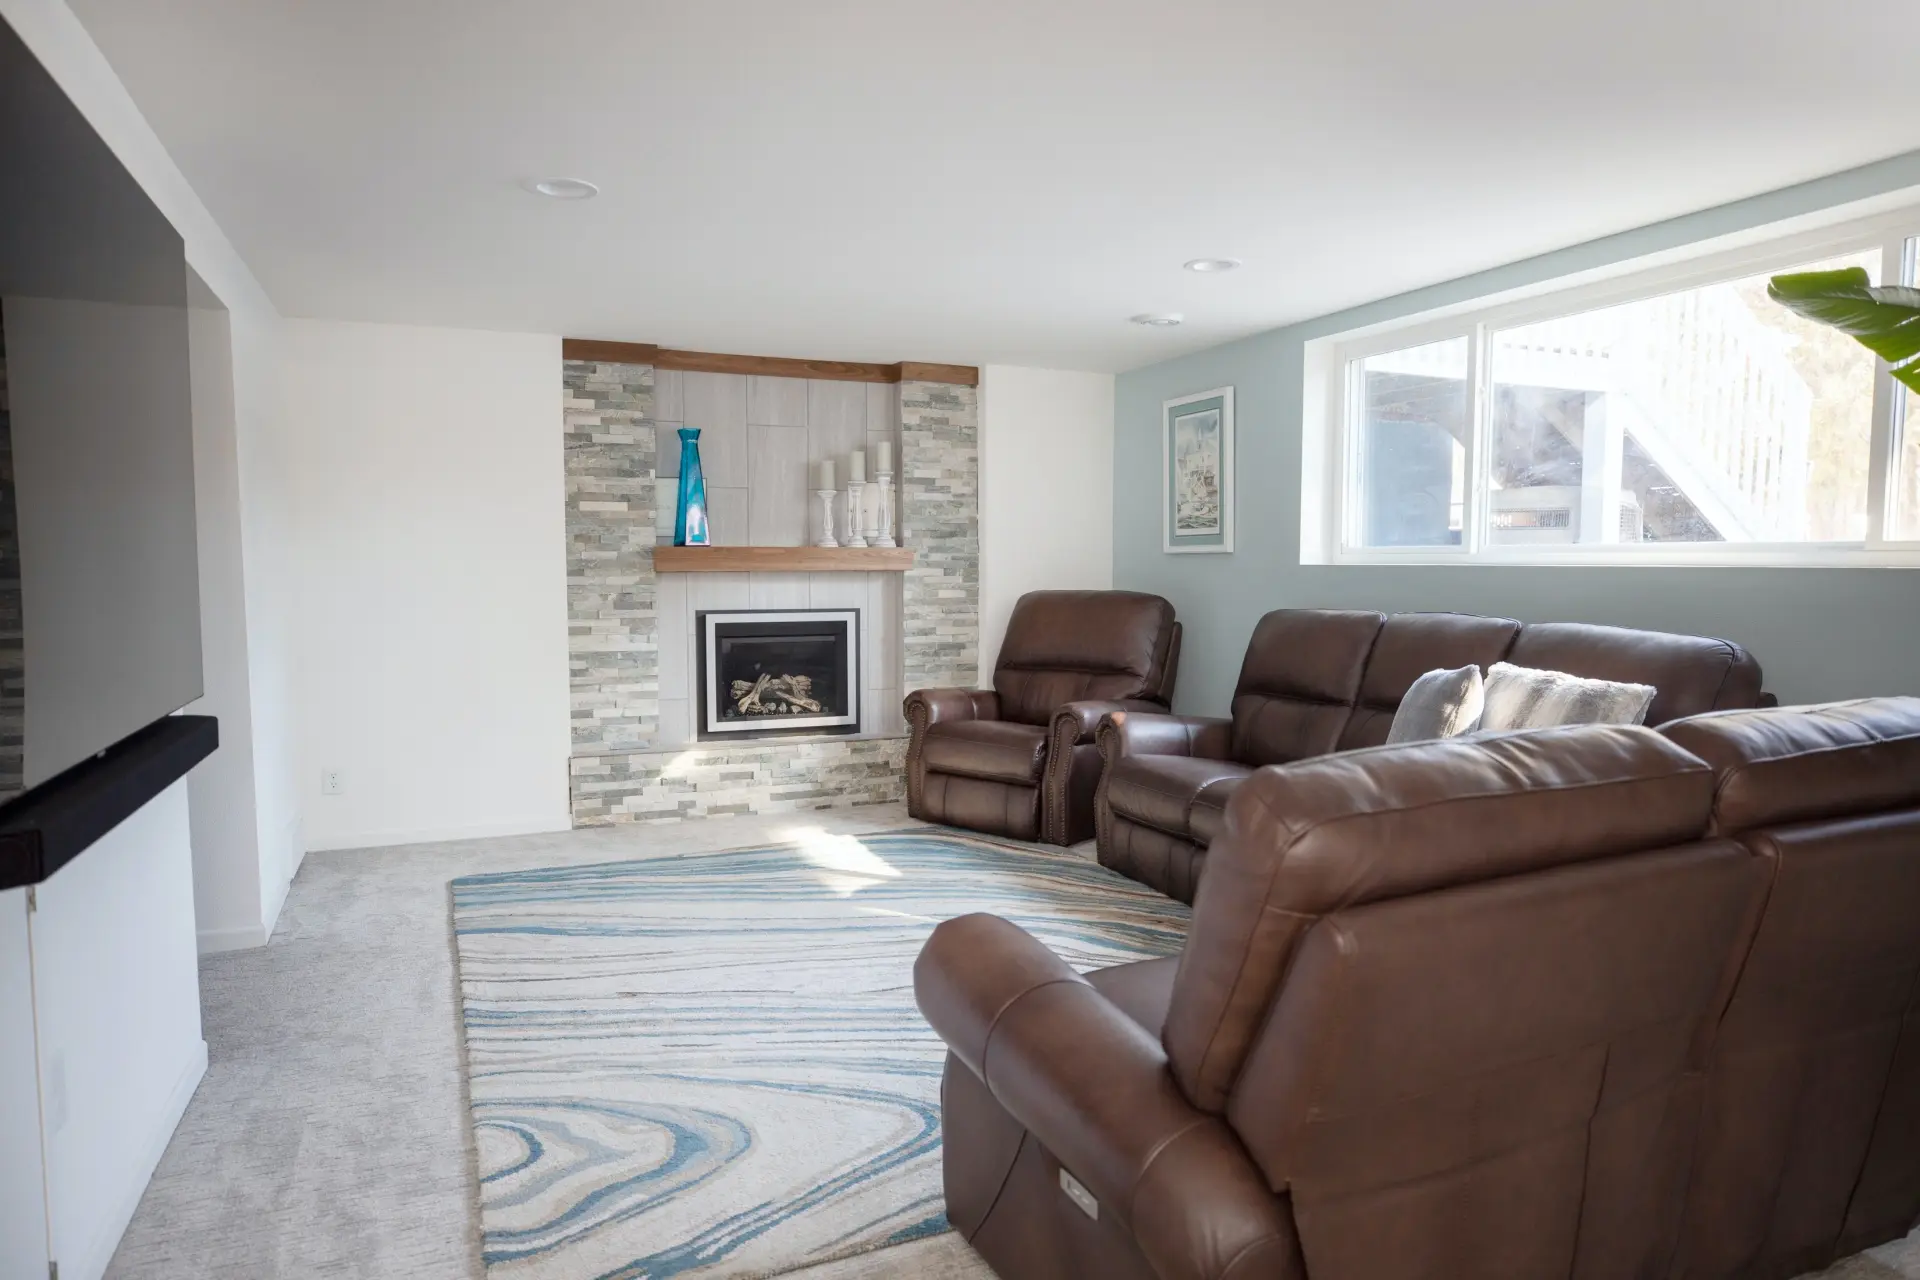
Getting HVAC, electrical, and plumbing into a historic home without destroying the original character requires thought and some creativity. The wrong approach opens walls that should never have been opened and damages plaster that took craftsmen months to create.
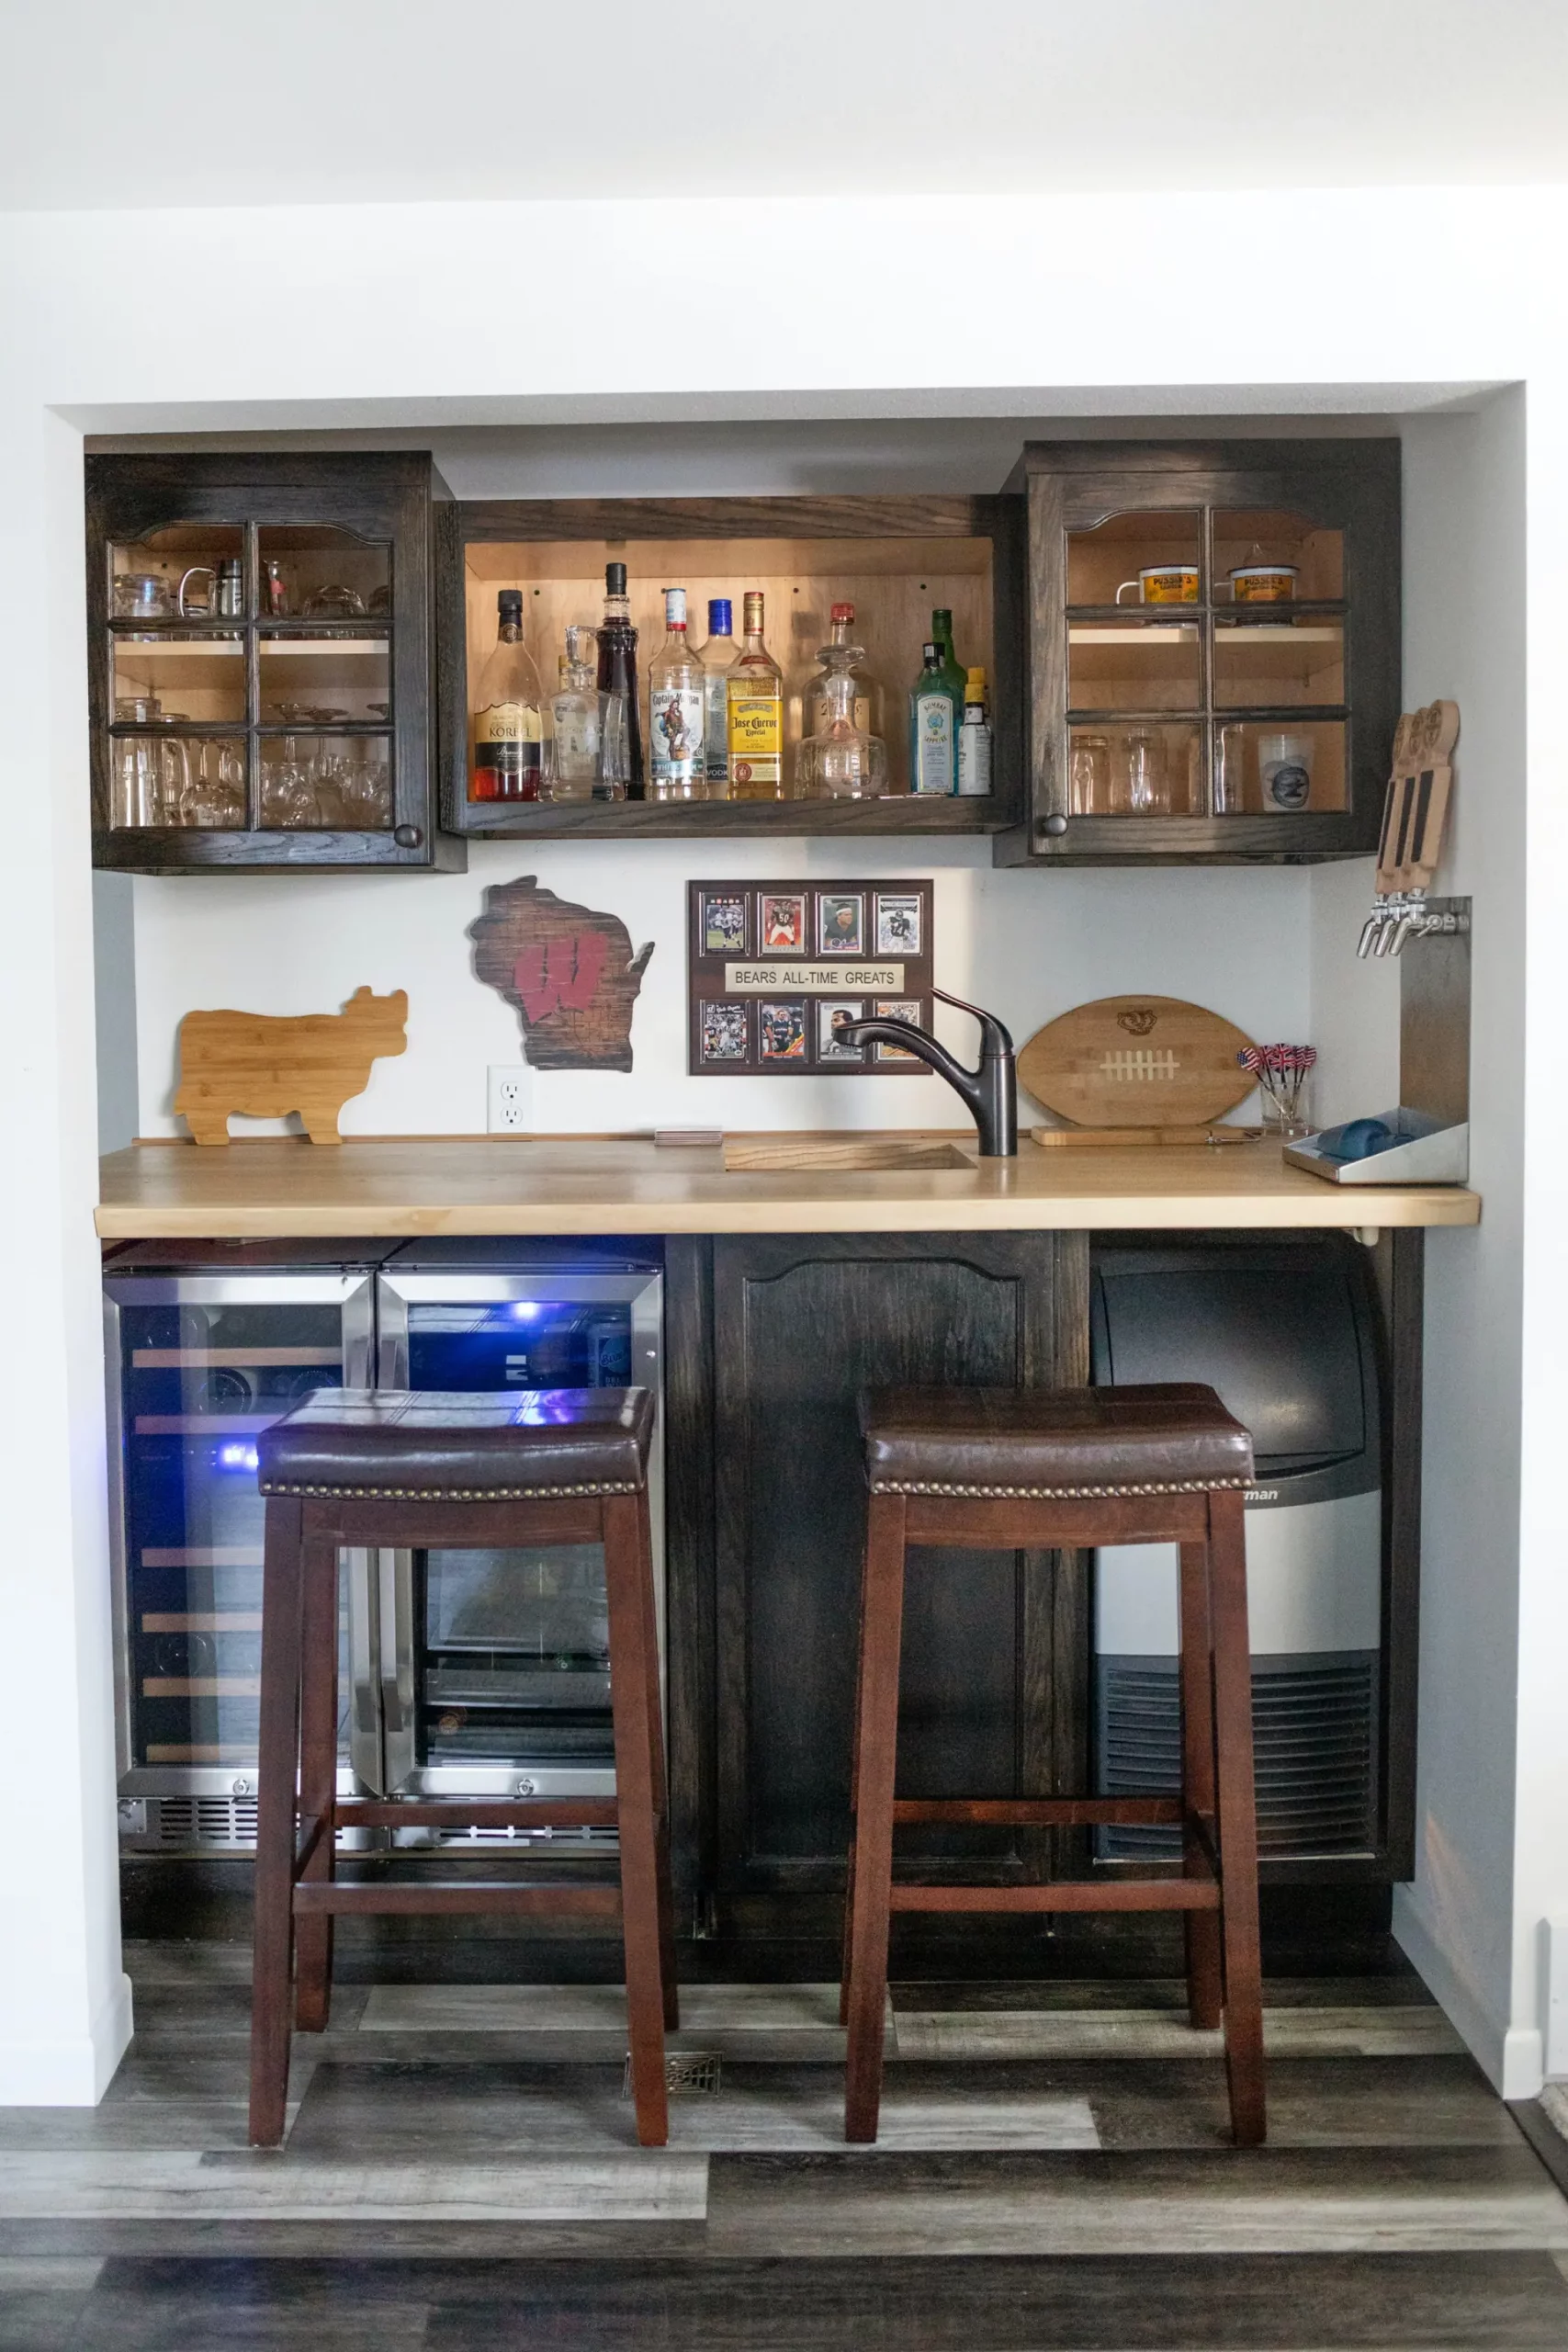
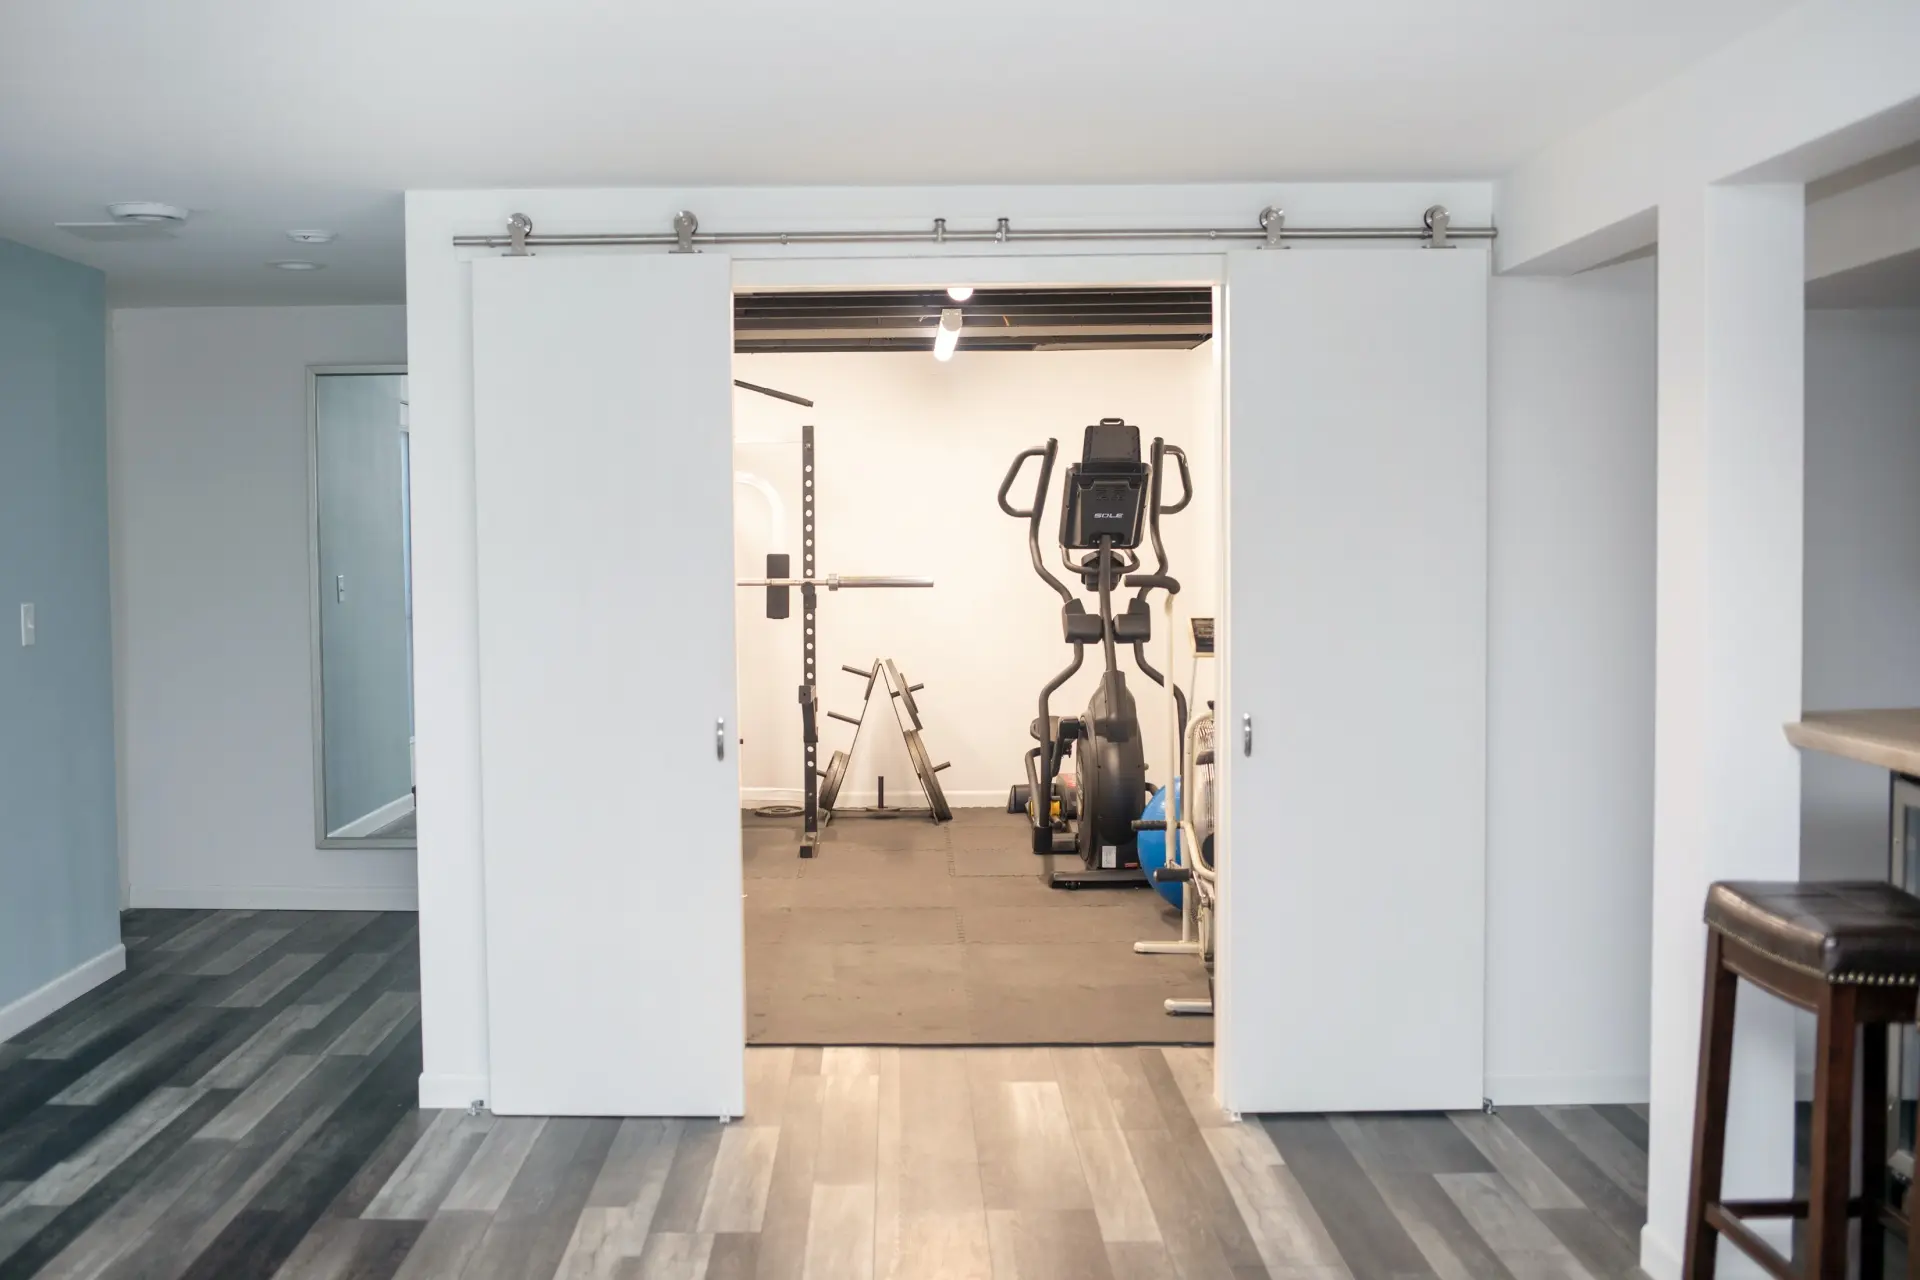
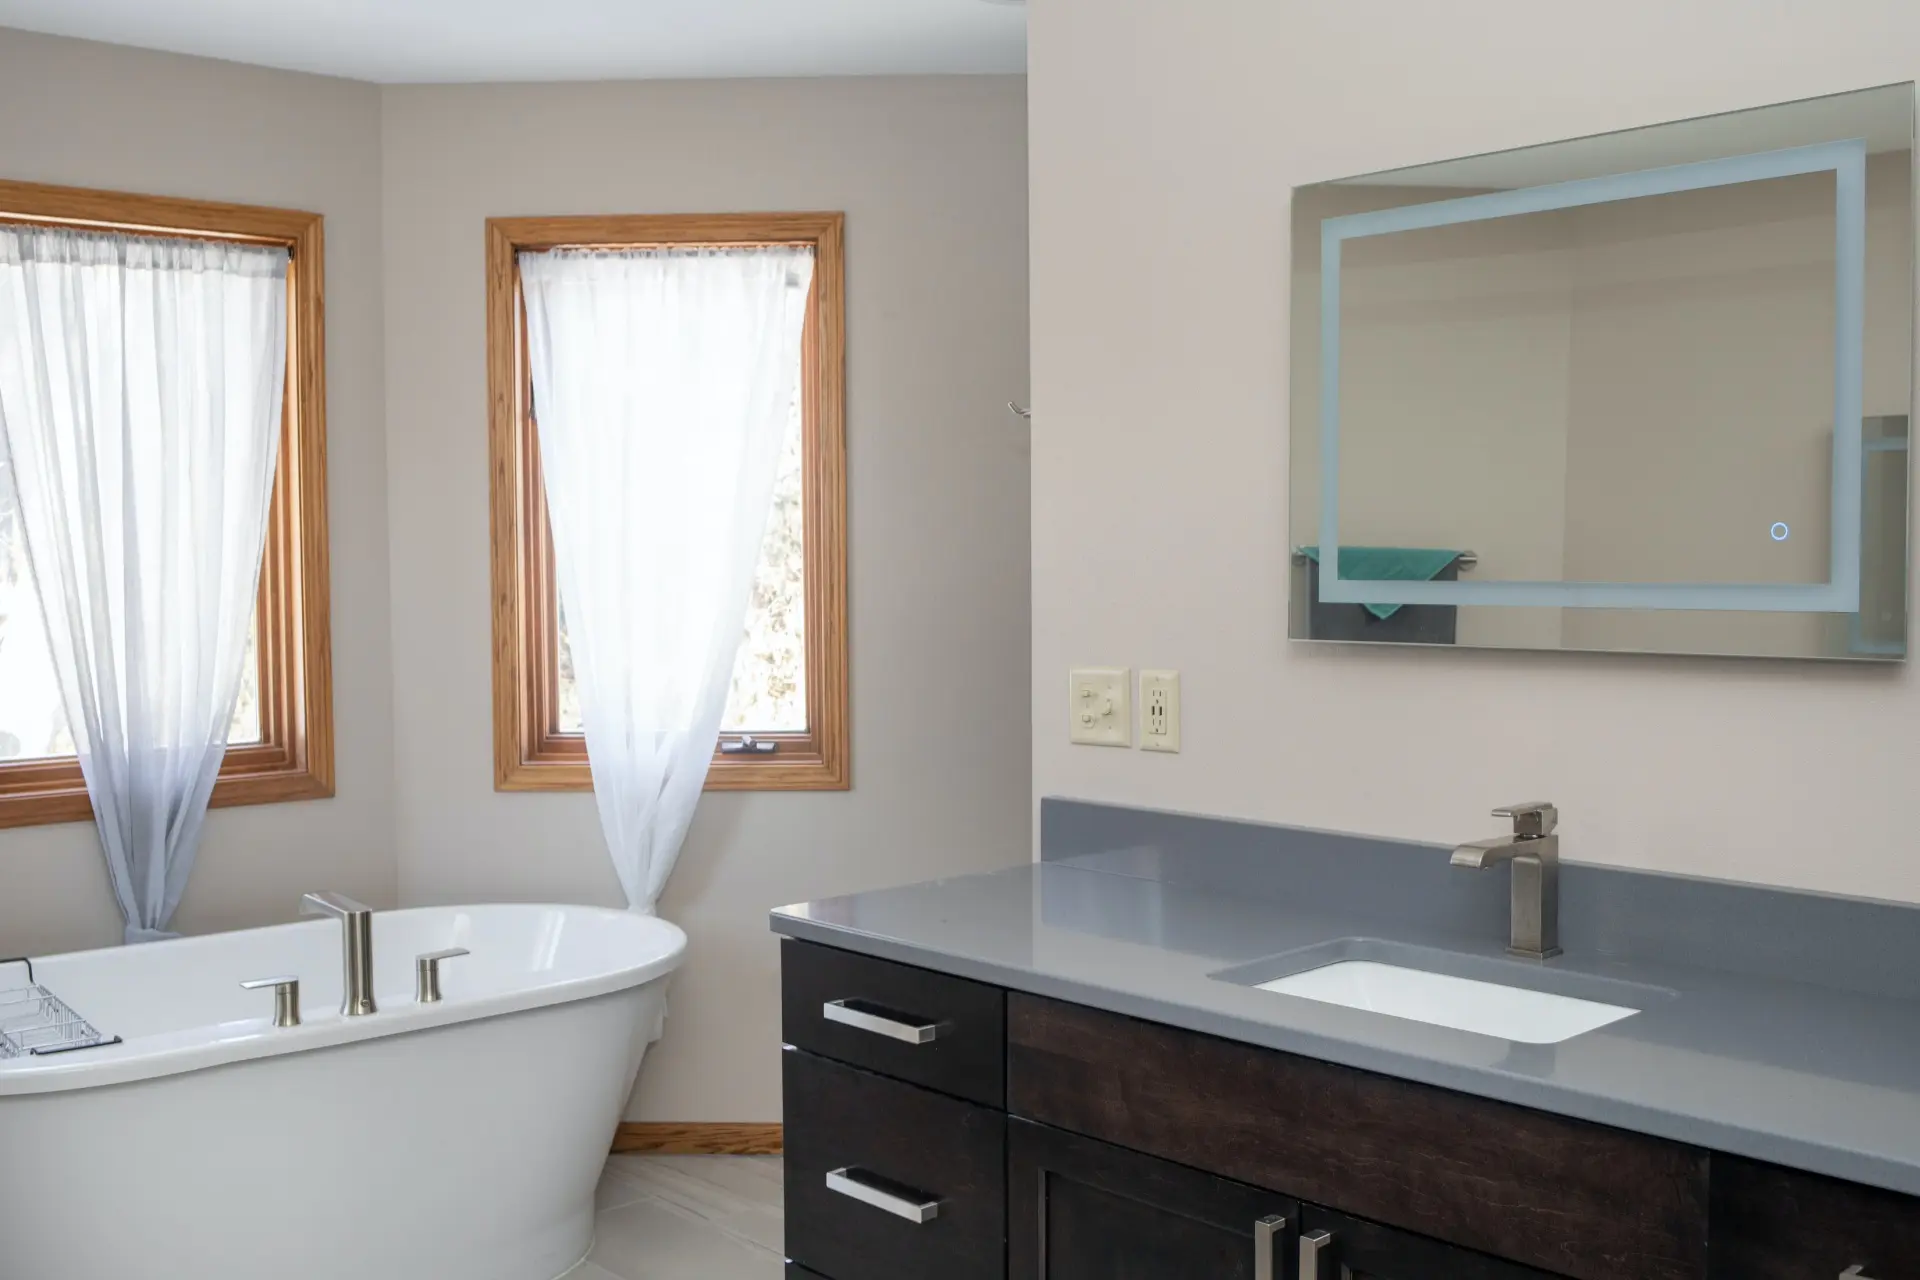
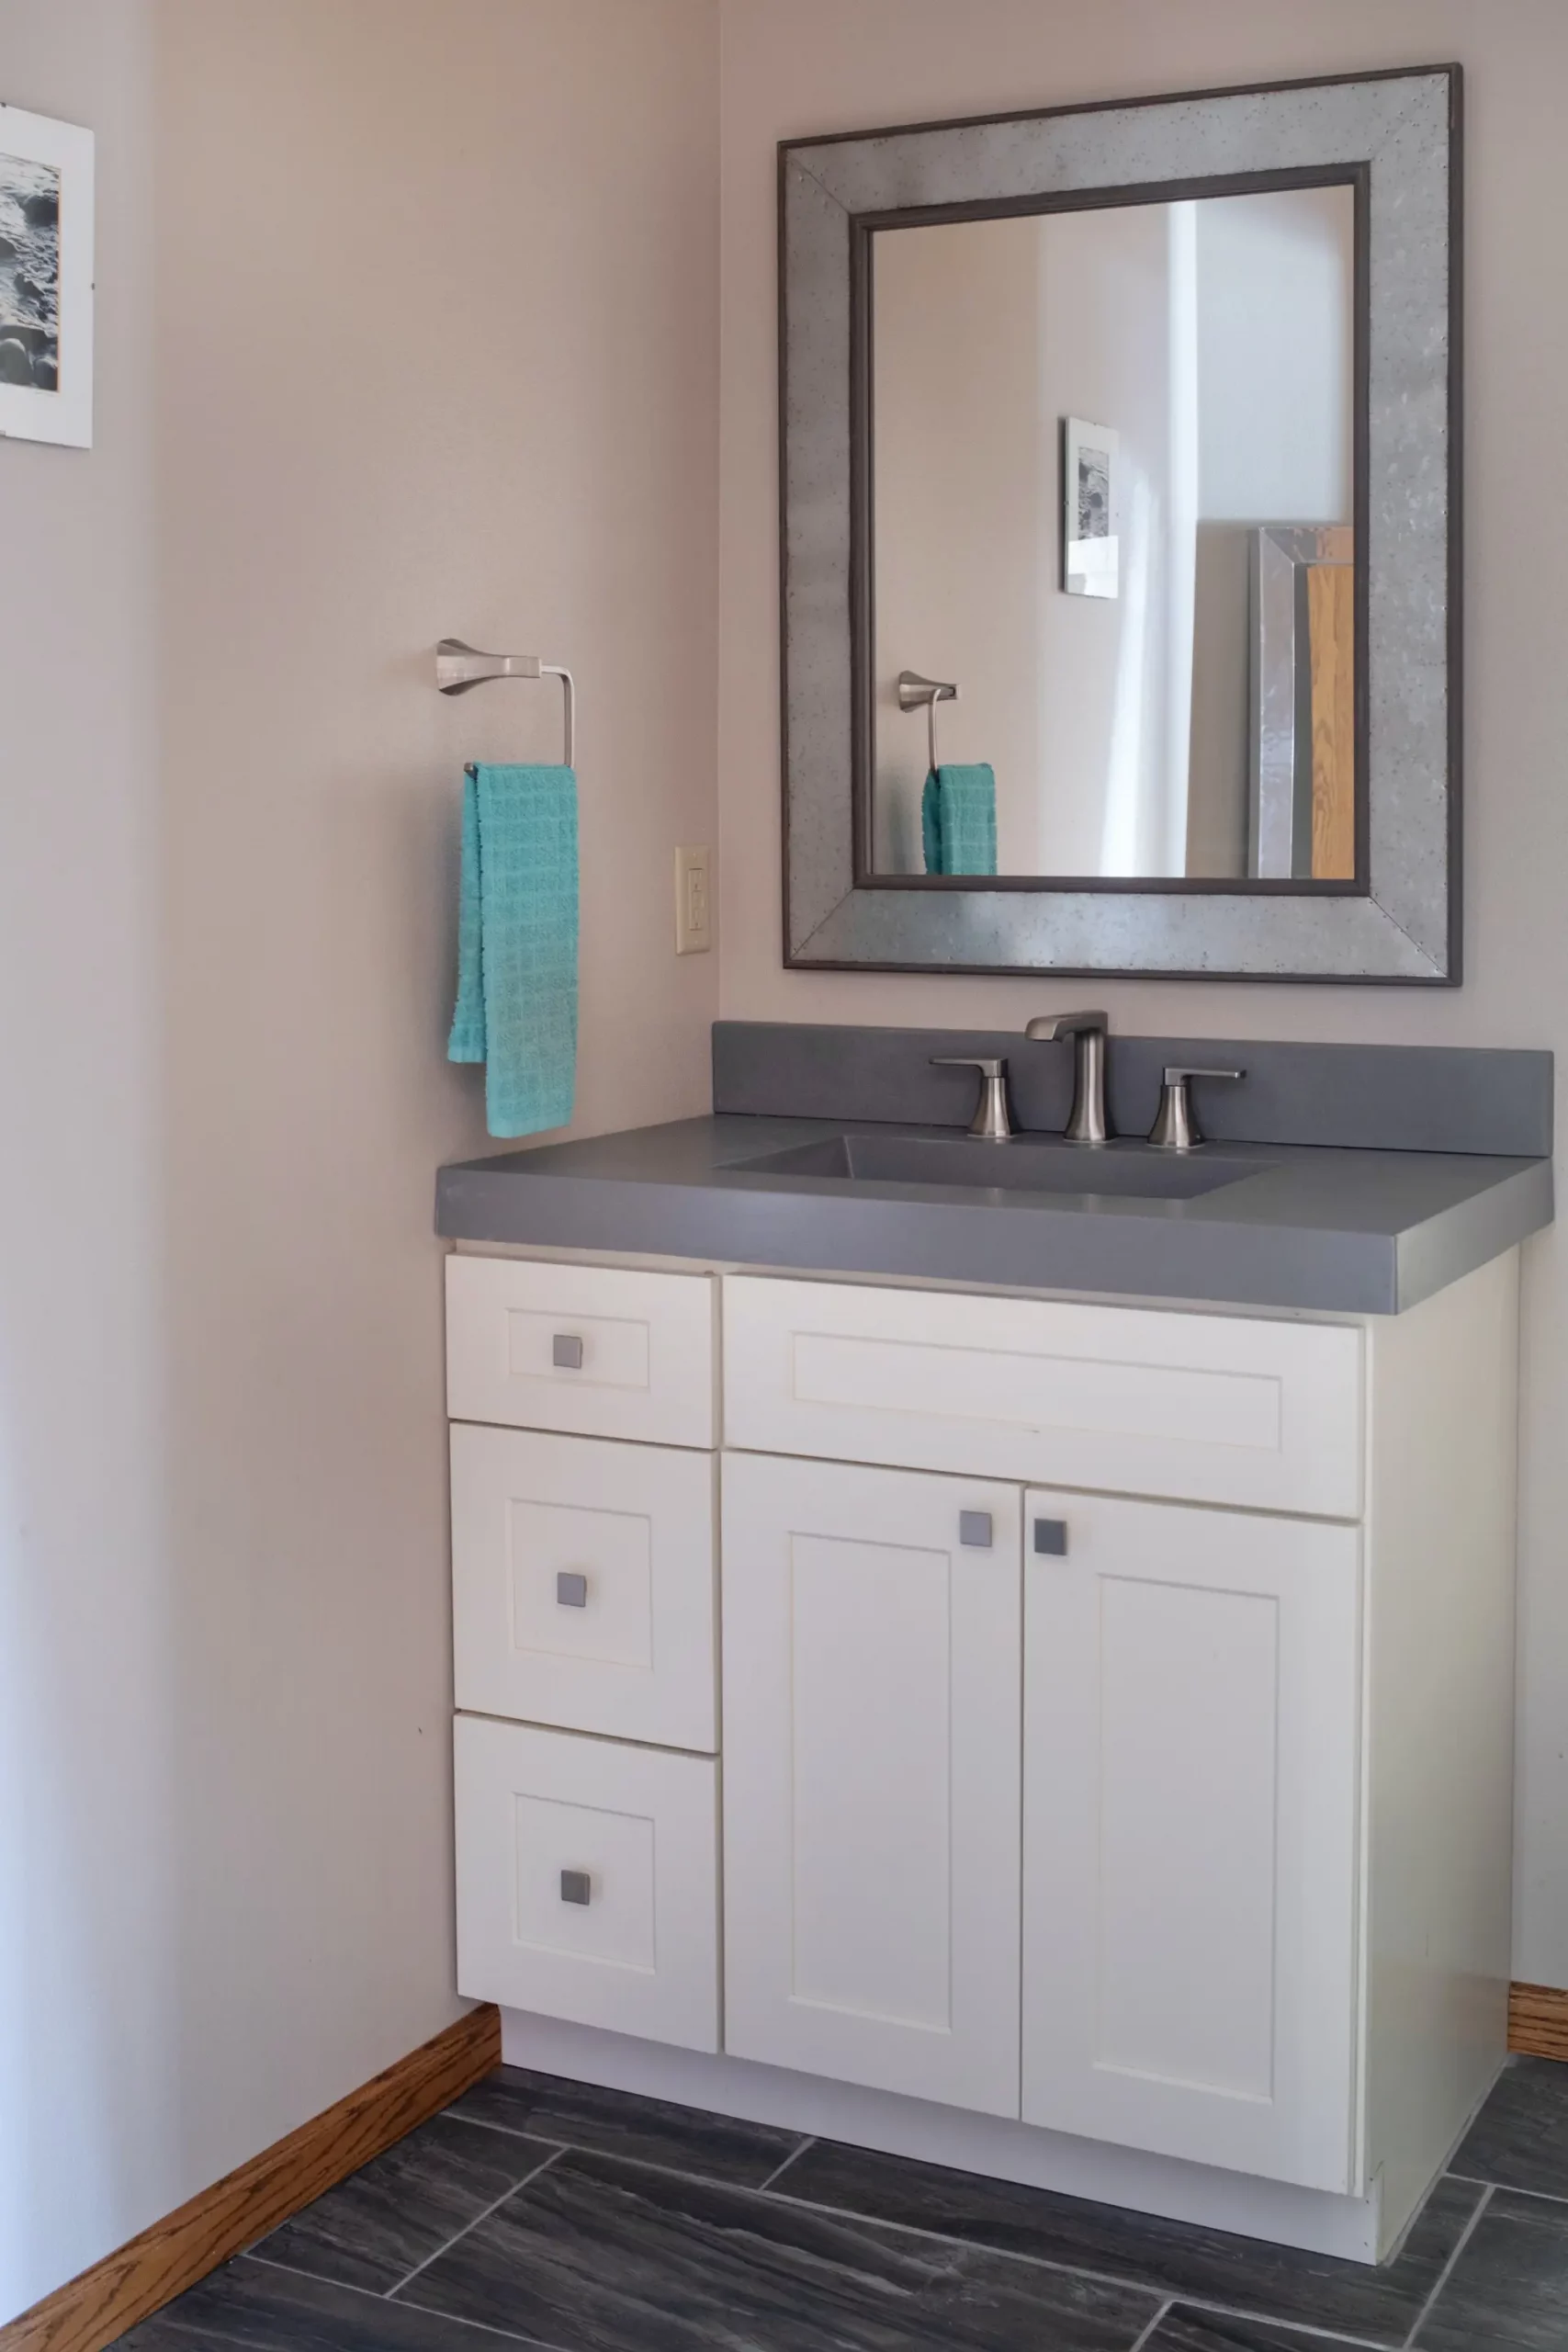
What works: running electrical conduit through closets and secondary spaces rather than through finished primary walls. Using mini-split HVAC systems to avoid ductwork running through historic plaster ceilings. Routing plumbing through basement and attic spaces wherever the geometry allows. Using slim-profile outlets and switches that sit flush with historic millwork rather than bulging out from it.
The Wisconsin Historical Society notes that historic preservation best practices recognize buildings must evolve with the people living in them. The goal is balance — not a museum, but not a gut renovation either.
Step 6: Understand the Permit and Approval Process
Historic homes in Madison go through a more layered approval process than standard remodels.
If your home has local designation, you need a Certificate of Approval from the Landmarks Commission before applying for a building permit. Plan four to eight weeks for that review. Incomplete applications start the clock over. A contractor who knows how CoA applications work prepares them correctly the first time.
Standard building permits apply to structural, electrical, plumbing, and mechanical work regardless of historic status. If you’re pursuing Wisconsin’s historic tax credit program, the State Historic Preservation Office also reviews the project scope.
See our FAQ page for the most common questions about permits and timelines in Wisconsin.
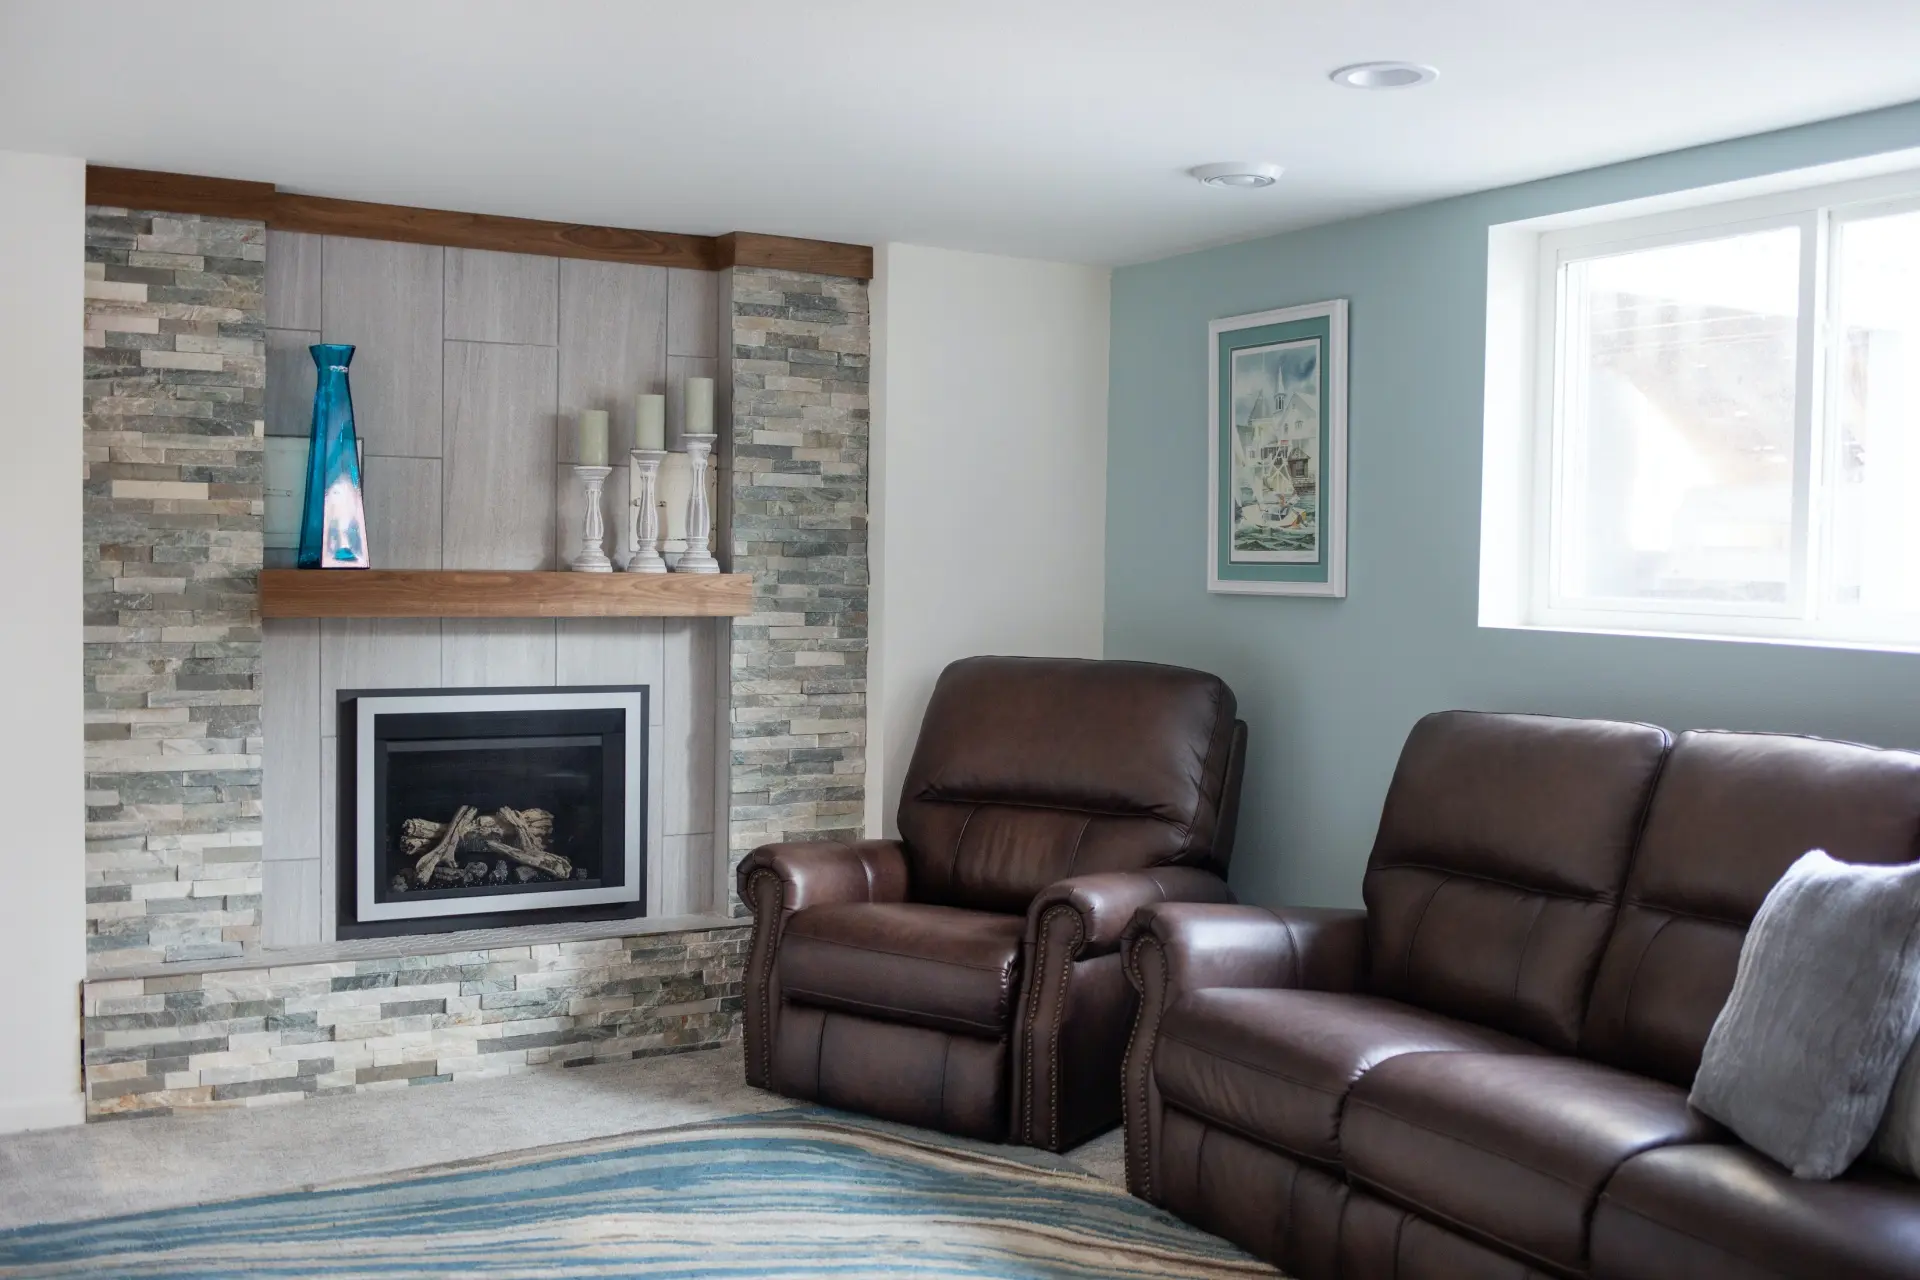
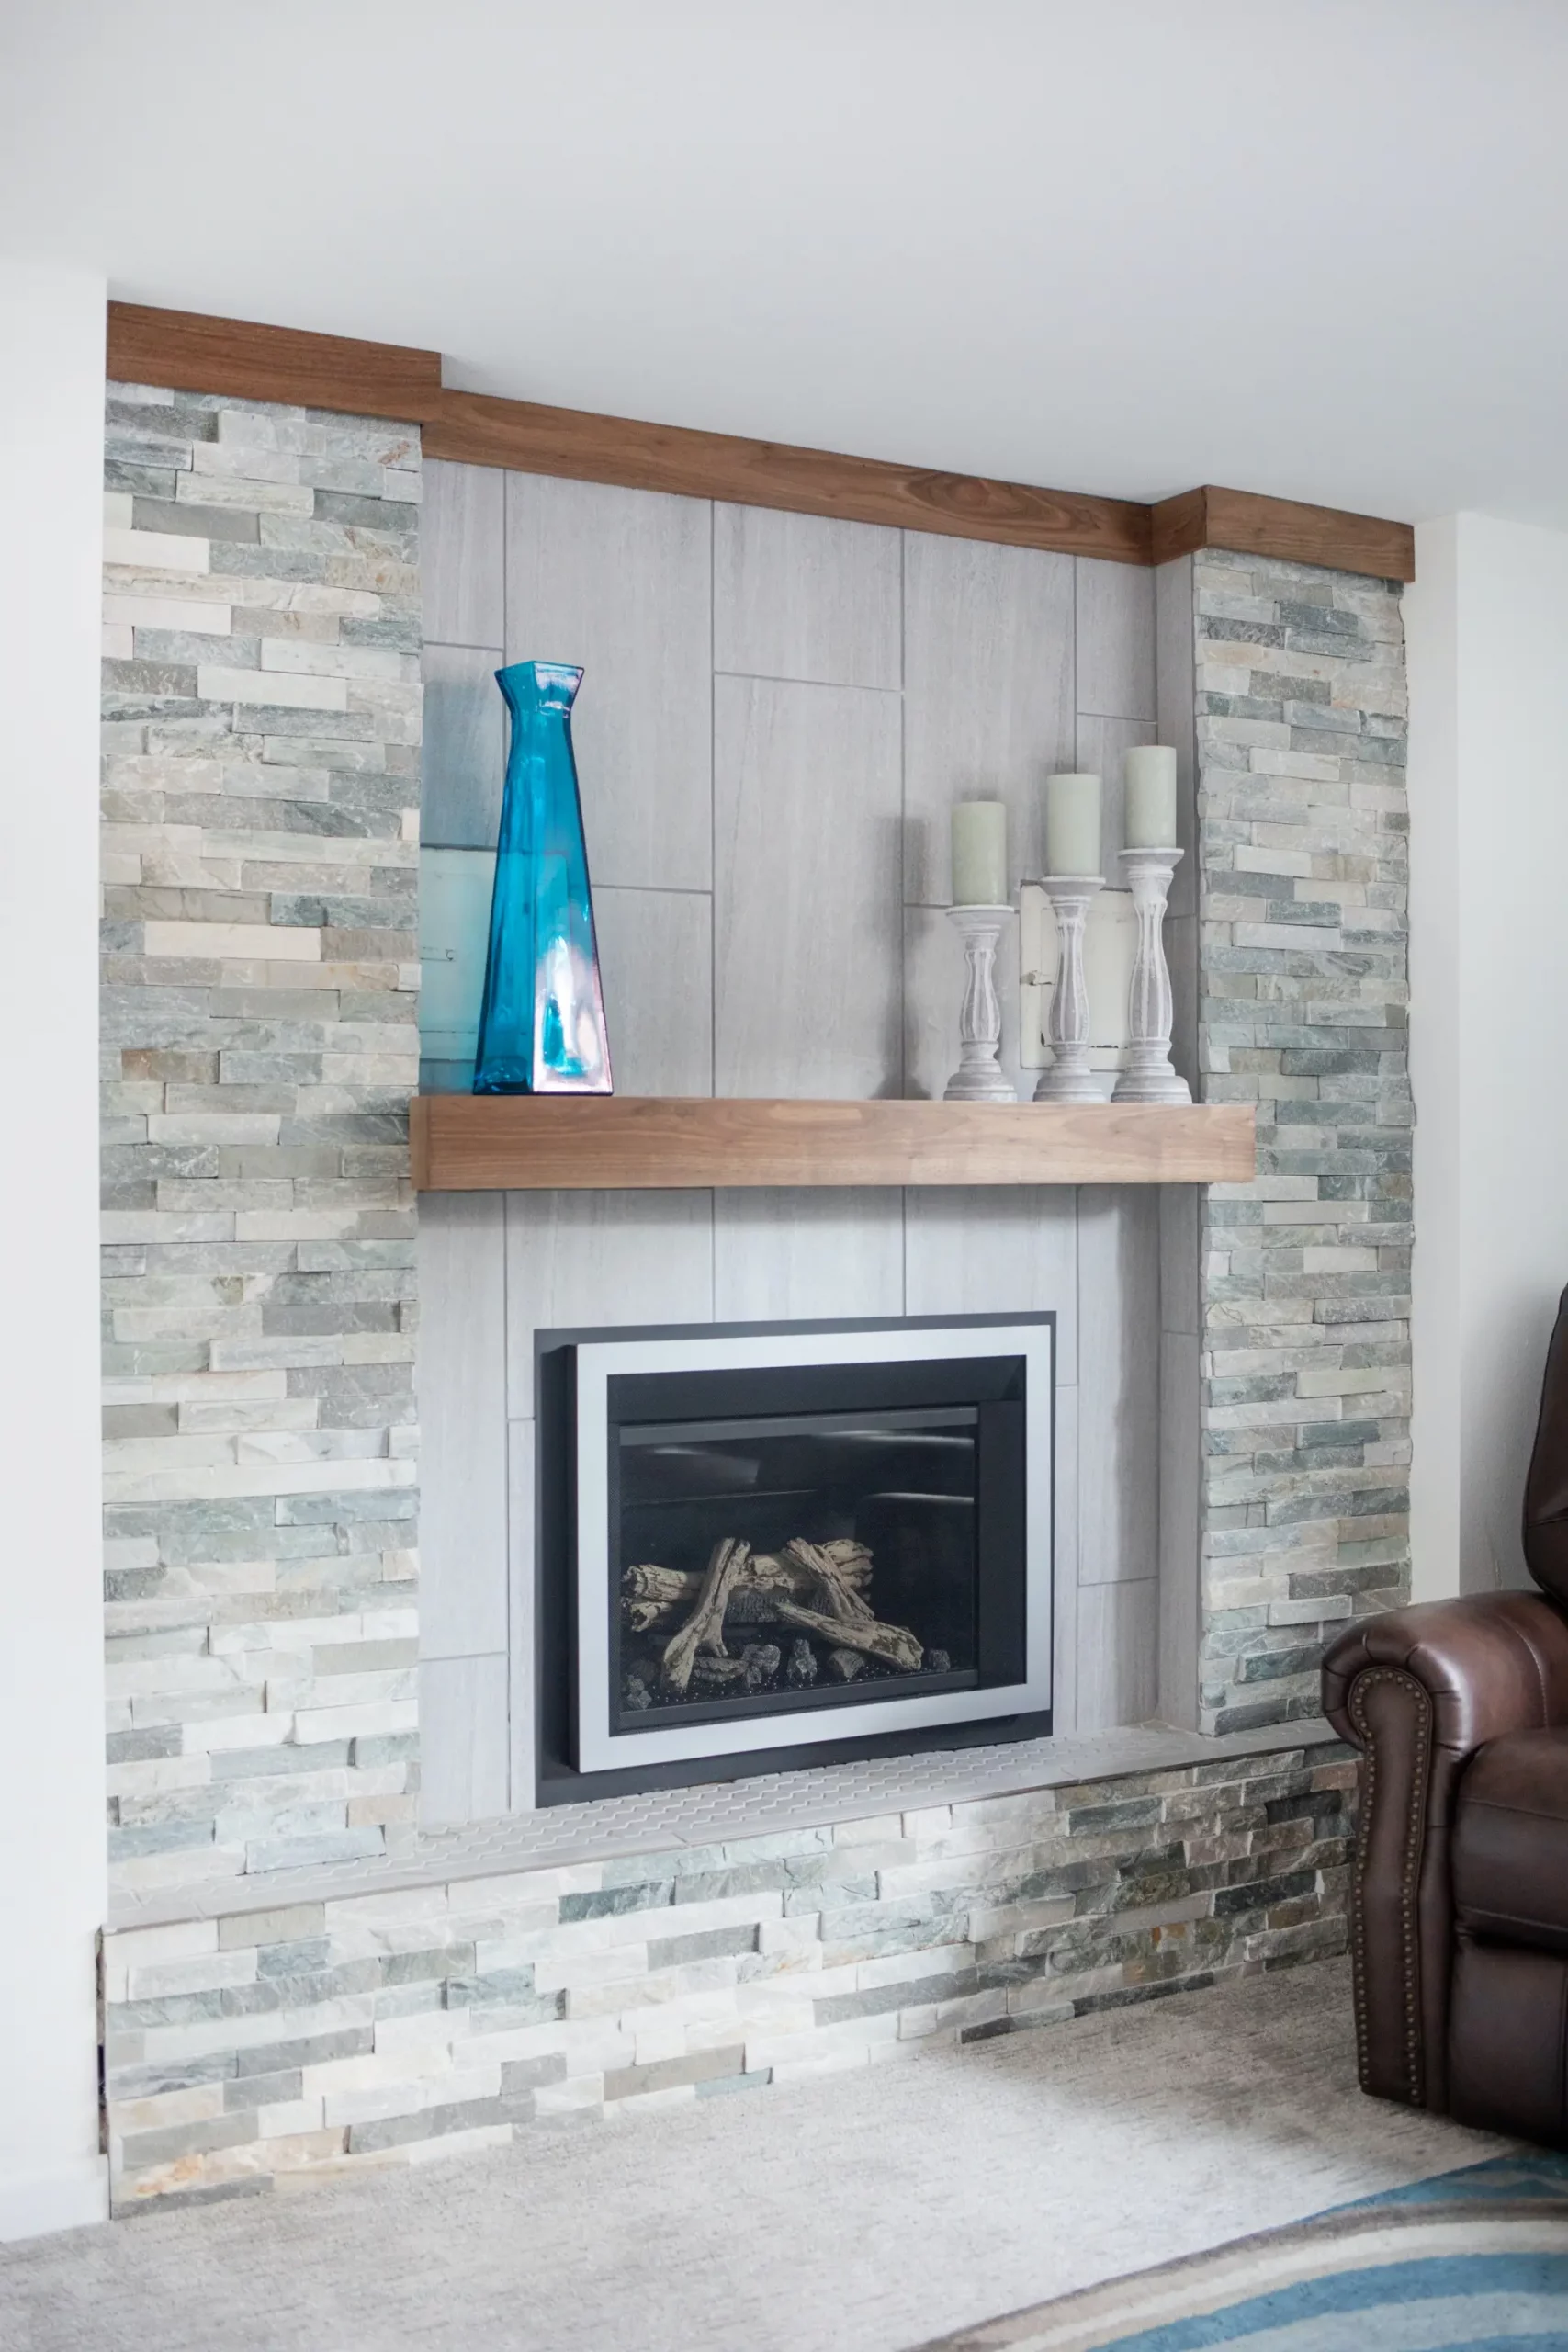
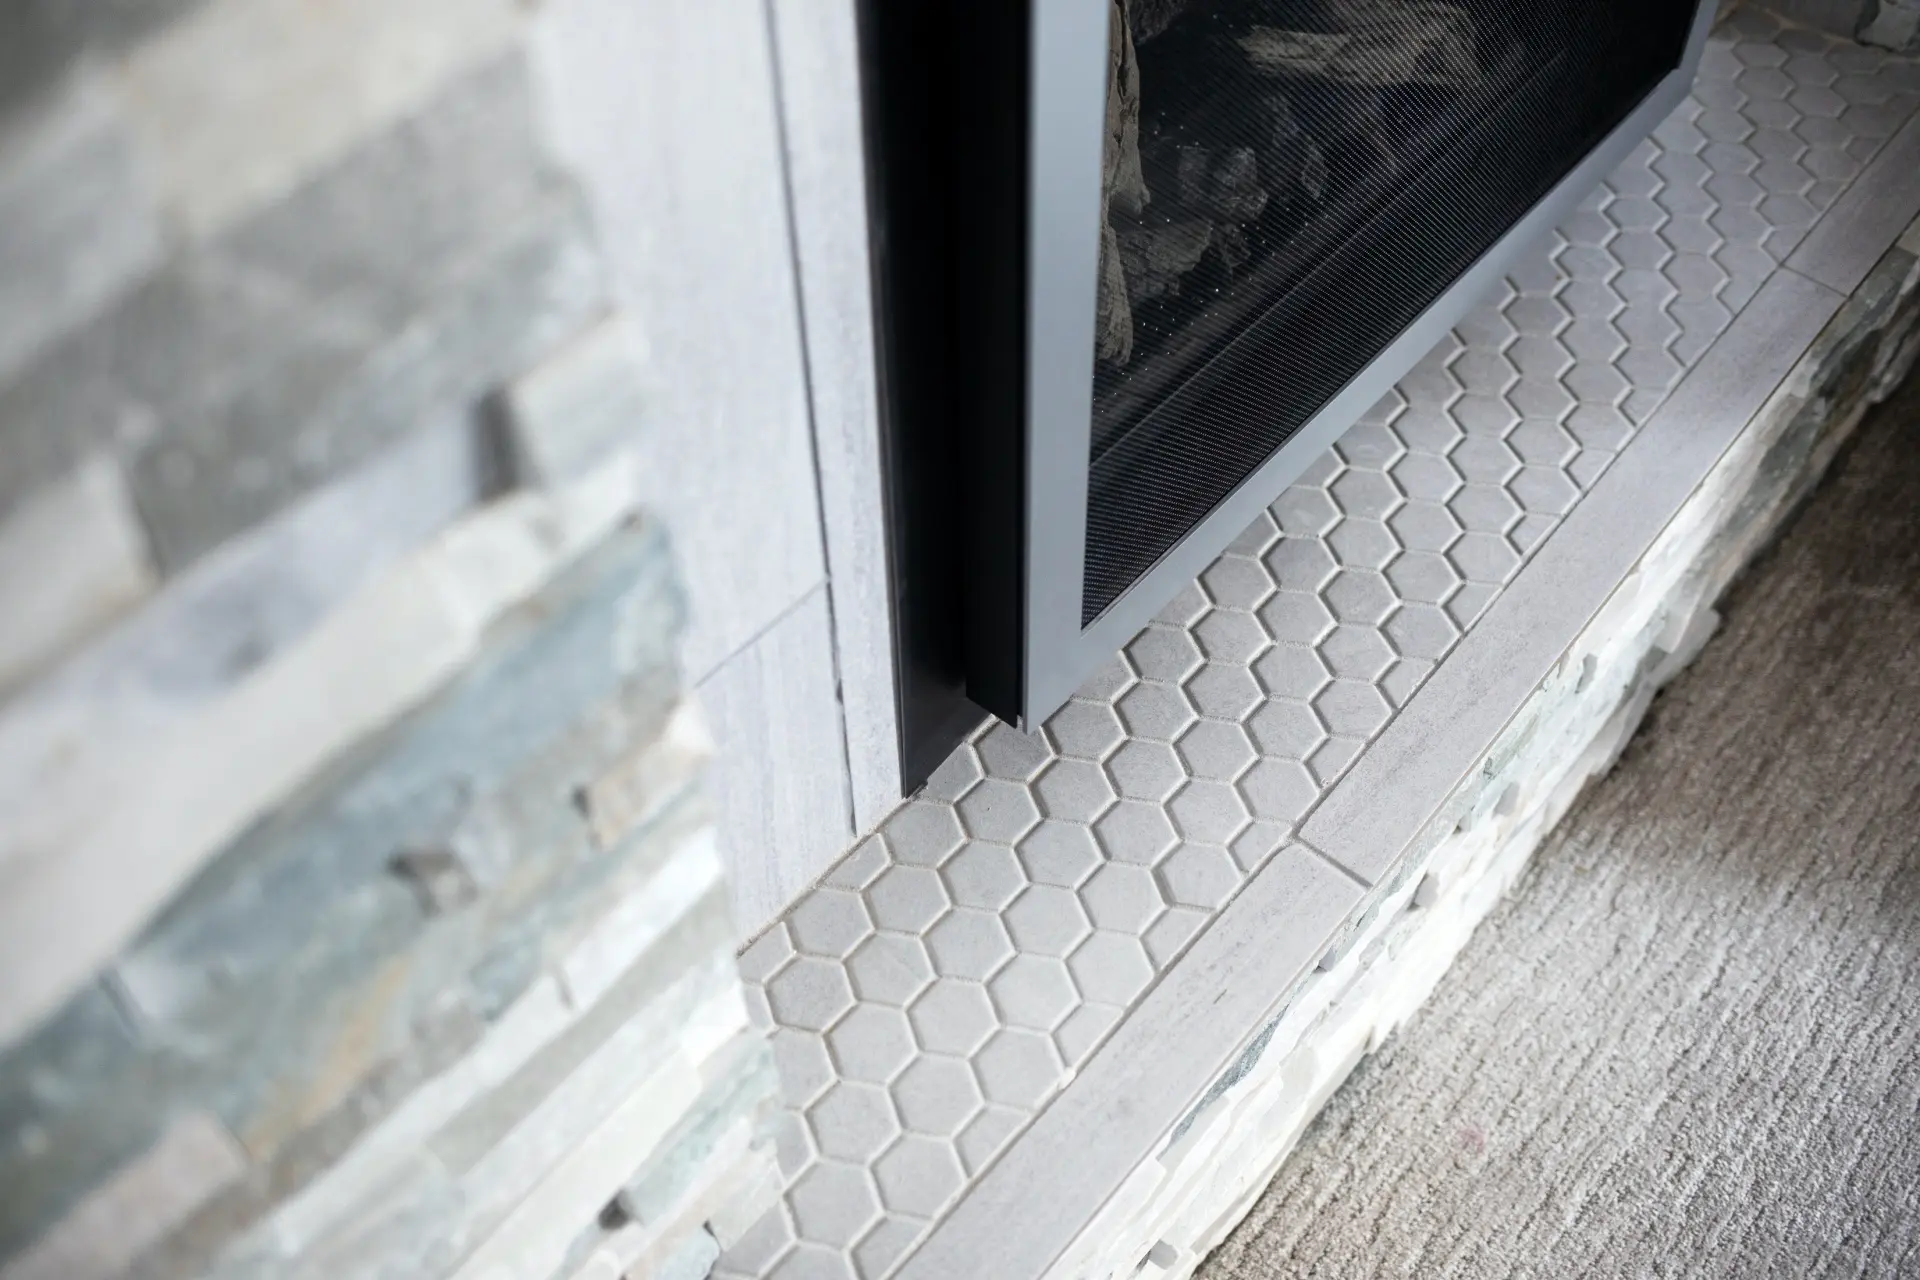
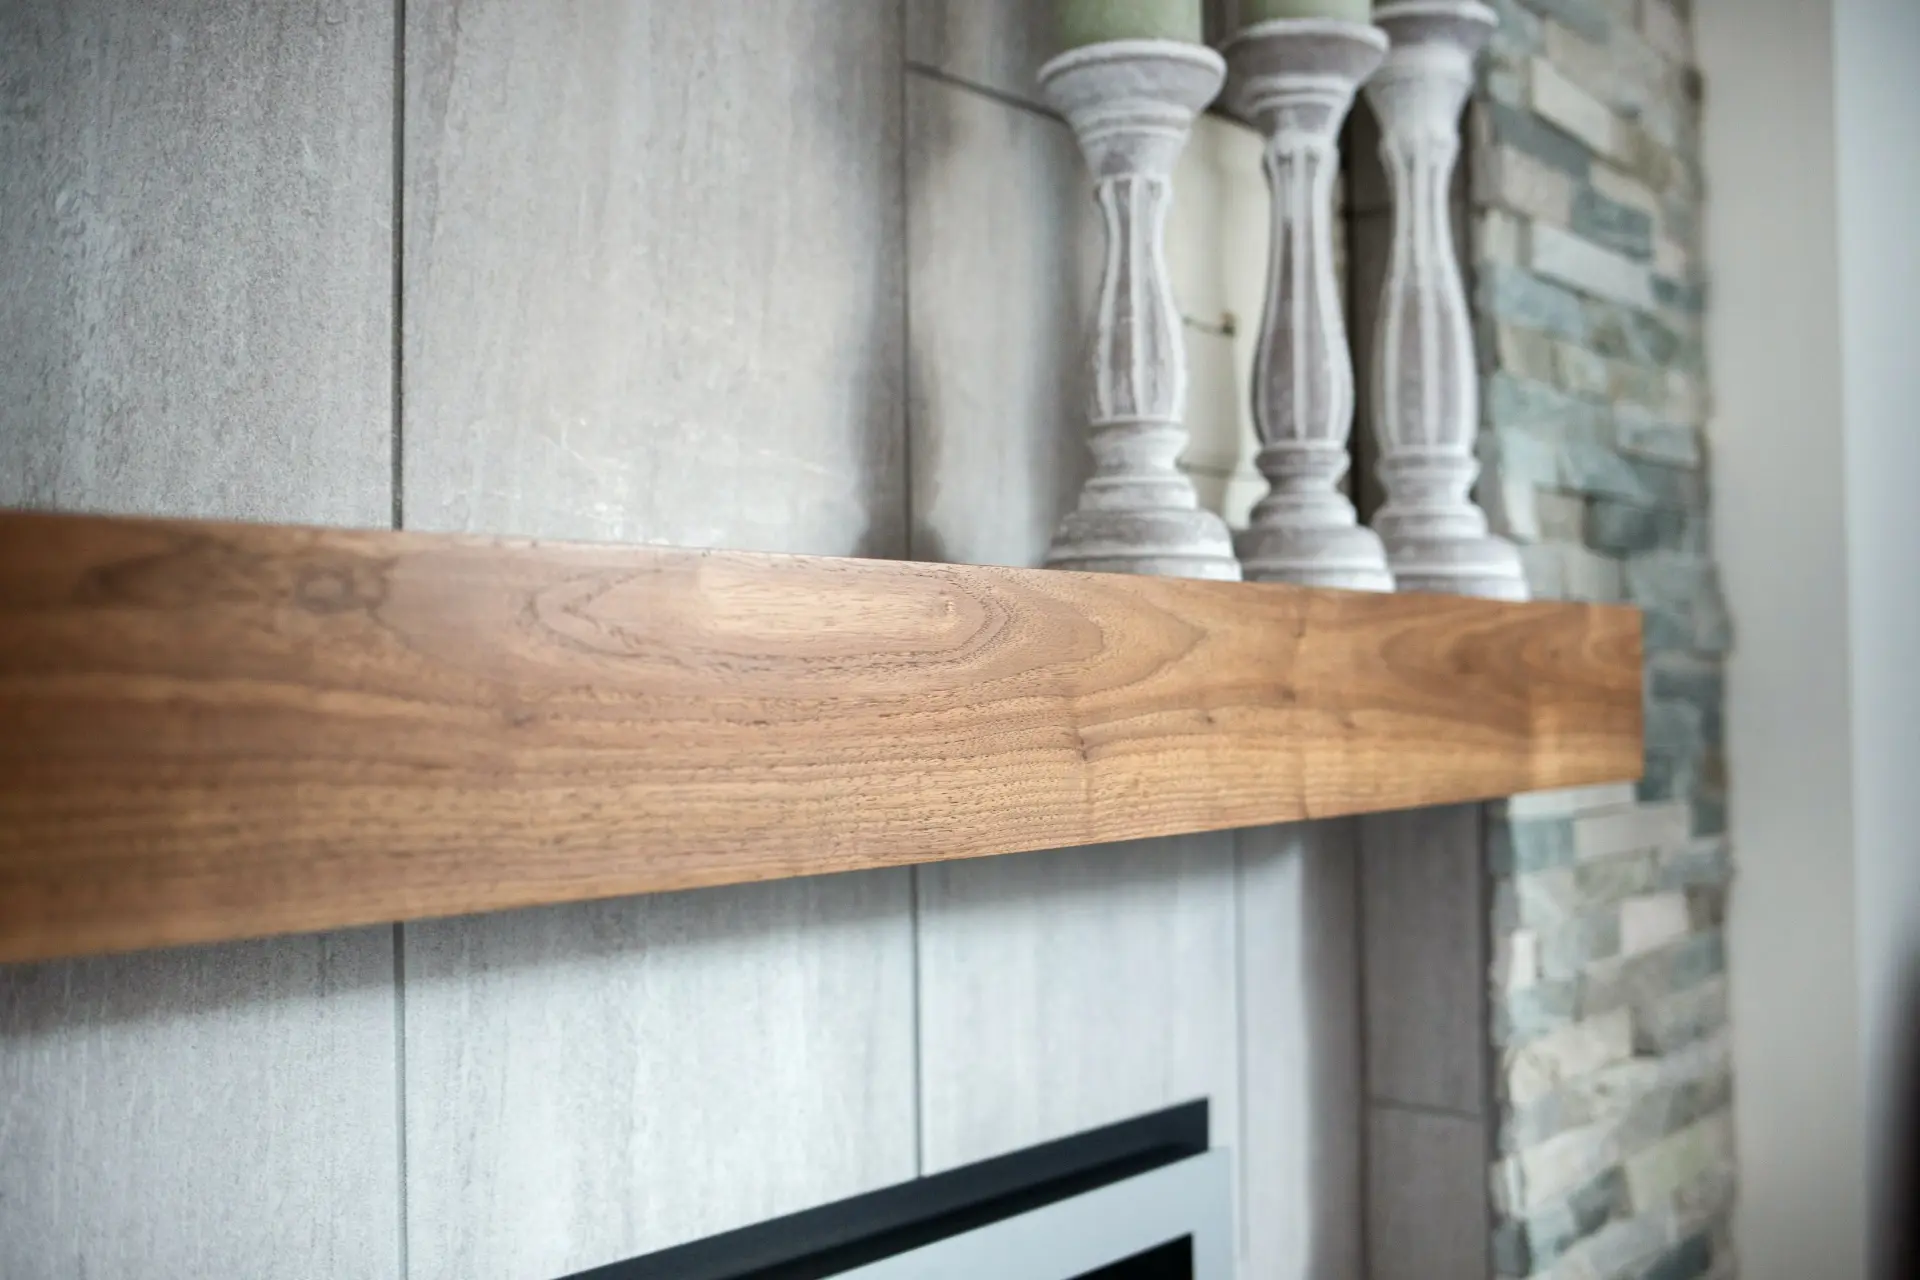
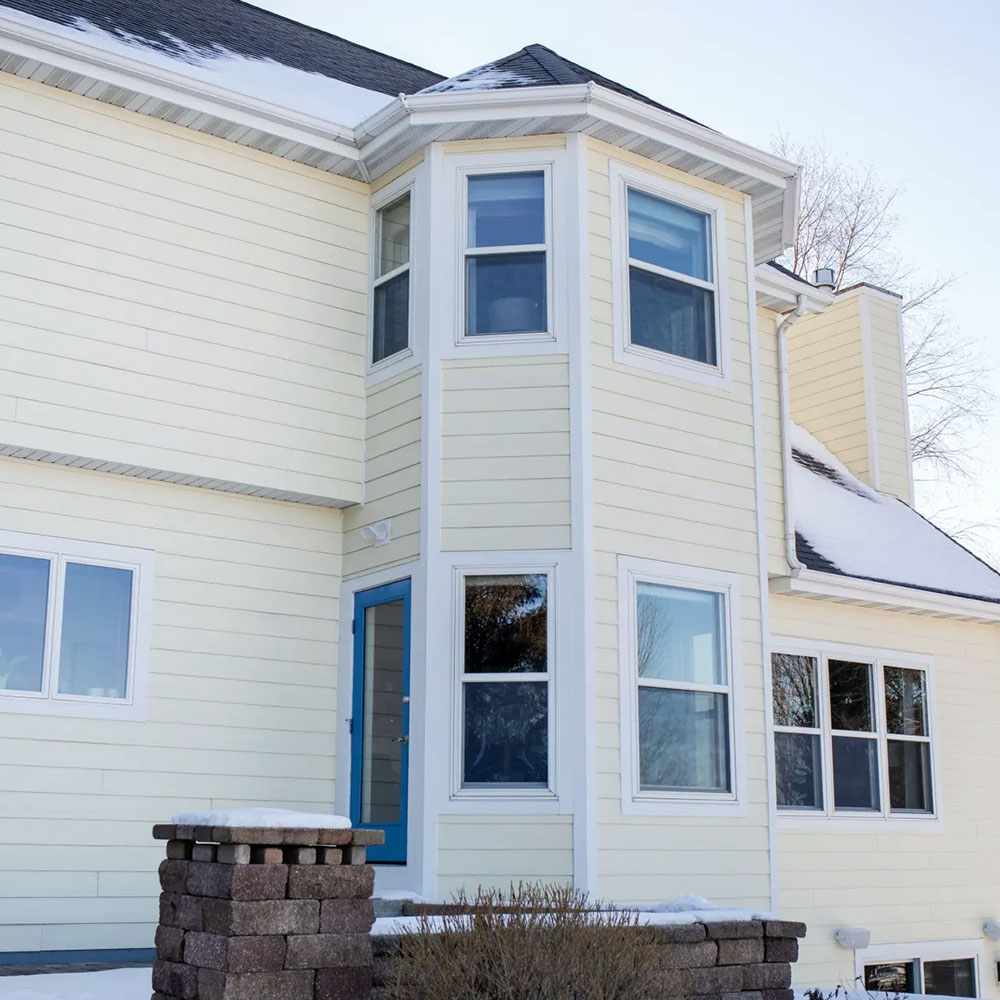
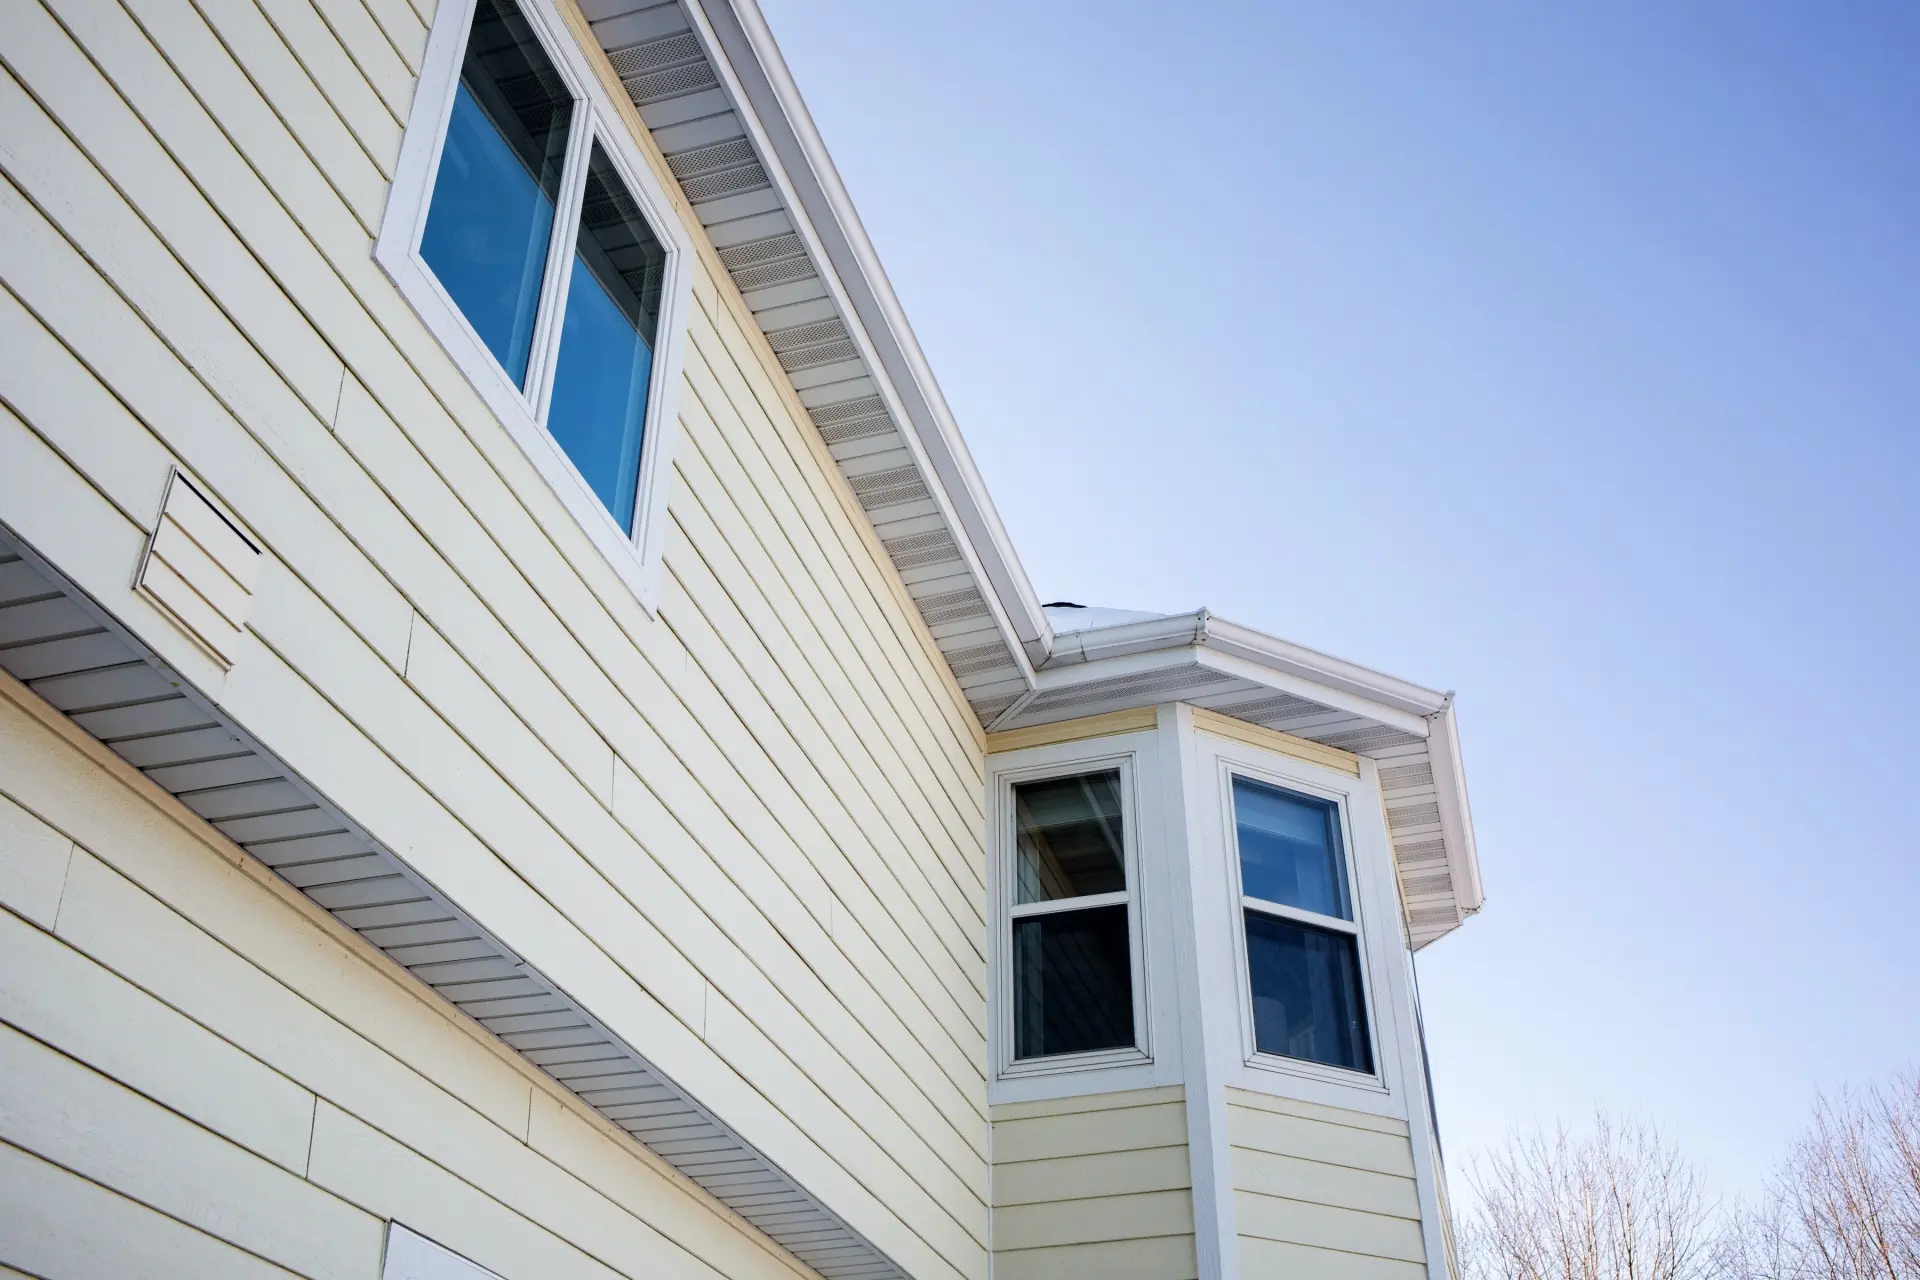
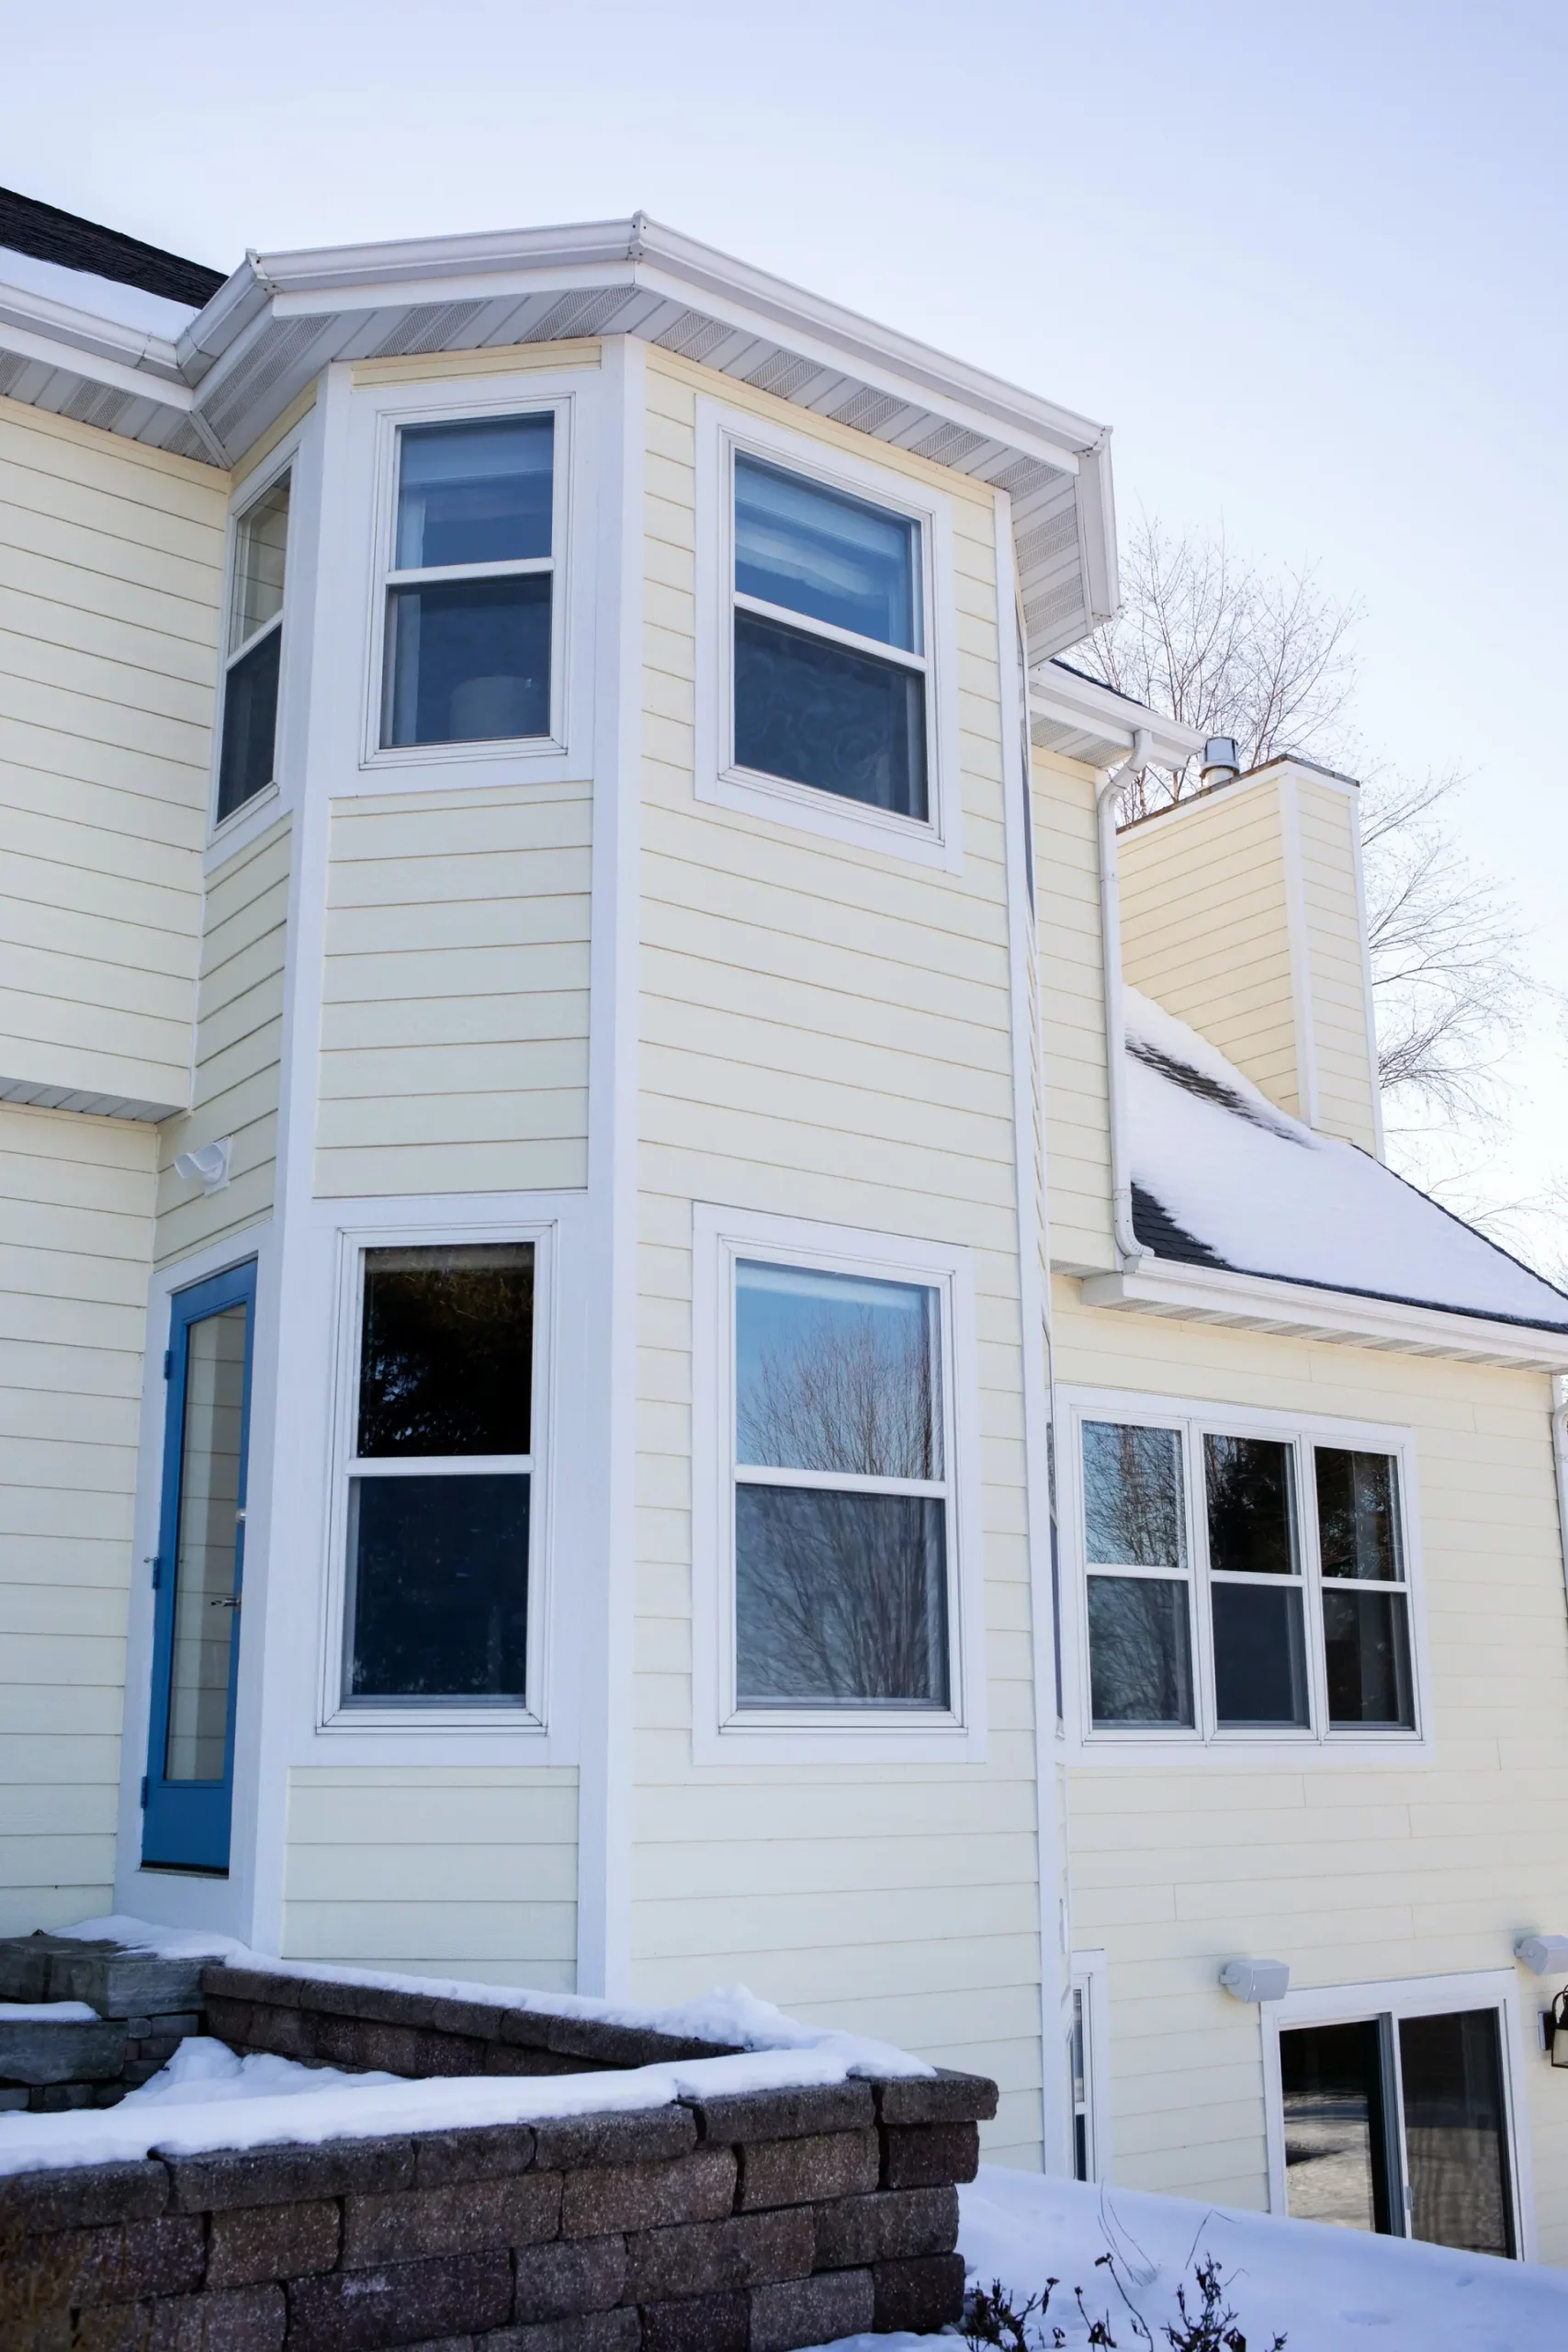
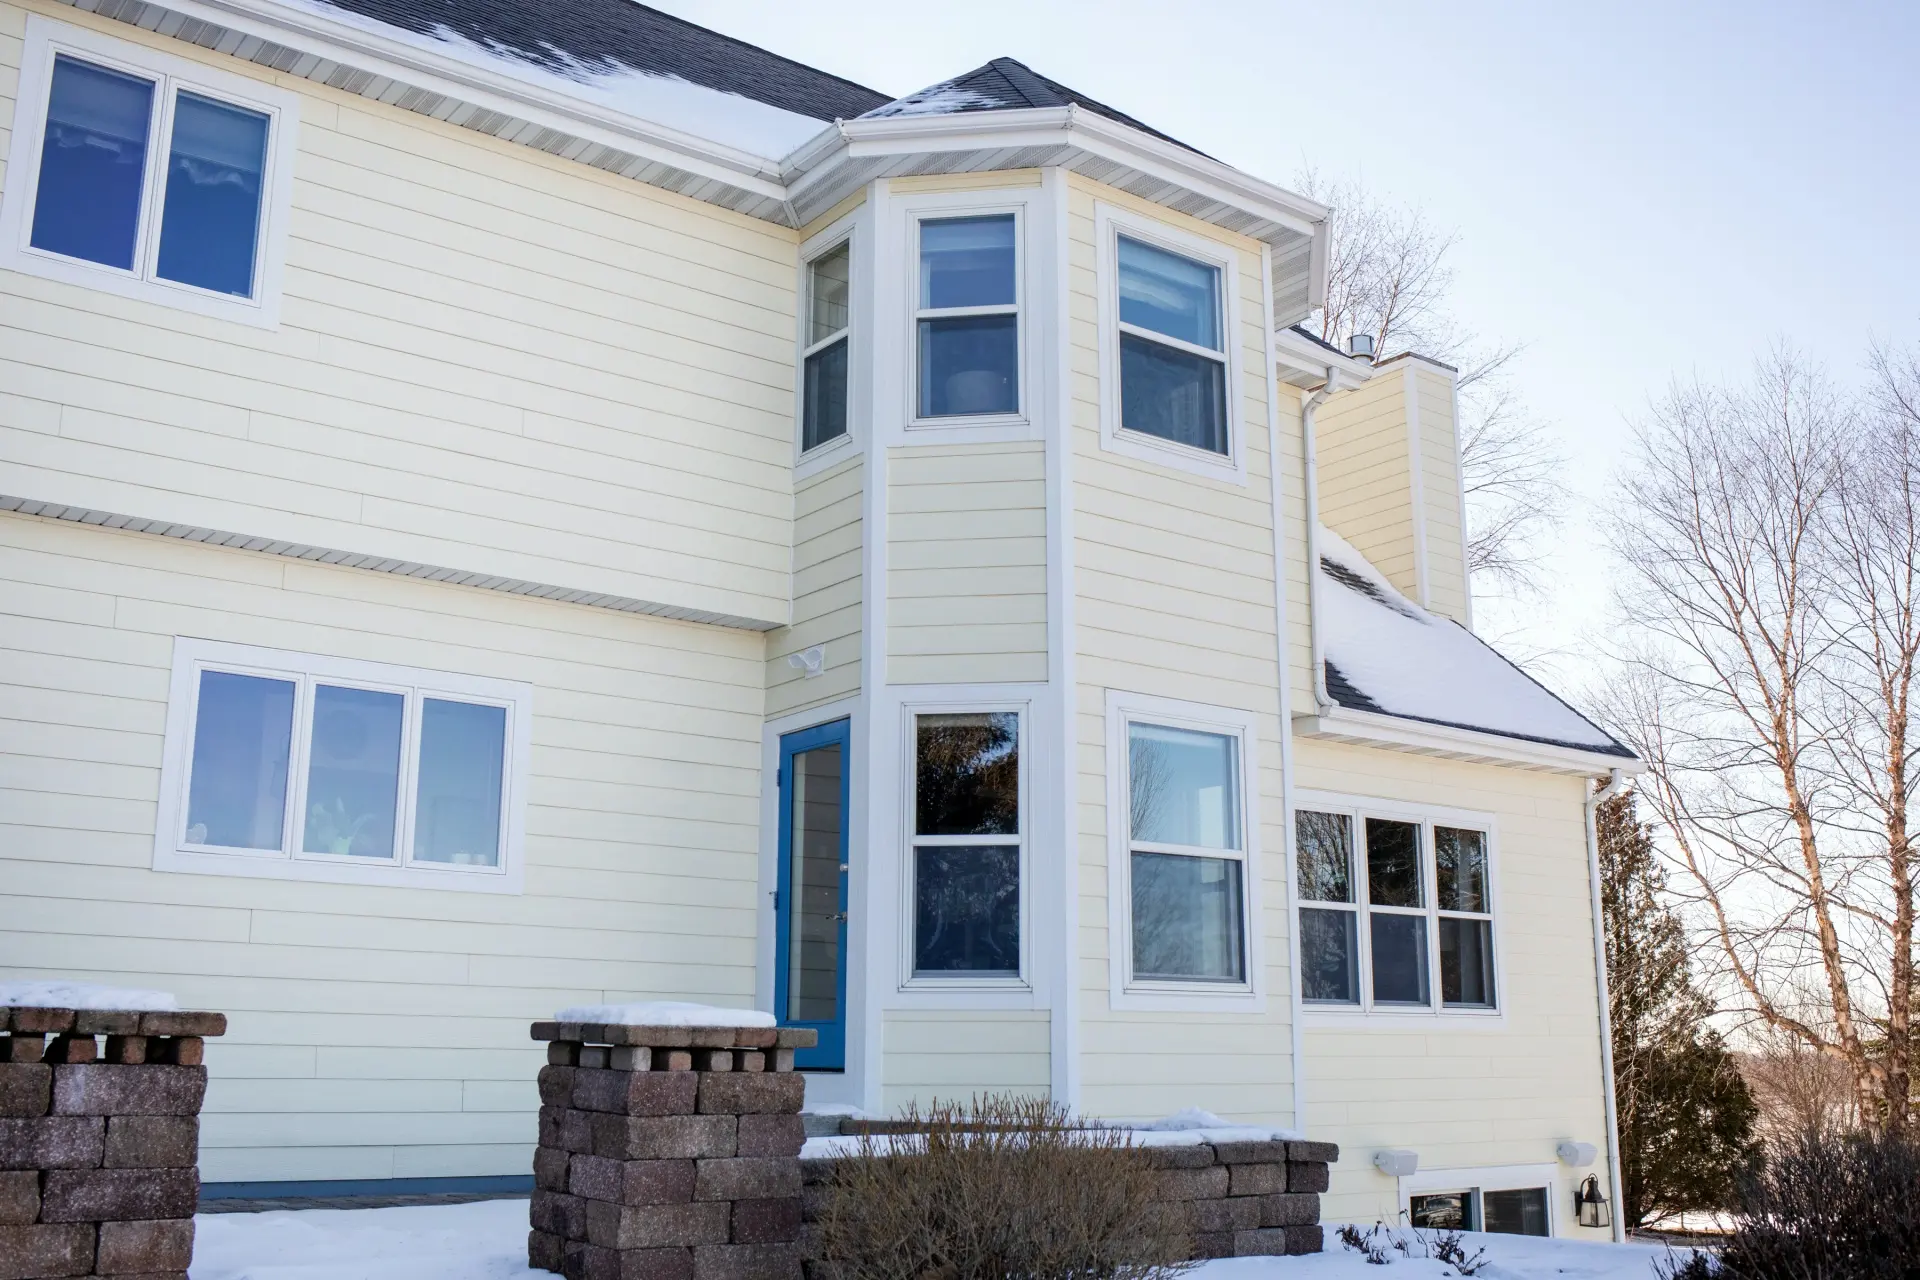
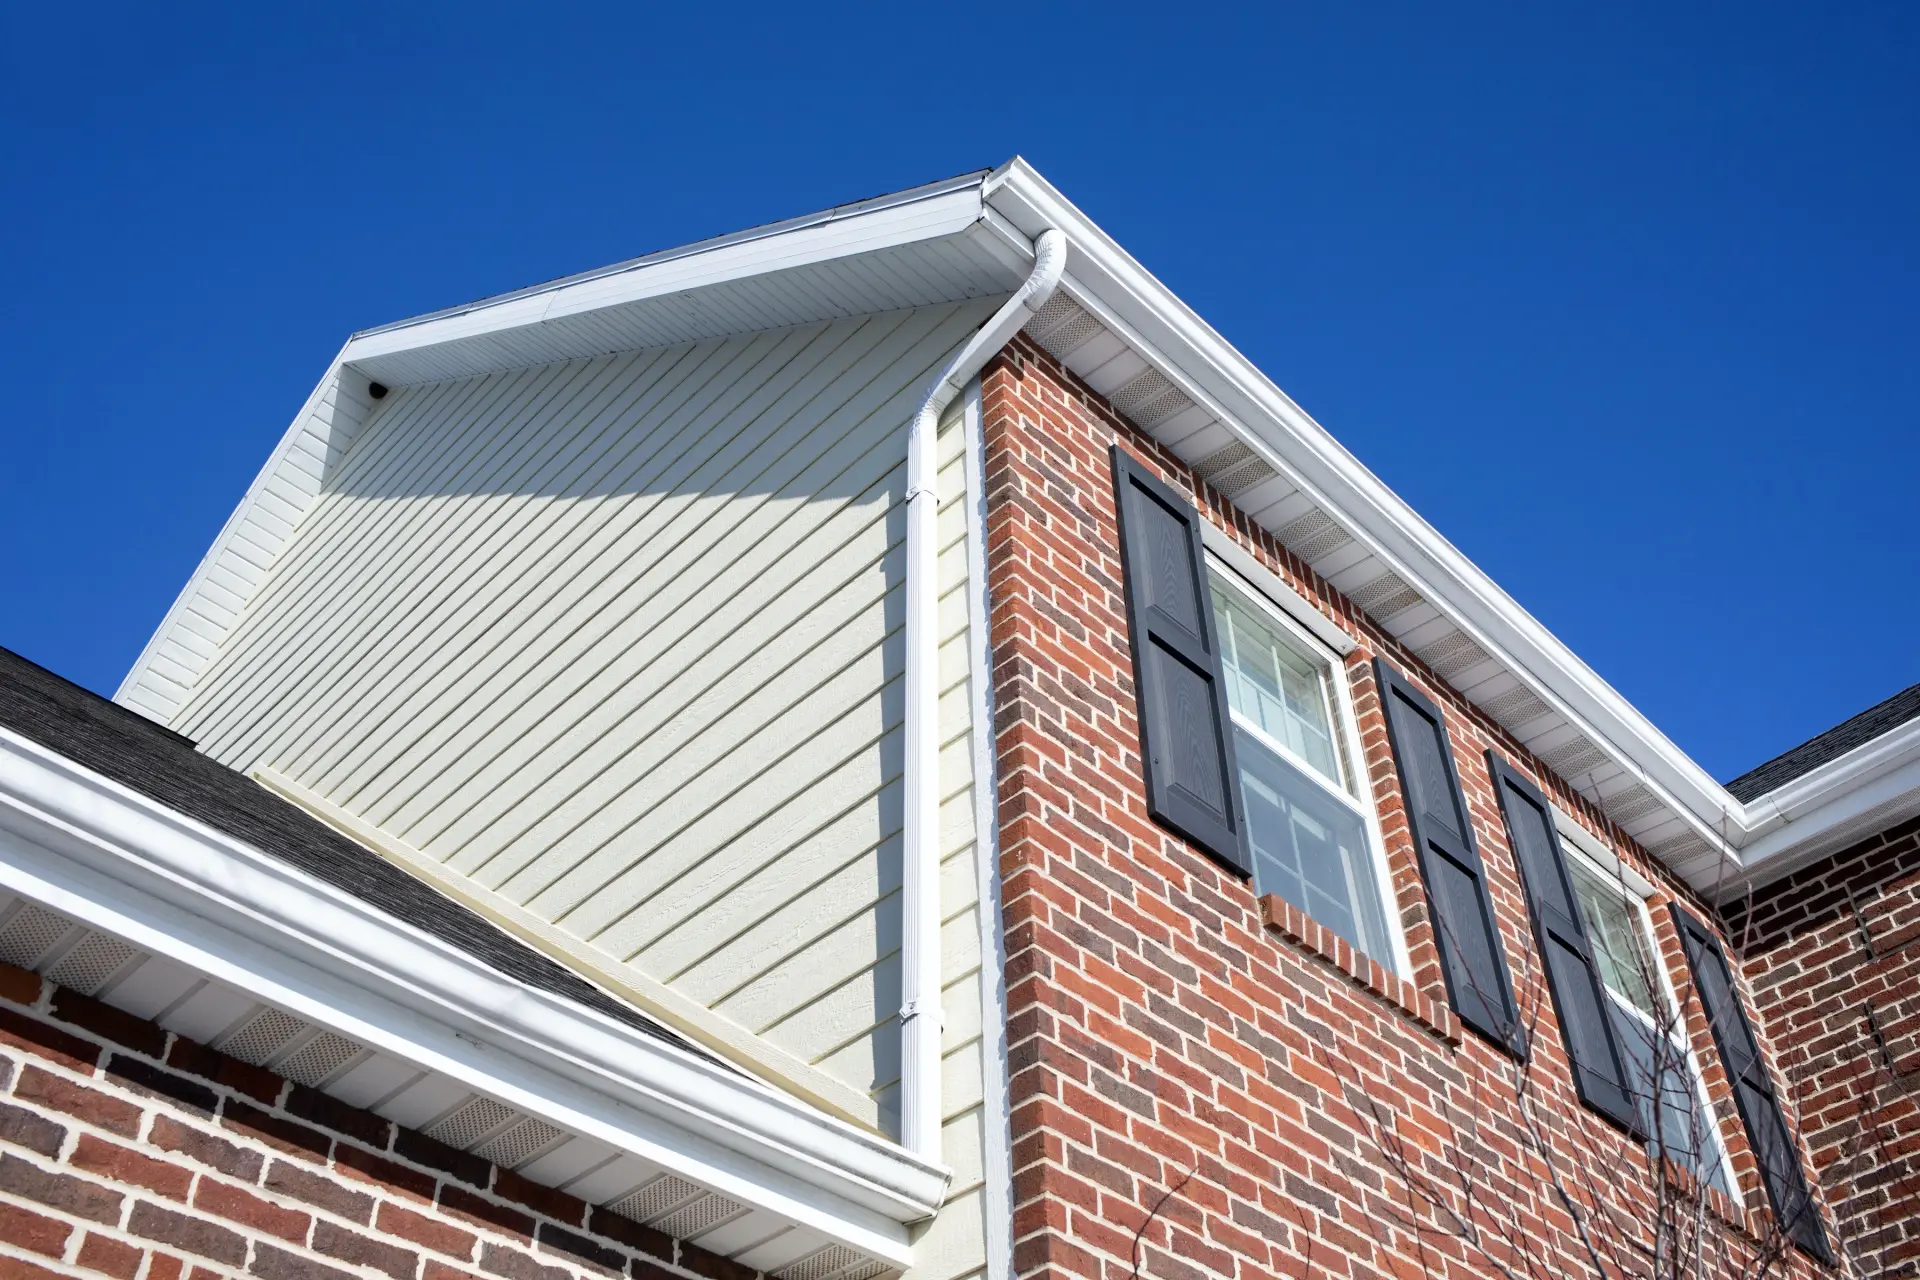
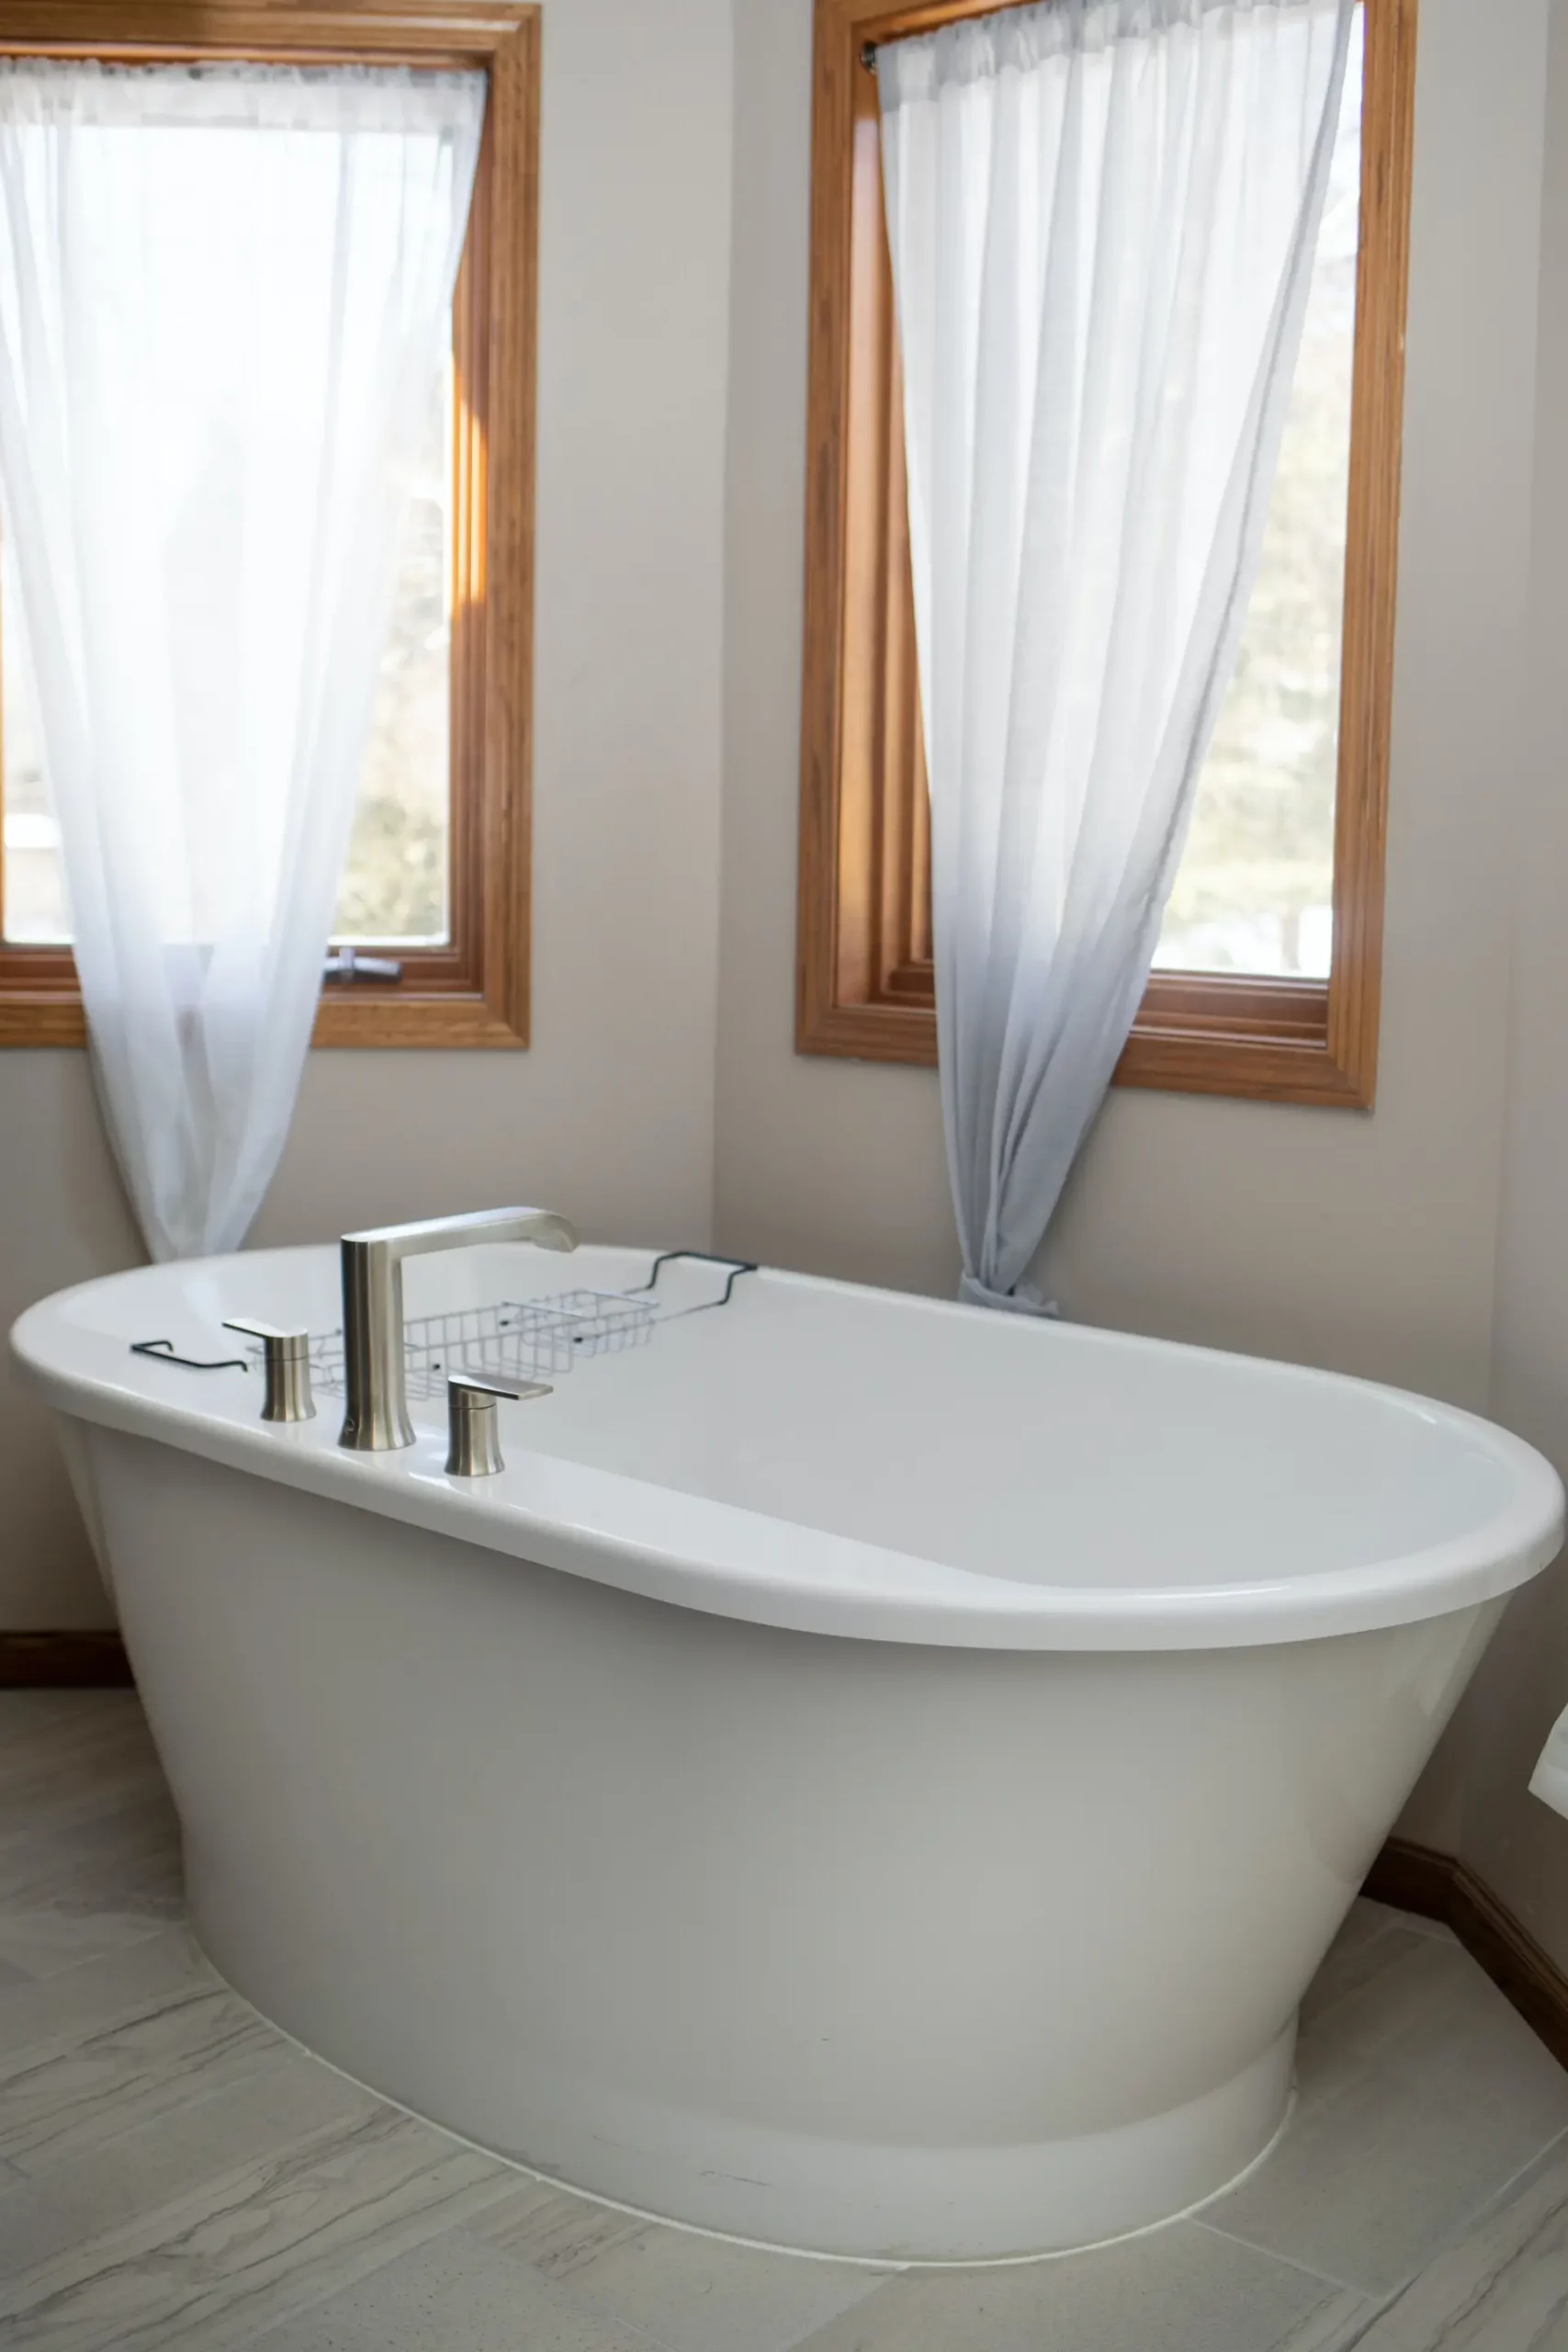
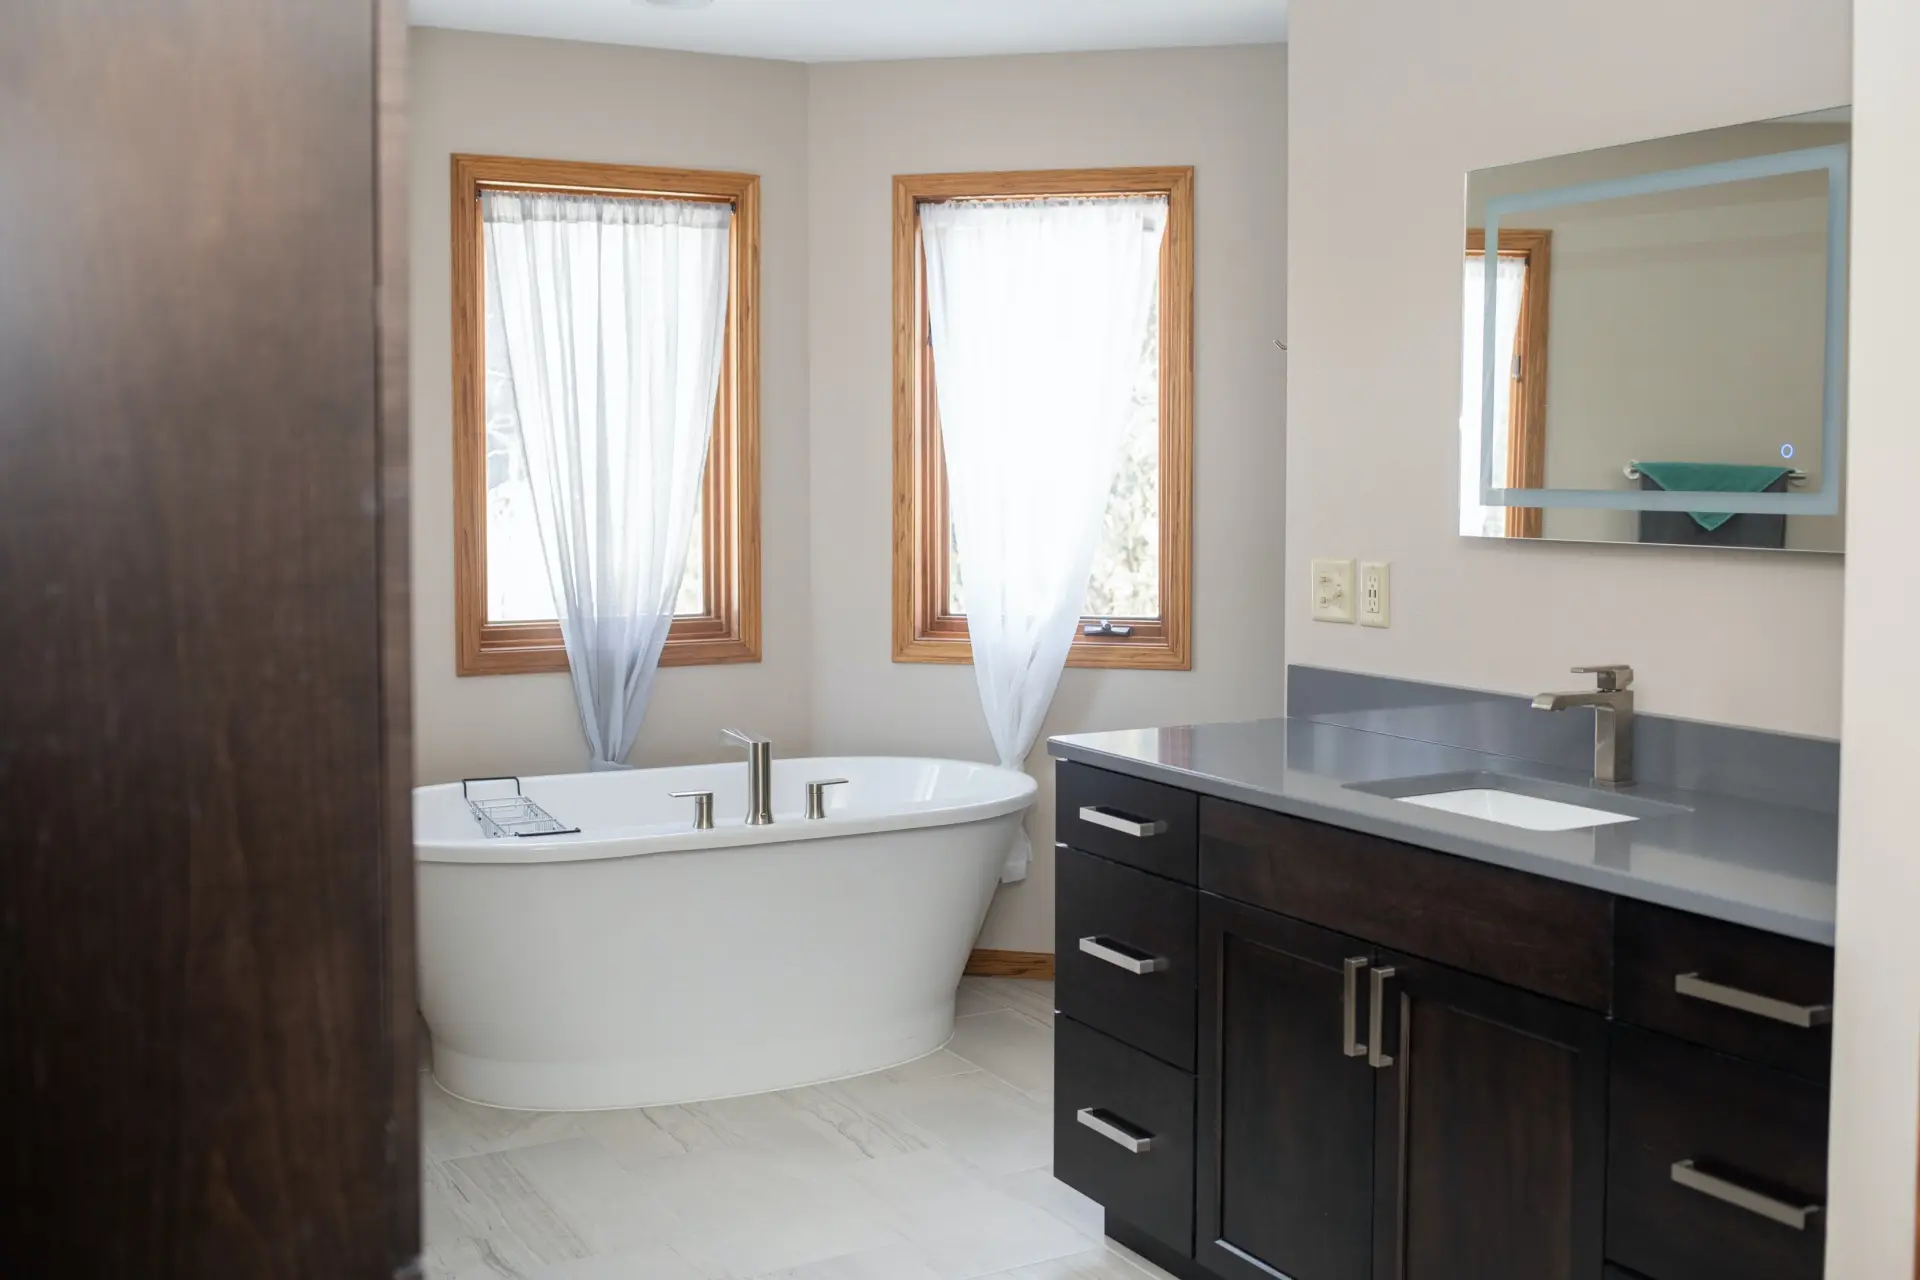
Step 7: Match Materials Like It Matters — Because It Does
The most visible failure in historic renovation is material mismatch. Vinyl siding on a craftsman bungalow. Standard replacement windows in a Victorian with original divided lights. Drywall texture that has nothing to do with the original horsehair plaster it’s replacing.
These aren’t just aesthetic problems. On locally designated properties, the Landmarks Commission can require removal and replacement of work that doesn’t meet the standards. On non-designated properties, material mismatch permanently devalues what made the home worth restoring in the first place.
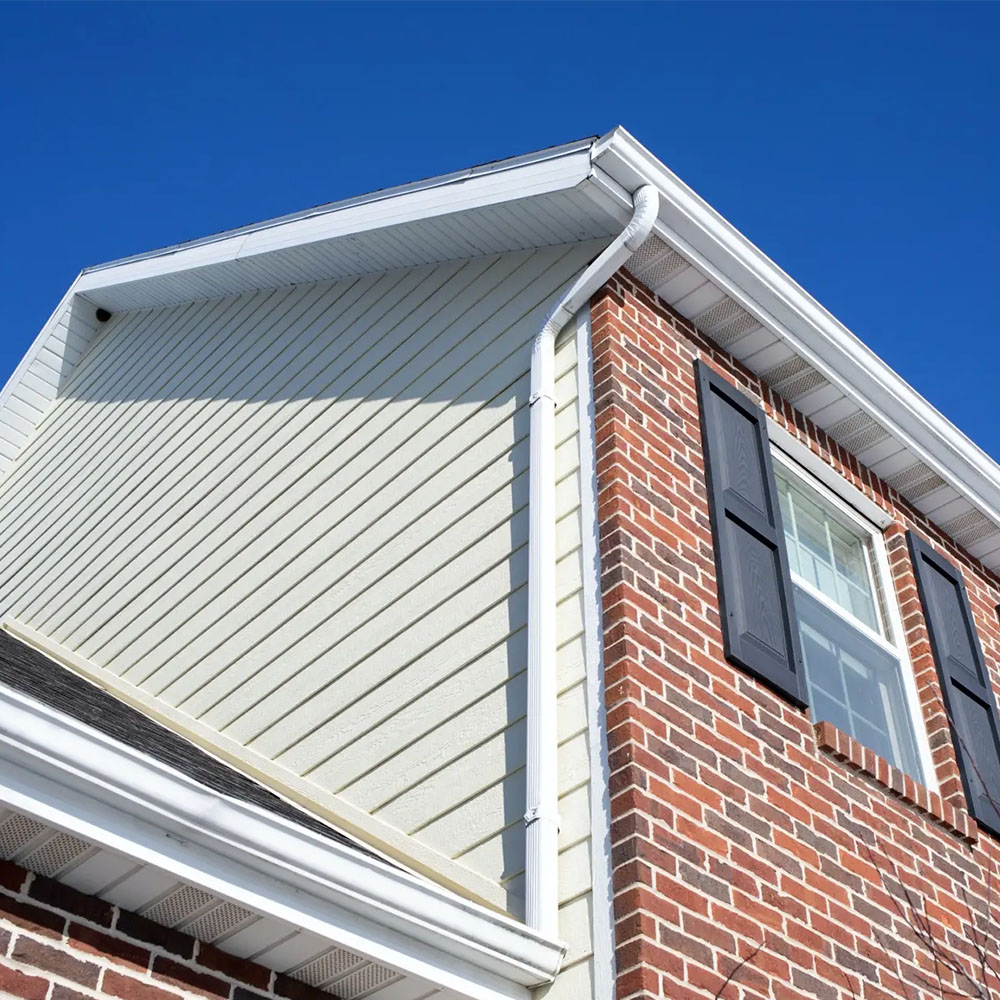
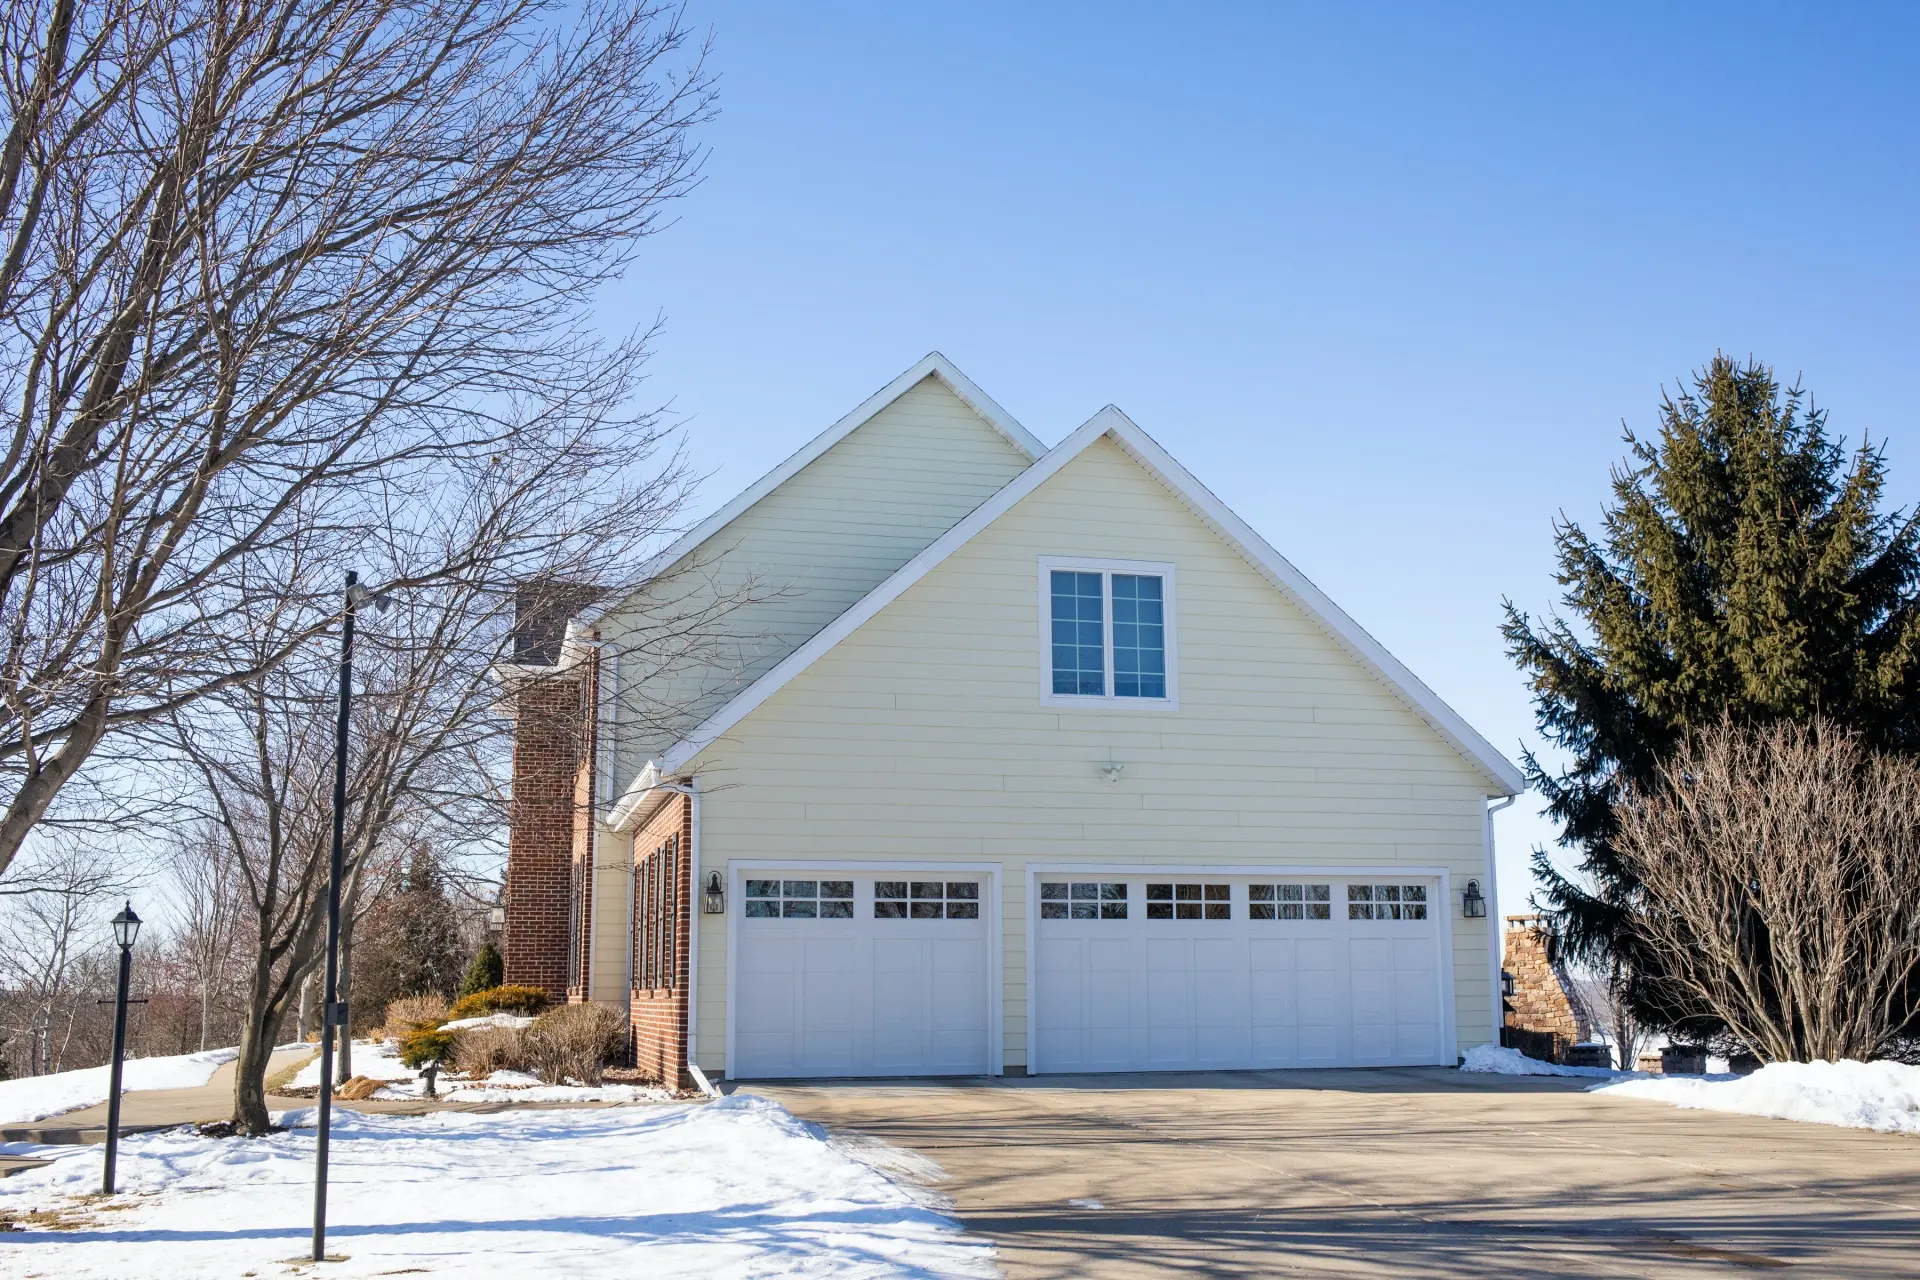
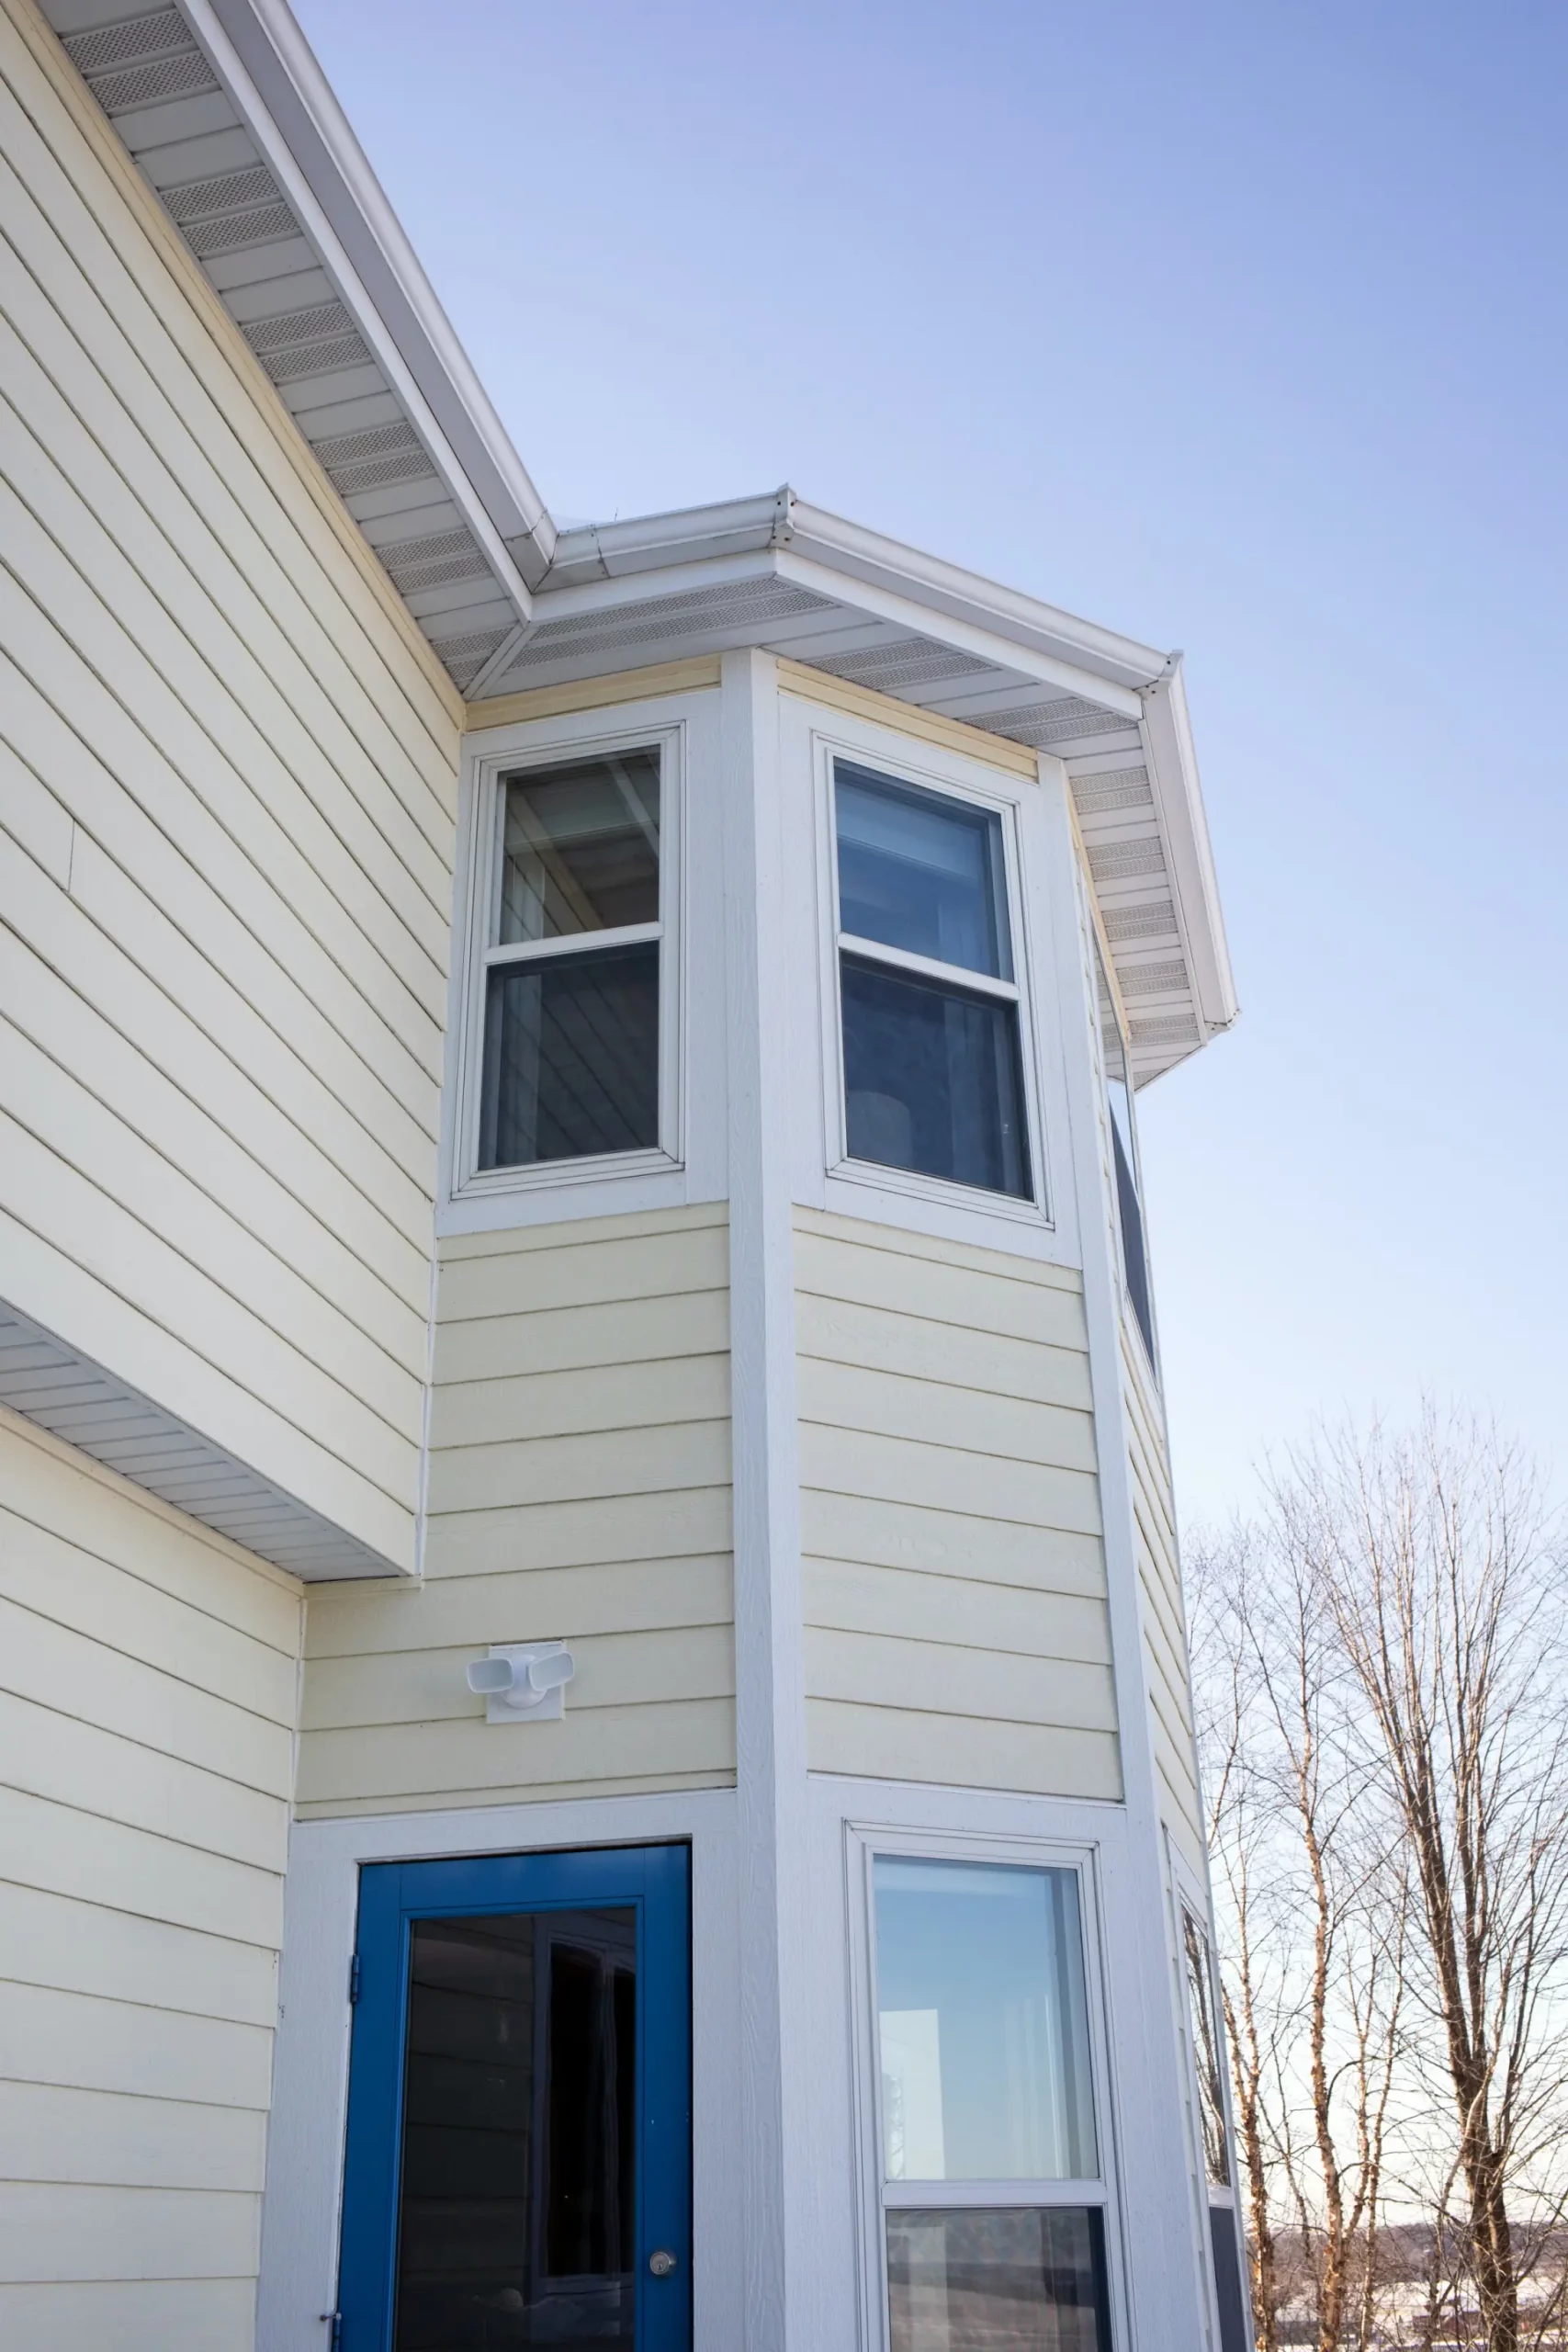
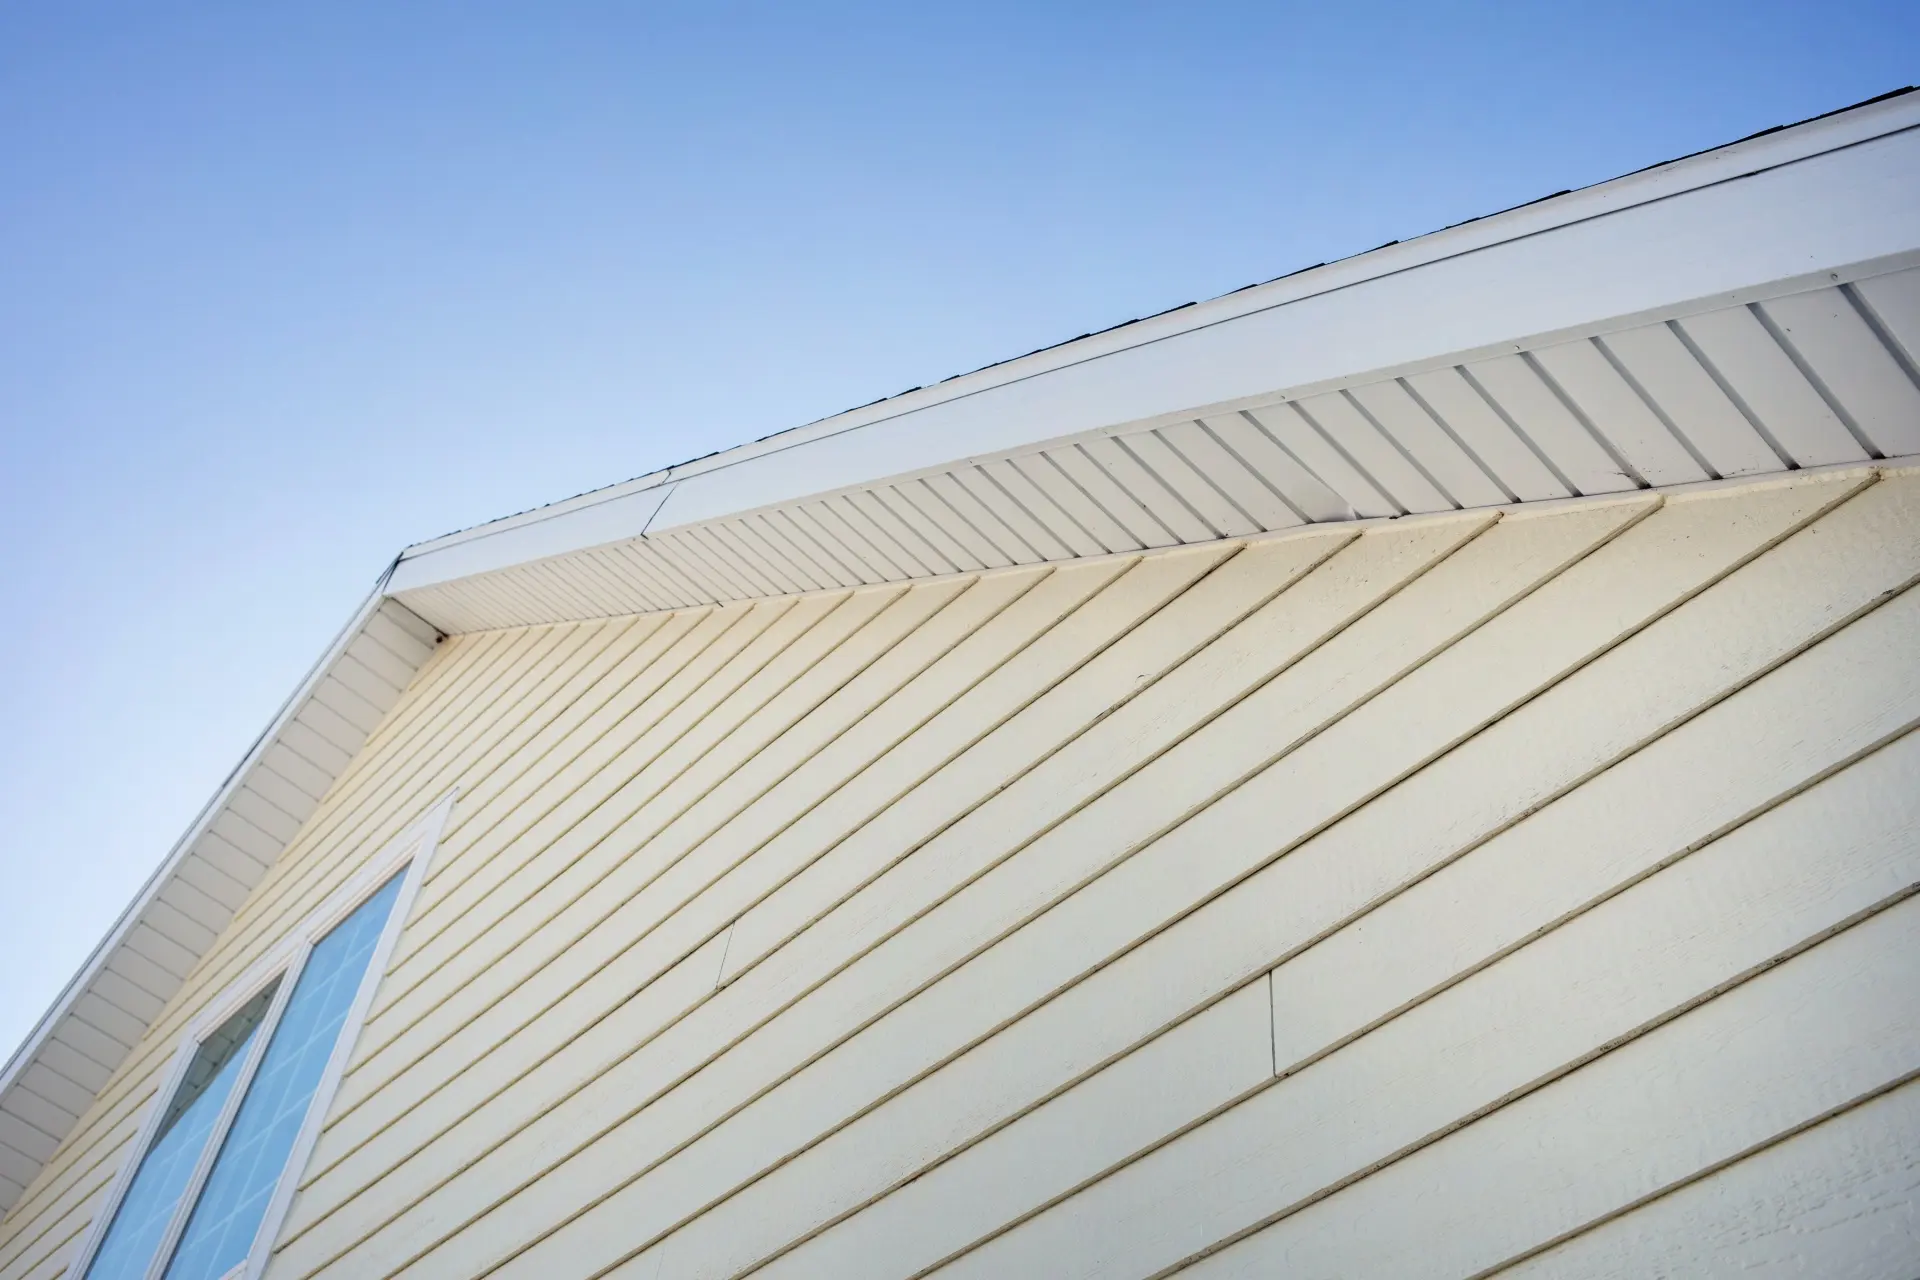
Exterior siding — if original clapboard needs replacement, match the profile and exposure width exactly. Fiber cement can work if the profile is right. Vinyl almost never passes on a historic property and is usually visible as wrong from the street.
Windows — if original windows genuinely cannot be repaired, replacement windows need to match the original divided light pattern and sash profile. True divided light or high-quality simulated divided light with the correct profiles are typically acceptable. Standard big-box replacement windows are not.
Interior millwork — if a profile is no longer manufactured, it gets custom milled. That’s the cost of doing historic renovation correctly.
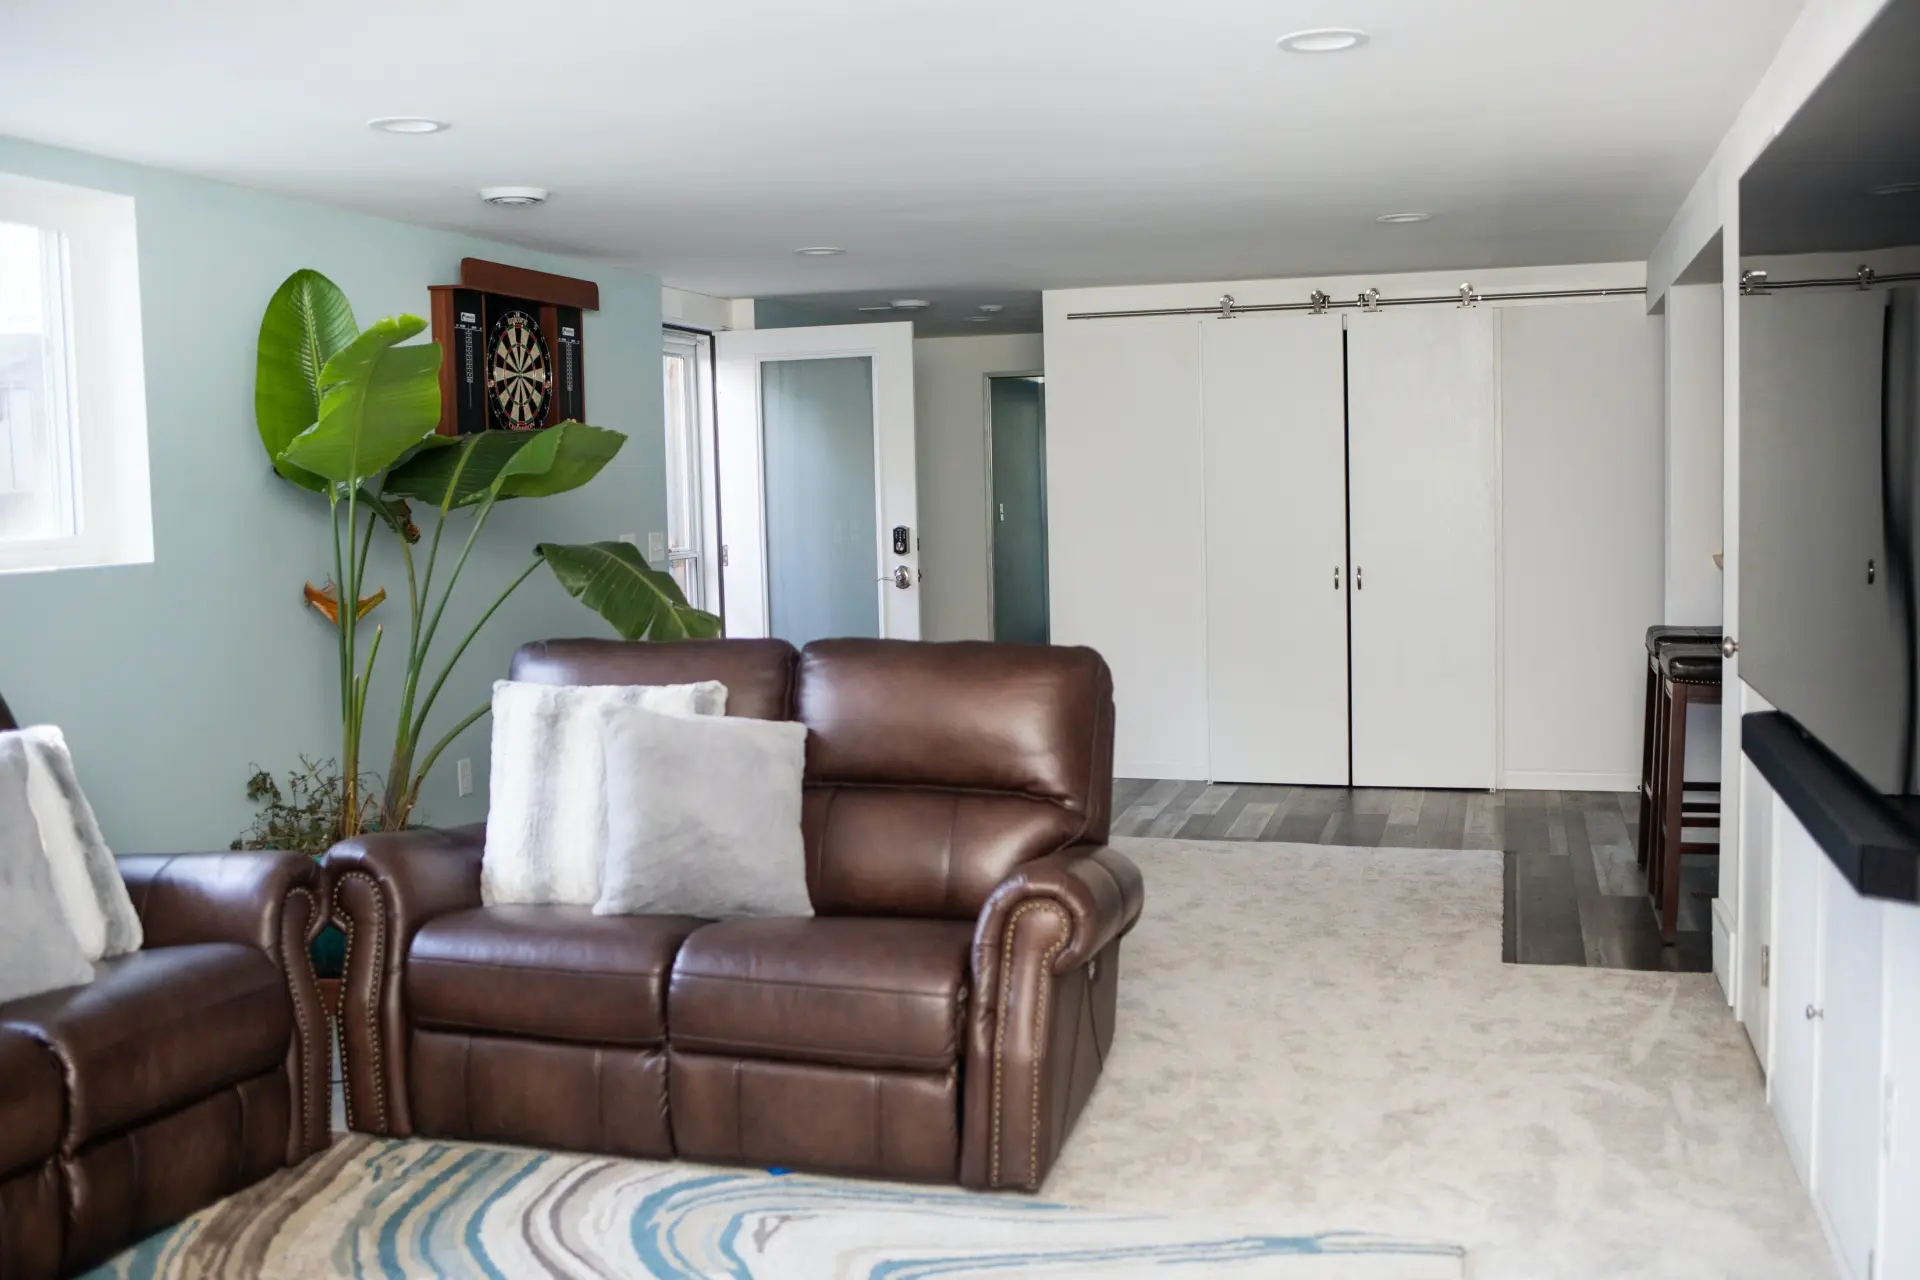
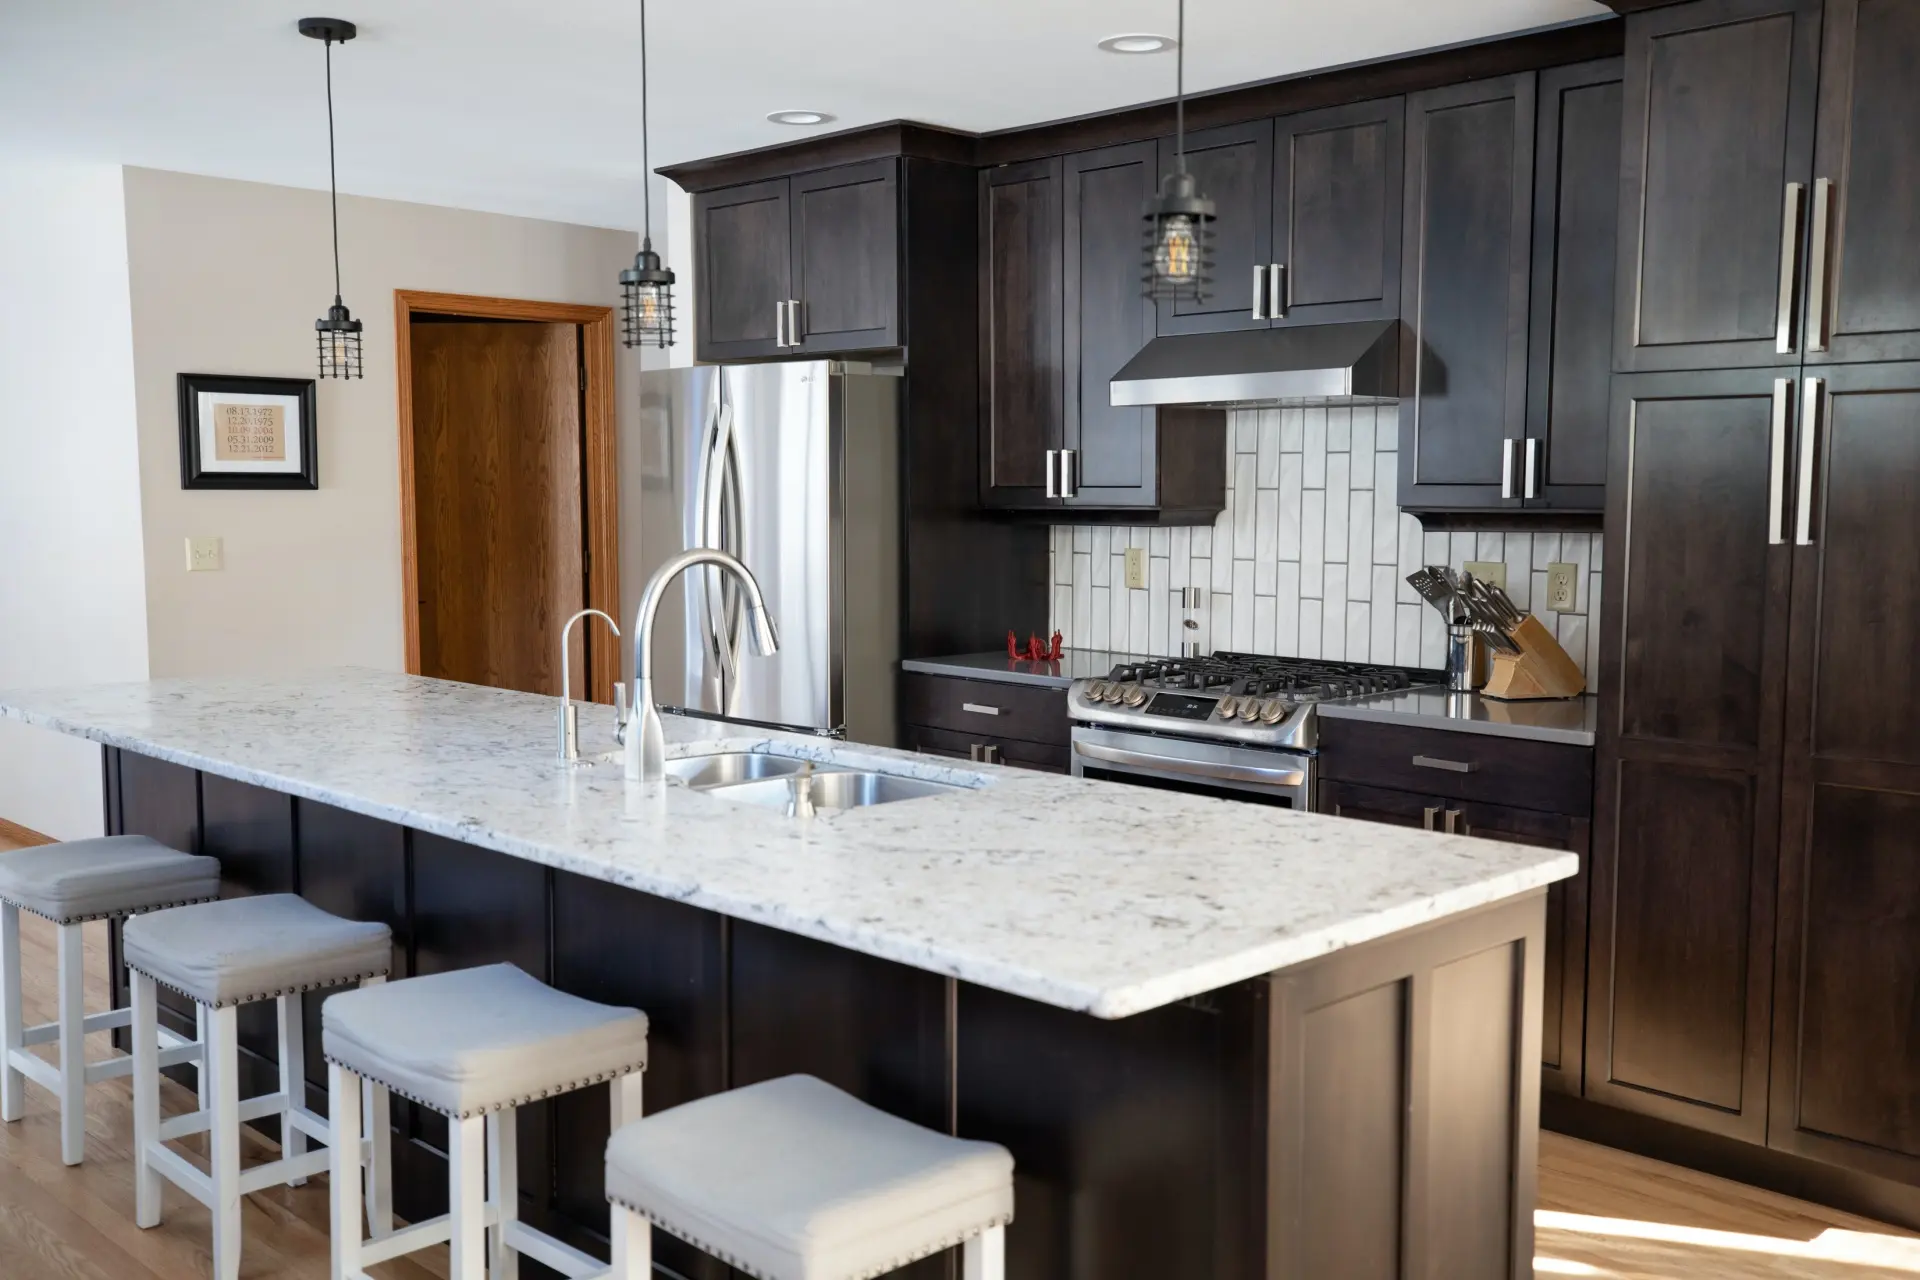
Browse AF Construction’s completed projects to see how we approach material matching on older Dane County homes.
A Note on Tax Credits
One financial advantage that comes with renovating a historic home in Madison — if yours qualifies — is access to credit programs that standard remodeling projects don’t offer.
Wisconsin’s Historic Tax Credit Program offers up to 25% back on qualified rehabilitation expenses for primary residence projects on the National Register. The federal Historic Tax Credit offers an additional 20% for certified historic structures. Stacked, these programs can significantly offset project cost.
Both require SHPO pre-approval and adherence to the Secretary of the Interior’s Standards throughout construction. A contractor experienced in historic work knows how to document projects to qualify.
Frequently Asked Questions
How is renovating a historic home different from a regular remodel?
The material standards are stricter, the approval process is longer, hazardous material protocols are required, and integrating modern systems has to be done without damaging original fabric. It takes more time and costs more per square foot — but the result is a home that retains its actual character rather than a renovation that strips it out.
Do I need Landmarks Commission approval for interior work?
For most interior renovations, no — unless the work affects the exterior appearance or you’re applying for historic tax credits. If credits are involved, both interior and exterior plans get reviewed. Contact the Commission directly to confirm what applies to your specific property.
Can I add modern systems to a historic home without losing its character?
Absolutely. Done right, updated HVAC, electrical, and plumbing are completely invisible. The goal is integration, not replacement — modern function without evidence of modern intervention in the spaces that matter.
What does this type of renovation actually cost?
Historic renovation typically runs 15 to 30 percent more than a comparable standard remodel. The premium comes from material matching, hazardous material protocols, and the additional care required around original fabric. A detailed line-item estimate from someone who has actually done historic work is the only meaningful answer to this question for your specific home.
What should I do first?
Confirm designation status. Then walk the property with a contractor who has specific historic renovation experience before any planning begins. Understanding what must be preserved, what hazardous materials may be present, and what approval process applies is the foundation for everything else.
Ready to Talk About Your Historic Home?
AF Construction has experience renovating older and historic homes across Verona, Madison, McFarland, Oregon, and Dane County WI. We understand the approval process, the material requirements, and the craftsmanship that historic renovation demands.
Request a free consultation and let’s talk through your home’s history, your goals, and what a thoughtful renovation plan looks like for your specific property.
Also explore:
- Historic Renovations service page
- Remodeling Older Homes in Madison WI
- Whole Home Renovation in Madison WI
- Our completed projects across Dane County
AF Construction LLC — Historic renovation and home remodeling contractor serving Verona, Madison, McFarland, Oregon, Mount Horeb, and Dane County WI.