This basement finishing checklist exists because of a conversation I have more often than I’d like.
A homeowner calls, excited. They’ve already picked out flooring. They have paint colors. Sometimes they’ve already ordered the bar stools. Then I walk through the basement and find standing water stains on the lower block wall, a ceiling that clears 74 inches in half the space, and no egress window anywhere near the bedroom they’ve been planning.
Three things that should have been figured out before any of the fun stuff happened.
Wisconsin basements are not like basements in other parts of the country. Dane County soil is heavy with clay. Freeze-thaw cycles are aggressive. The Wisconsin Uniform Dwelling Code has specific requirements that catch a lot of homeowners off guard. Work through this checklist before a single dollar gets spent on finishes.
Starting the Basement Finishing Checklist: Moisture Before Everything Else
No finish material survives a wet basement. Not LVP, not drywall, not carpet, not tile. If there’s a moisture problem, it will find its way through whatever you put on top of it — usually within the first Wisconsin winter after the project is done.
Before anything else, look for:
White chalky deposits on the wall surface — that’s efflorescence, which means water is moving through the concrete. Tide marks along the lower block. A musty smell that gets stronger after heavy rain or snowmelt. Any visible mold, in any amount, anywhere in the space. Horizontal cracks in the foundation wall — those carry real structural implications and need an engineer’s eye before you do anything else.
Find any of these and address them before the project starts. Waterproofing after the walls are framed costs three to four times what it costs to do it first. That’s not an exaggeration — it’s what the remediation quotes actually look like.
Also check the rim joist. That’s the framing right where your foundation wall meets the floor system above. On most older homes in Verona and Madison, it’s either uninsulated or poorly insulated, and it’s one of the biggest sources of cold air and moisture movement in the whole house. Addressing it as part of the basement project improves comfort upstairs too.
One Wisconsin-specific thing worth knowing: vapor barriers on below-grade walls are prohibited under the state’s Uniform Dwelling Code. I still see contractors suggest plastic sheeting against the concrete. That traps moisture inside the wall system and causes mold. If someone recommends it, that’s a sign they haven’t done many Wisconsin basements.
Ceiling Height and Egress — The Two Things That Kill Plans
Wisconsin requires 76 inches of clearance from the stair nosing line to the ceiling in finished basements. That sounds like plenty until you account for ductwork, beams, and the ceiling system itself.
Measure your actual clearance before you commit to a layout. A dropped ceiling — which is often easier to install and gives access to mechanicals — takes four to six inches of headroom. A drywall ceiling maximizes height but requires careful planning around every pipe and wire that runs through the space.
If you’re planning a bedroom down there, you need an egress window. That’s not optional — it’s a life-safety requirement, and inspectors enforce it. The opening needs to be at least 5.7 square feet net clear, with a minimum 24-inch height and 20-inch width, with the sill no higher than 44 inches from the finished floor. Installing one means cutting through foundation wall, which adds cost. Factor it into the budget before you’re committed to the layout.
Permits — This Section Is Not Optional Reading
A permit is required to finish a basement in Wisconsin. It applies in Verona, Madison, McFarland, Oregon, and every Dane County municipality I’m aware of. Skipping it is not a calculated risk — it’s a liability that follows the house, not just the homeowner.
Unpermitted work causes real problems at sale. Buyers’ attorneys find it. Inspectors note it. And the remedy is often demolition of finished surfaces so an inspector can see what’s behind the walls.
Your permit application will need a floor plan, egress details, smoke and CO detector locations, and mechanical plans. You’ll go through rough framing inspection, insulation inspection, and a final. A licensed contractor handles all of this — it’s part of the service, not an add-on.
At AF Construction, permits, inspections, and code compliance are managed as part of every project. See how our process works for more detail on what to expect.
Electrical, Plumbing, and Insulation
AFCI protection is required on all 120-volt, 15 and 20-amp circuits in finished living spaces in Wisconsin. If you’re adding a bathroom, that space needs its own 20-amp dedicated circuit. Plan at minimum one 15-amp circuit per 600 square feet of finished floor area.
If a bathroom is part of the plan, find your main drain line and figure out whether it sits above or below your floor slab. Below-grade drains usually require a sewage ejector pump. That’s not a deal-breaker but it does affect cost and location decisions. Rough-in plumbing gets inspected before anything gets closed up.
For insulation, closed-cell spray foam applied directly to the concrete wall is the most effective approach in Wisconsin — it handles both insulation and air sealing in one application. Rigid foam board with taped seams is also acceptable. Fiberglass batts against concrete are not. They trap moisture and mold grows in them.
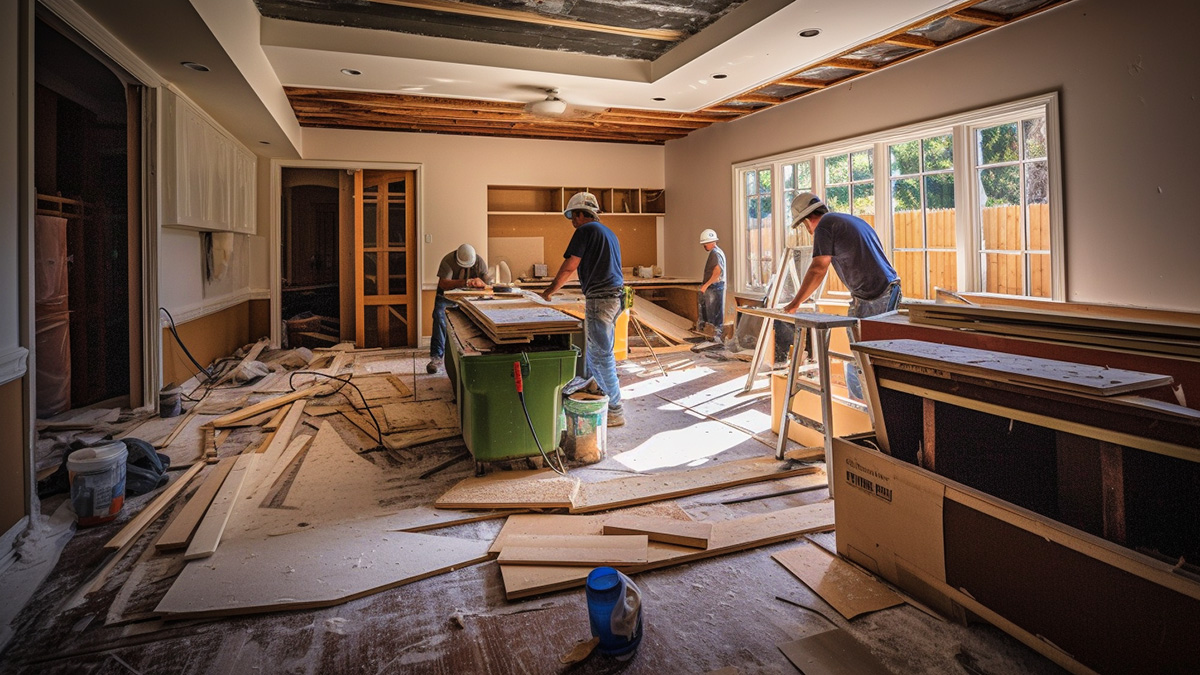
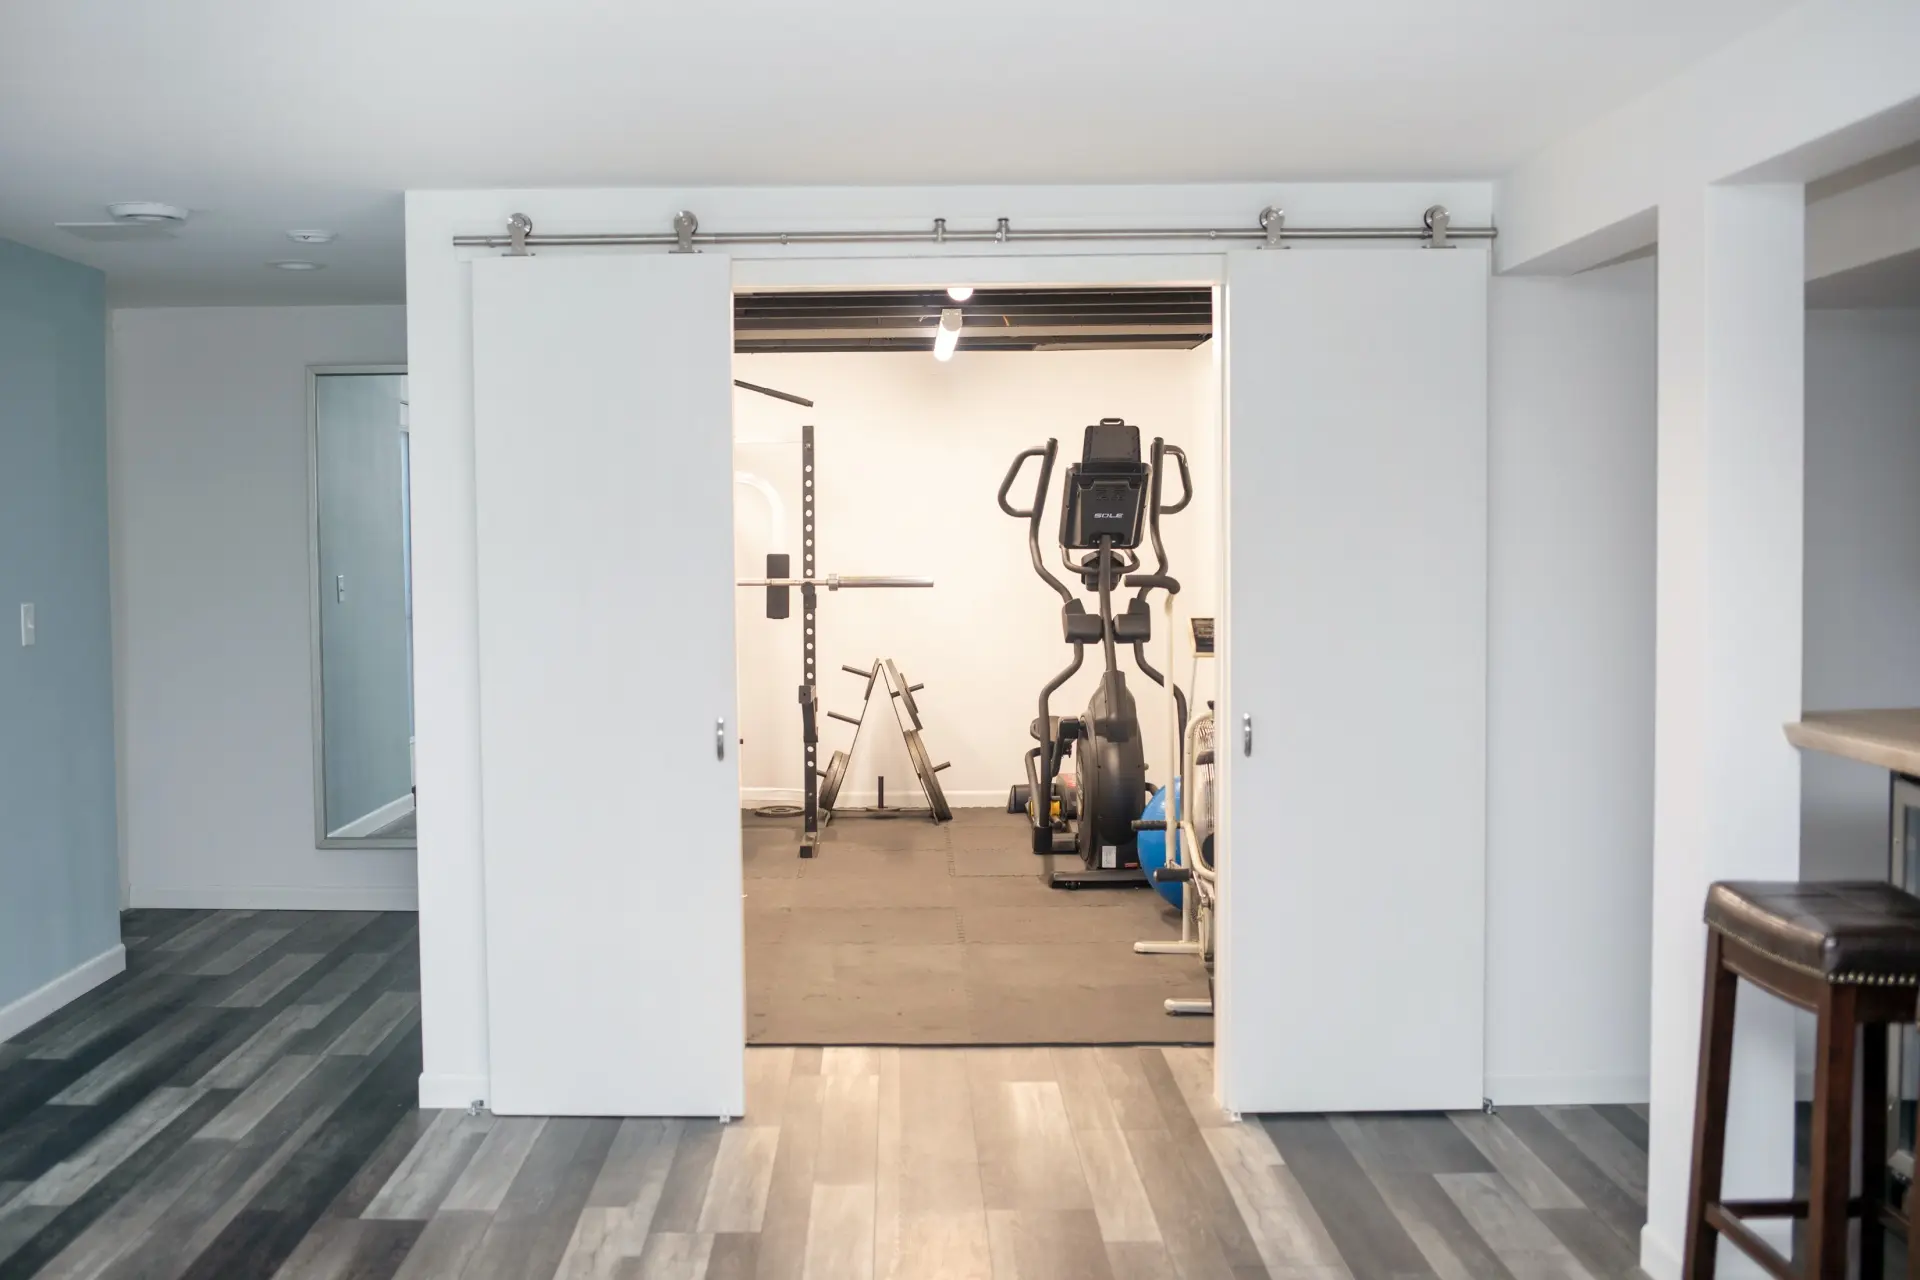
Layout: Decide Before You Frame
The single most common regret I hear after a basement project is about layout. Not finishes. Not fixtures. Layout. People frame walls, finish everything out, and then realize the traffic flow is wrong or they’ve cornered the mechanical room in a way that makes every HVAC service call a problem.
Before anything goes up, answer these questions: What are the zones — family room, office, gym, guest suite, storage? Where is natural light coming from and where are the egress windows going? How does someone move from the stairs to each zone without walking through another room? Where is the mechanical room and how does a technician get to it? Where does the laundry live?
For layout ideas specific to Madison-area homes, Basement Remodeling Ideas for Madison WI Homes is worth reading before you commit to anything. And Basement Finishing in Wisconsin covers the moisture and comfort side in more depth.
Budget Reality for Wisconsin Basements
Finishing a basement in the Madison area runs $24 to $62 per square foot for standard finishes. Projects in the upper end of that range typically involve a bathroom, egress window installation, or higher-end material choices. A 1,000 square foot basement with a bathroom realistically lands between $40,000 and $65,000 in Dane County right now.
If you need to finance the project, the remodel financing options post covers home equity loans, HELOCs, and contractor financing in detail.
Get a line-item estimate — not a ballpark. A single number with no breakdown is not an estimate. It’s a guess, and it puts all the risk on you.
Quick Reference Checklist Before Your First Conversation
Before calling a contractor, confirm:
Moisture assessment done — no active leaks, no efflorescence, no mold. Ceiling height measured — at least 76 inches in primary areas after accounting for ceiling system. Egress window location identified if a bedroom is planned. Electrical panel assessed — room for new circuits. Plumbing stack location known — bathroom feasibility confirmed. Budget range established — financing option identified if needed.
Frequently Asked Questions
Do I need a permit to finish my basement in Verona or Madison?
Yes. Every Dane County municipality requires a building permit for basement finishing work. Your contractor pulls and manages it as part of the project.
What’s the biggest mistake people make before finishing a basement?
Skipping the moisture assessment. Everything else can be figured out as you go. Moisture cannot. Finishing over a wet basement just makes the problem more expensive to fix later.
Can I finish my basement in phases to manage cost?
Yes, and it’s actually a smart way to approach it — as long as the rough-in work (electrical, plumbing, framing) is done correctly in phase one. Redoing rough work to accommodate phase two costs significantly more than planning for it upfront.
How long does the permit and inspection process take in Dane County?
Plan for two to four weeks for permit approval before work starts. Inspections are scheduled at rough framing, insulation, and final stages. Your contractor manages the scheduling.
Ready to Start Planning?
If you’re a Verona, Madison, McFarland, or Dane County homeowner thinking about finishing your basement, request a free consultation with AF Construction. We’ll assess your space, walk through the permit and inspection process with you, and provide a detailed line-item estimate so you know exactly what you’re getting and what it costs.
Learn more about our basement remodeling services or browse our project gallery to see finished basements we’ve completed across Dane County.
AF Construction LLC serves homeowners in Verona, Madison, McFarland, Oregon, Mount Horeb, and throughout Dane County, WI.